How You Tattoo White Ink Over Black Ink Step by Step
To tattoo white ink over black ink effectively, start by cleansing and exfoliating your skin thoroughly. This step is crucial because it helps the white ink adhere better to the darker base.
Using high-quality, pigmented white ink is a must to get that vibrant contrast you’re aiming for.
Next, adjust your tattoo machine to a shallow needle depth with a moderate speed. This setup allows for smooth layering without damaging the skin.
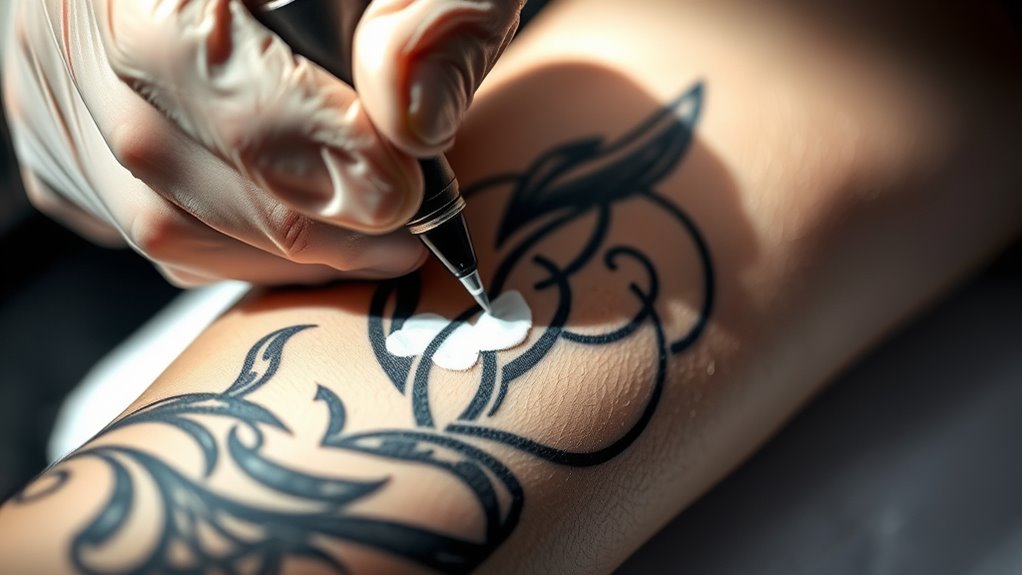
Apply the white ink in thin, controlled layers over the black ink. Be patient and let each layer heal fully before adding another to ensure the best results.
Managing the saturation of the black ink underneath is key—it shouldn’t be too dense, or the white won’t pop as well.
And remember, following strict aftercare instructions is essential to prevent fading and maintain the brightness of your white tattoo.
Keep reading to discover more tips that help you overcome common challenges when tattooing white ink over black.
Key Takeaways
– Thoroughly cleanse, exfoliate, and disinfect the skin before starting to ensure ink adhesion and reduce infection risk.
You want to start with a clean canvas to get the best results and avoid any complications.
– Use high-quality, opaque white ink and adjust machine settings for shallow needle depth and moderate speed.
This helps the white ink sit well on top of the black without digging too deep or causing excessive trauma.
– Apply white ink in thin, controlled layers using a tight needle grouping to build opacity gradually over black ink.
Take your time here. It’s better to build up the white slowly than to try and cover it all at once.
– Allow each white ink layer to fully heal before adding more to avoid over-saturation and enhance contrast.
Patience is key because rushing can lead to poor healing and dull results.
– Follow strict aftercare: clean gently, moisturize, avoid UV exposure, and prevent soaking to preserve white ink brightness.
Taking good care after your session means your white ink will stay vibrant for longer.
Preparing the Skin for White Ink Application
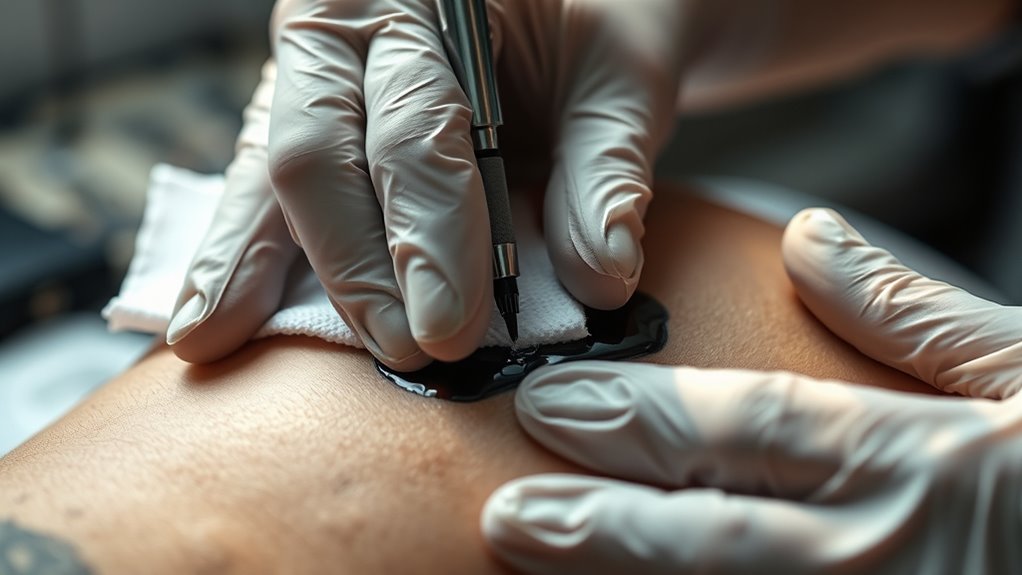
Before applying white ink over black, you’ll want to thoroughly clean and exfoliate the skin to remove any oils and dead cells. This step guarantees the ink adheres better and reduces the risk of uneven application.
Use a gentle cleanser and a mild scrub, avoiding harsh products that might irritate the skin. After exfoliating, pat the area dry with a clean towel.
Next, disinfect the skin with an alcohol wipe or antiseptic solution to eliminate bacteria. Make sure the skin is completely dry before you begin tattooing to prevent ink dilution or smudging.
Proper skin preparation not only improves ink retention but also promotes faster healing and reduces the chance of infection. This sets a solid foundation for a crisp and vibrant white ink over the black.
Selecting the Right White Ink and Tattoo Machine Settings
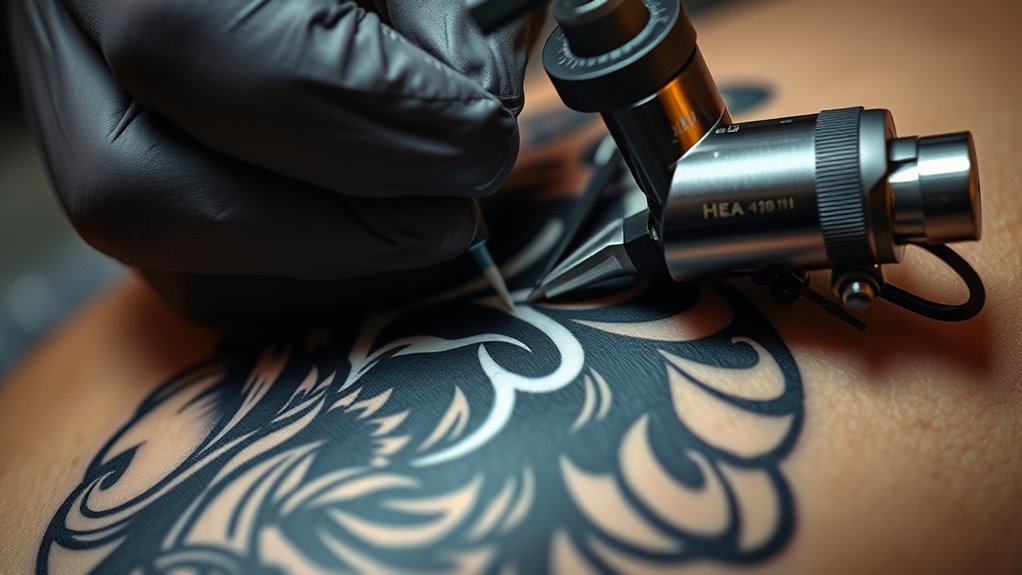
You’ll want to pick a high-quality white ink that stands out against black skin. Adjust your needle depth carefully to avoid overworking the skin while ensuring proper ink saturation.
Also, fine-tune your machine speed for smooth, consistent coverage without causing trauma. It’s all about finding that balance to make the white pop without damaging the skin.
Choosing Quality White Ink
Although white ink can be tricky to work with, choosing a high-quality pigment makes a significant difference in your tattoo’s vibrancy and longevity.
To get the best results, focus on these three key points:
- Pigment Concentration: Opt for white inks with a high pigment load. They’ll provide better coverage over black and resist fading.
- Consistency and Opacity: Choose inks that aren’t too watery or translucent, ensuring the white stands out sharply against the dark base.
- Compatibility with Your Machine: Some white inks work better at specific machine settings. Test your ink with your machine to avoid clogging or uneven application.
Adjusting Needle Depth
When tattooing white ink over black, adjusting your needle depth is essential to achieve crisp coverage without damaging the skin. You want the needle to penetrate just deep enough to deposit the white ink over the existing black layer without causing excessive trauma.
Too shallow, and the white ink won’t hold or appear vibrant; too deep, and you risk scarring or ink blowout. Start by setting your machine so the needle barely punctures the skin’s surface, then gradually increase depth while testing on practice skin or a discreet area.
Keep an eye on how the white ink lays—if it fades or spreads, tweak the depth accordingly. Proper needle depth combined with quality white ink ensures your tattoo pops with clarity and longevity.
Optimizing Machine Speed
After mastering needle depth, fine-tuning your machine speed becomes the next step to guarantee white ink covers black ink effectively. Choosing the right speed helps the ink settle properly without causing excessive trauma or blowouts.
Here’s how to optimize it:
- Select the Correct White Ink: Use high-opacity white ink designed for layering. It ensures better coverage over black and reacts well at moderate speeds.
- Adjust Speed Settings: Start at a medium speed, around 60-70 cycles per second. Too fast can cause splattering; too slow may result in uneven coverage.
- Test and Modify: Always test on practice skin or a small area, then tweak the speed based on how the ink deposits and the client’s skin response.
Balancing these factors lets you achieve crisp, bright white tattoos over black backgrounds. It’s all about finding that sweet spot!
Techniques for Applying White Ink Over Black Ink
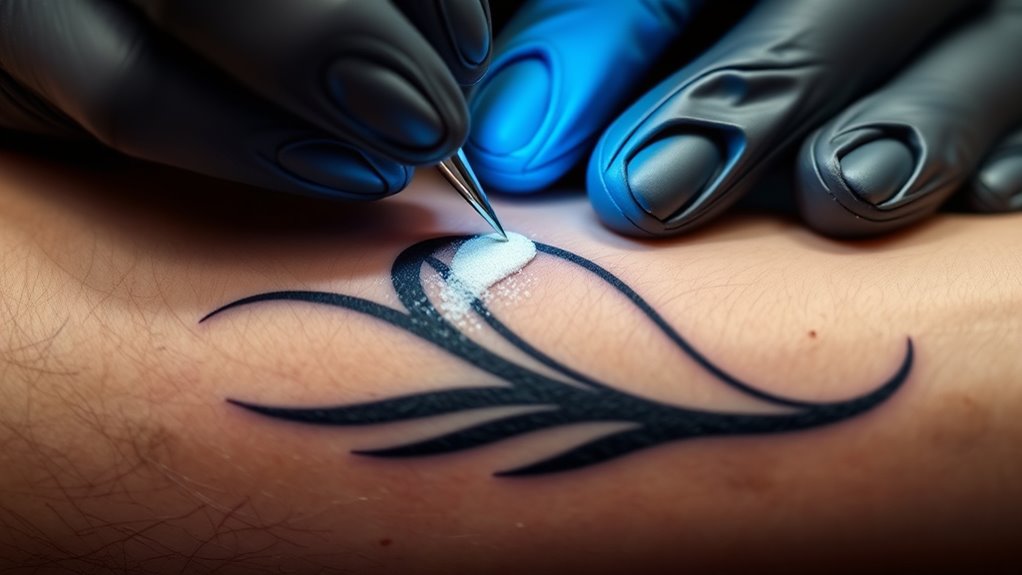
Before you start tattooing white ink over black, make sure the skin is properly prepped to guarantee better ink adhesion.
You’ll want to apply the white ink in thin, controlled layers to build opacity without overworking the area.
Taking your time with these techniques helps the white stand out and last longer.
Preparing the Skin
Although tattooing white ink over black ink poses unique challenges, you can achieve vibrant results by properly preparing the skin. First, confirm the area is clean and free of oils or lotions, as these can affect ink adhesion.
Second, gently exfoliate the skin to remove dead cells; this helps the white ink settle more evenly over the black. Third, lightly shave the area if there’s any hair, providing a smooth canvas for your tattoo.
Proper preparation reduces the risk of ink fading or blurring, giving you a crisp, bright finish. By following these steps, you set the foundation for a successful white-on-black tattoo that stands out and lasts longer, making your artwork truly pop.
Layering White Ink
When layering white ink over black, you’ll need to apply multiple thin coats rather than one heavy layer to guarantee the white stands out sharply. Start by gently tattooing a thin layer of white ink, allowing it to settle into the skin.
Avoid saturating the area too quickly, as thick layers can cause uneven healing and fading. Let each coat heal fully before applying the next to build opacity gradually.
Use a tight needle grouping for precision and to minimize trauma. Be patient—white ink requires time to develop its brightness over dark backgrounds.
Monitor how each layer appears once healed, and only add more if needed. This careful layering ensures your white ink pops clearly against the black, creating a crisp, vibrant contrast.
Managing Ink Saturation and Layering
Since white ink sits on top of black ink, you need to carefully manage ink saturation and layering to guarantee the white remains visible and crisp. Over-saturating the black can cause the white to look dull or muddy.
White ink over black requires careful saturation to keep the white sharp and vibrant.
Instead, follow these steps:
- Limit Black Saturation: Apply the black ink evenly but avoid overfilling the skin. This helps prevent it from blocking the white’s brightness.
- Use Thin White Layers: Build the white ink gradually in thin layers. This way, you maintain opacity without causing scarring or blowouts.
- Allow Skin Recovery Time: Between layers, give the skin time to heal slightly. This helps the white ink settle properly on top of the black.
Post-Tattoo Care to Preserve White Ink Brightness
Proper aftercare plays a key role in keeping your white ink looking bright and sharp after layering it over black. Right after your session, gently clean the tattoo with lukewarm water and mild, fragrance-free soap.
Pat it dry with a clean towel—don’t rub. Apply a thin layer of recommended ointment or moisturizer to keep the ink hydrated and help the skin heal.
Avoid direct sunlight and tanning beds, as UV rays can fade white ink faster. Also, steer clear of soaking the tattoo in water, like pools or baths, until it’s fully healed.
Common Challenges and How to Avoid Them
Although tattooing white ink over black ink creates striking contrast, it also presents unique challenges that can affect the final result. To get the best outcome, you need to be aware of these common issues and how to avoid them:
- Ink Absorption: White ink tends to get absorbed quickly or fade on black backgrounds. To prevent this, apply multiple thin layers rather than one thick layer.
- Blurring: White ink can blur or spread if the needle goes too deep. Control your needle depth carefully and use a steady hand.
- Healing Fading: White ink fades faster during healing. Advise proper aftercare, like avoiding sun exposure and moisturizing regularly.
Frequently Asked Questions
Can White Ink Tattoos Fade Faster Than Colored Ones?
Yes, white ink tattoos can fade faster than colored ones because white pigment is less dense and more prone to sun damage.
You’ll need extra care, like sunscreen and touch-ups, to keep your tattoo looking bright longer.
It’s a bit more delicate, so protecting it really helps maintain its vibrancy over time.
Is White Ink Safe for Sensitive Skin?
Imagine Sarah, who has sensitive skin, trying white ink. Yes, white ink can irritate sensitive skin more than other colors because it often contains titanium dioxide.
You should do a patch test and consult your artist before tattooing. It’s always better to be safe and see how your skin reacts first.
How Long Does a White Ink Tattoo Take to Heal?
Your white ink tattoo usually takes about 2 to 4 weeks to heal. Healing time depends on your skin type and aftercare.
You’ll want to keep it clean, moisturized, and avoid sun exposure during this period. Taking good care of it really makes a difference!
Can White Ink Tattoos Be Removed Easily?
White ink tattoos aren’t easy to remove because the pigment is lighter and can fade unevenly.
You’ll likely need more laser sessions, and results might be less predictable compared to darker ink removal.
Does White Ink Show up Well on All Skin Tones?
White ink doesn’t always pop on every skin tone; it shines on lighter skin but can fade or blend on darker skin.
You’ll want to contemplate contrast and your artist’s skill to get the best results. It’s all about finding the right balance and technique that works for you.
Conclusion
Tattooing white ink over black ink can feel like trying to catch lightning in a bottle, but with the right prep, tools, and techniques, you’ll make it shine brilliantly. Remember to manage your ink layers carefully and follow aftercare steps to keep that white vibrant for years.
Don’t let common challenges discourage you—practice and patience are your best allies. You’ve got this; your masterpiece is just a few steps away from glowing! When tattooing white ink over black, it’s key to apply thin, even layers and allow proper healing time between sessions. Using high-quality white ink and a skilled hand will ensure your design pops.
In the end, mastering how you tattoo white ink over black ink takes time, but the stunning contrast and brightness are worth every effort. Keep your tattoo clean and moisturized during aftercare to maintain that crisp white color. With dedication and the right technique, your tattoo will stand out beautifully for years to come.