
How to Get Ink Stains Out of Leather Step by Step
To get ink stains out of leather, start by identifying the type of ink and checking how old the stain is. This helps you choose the right cleaning method and avoid damaging your leather. Gather some gentle cleaning supplies like leather cleaner, rubbing alcohol, soft cloths, and cotton swabs before you begin.
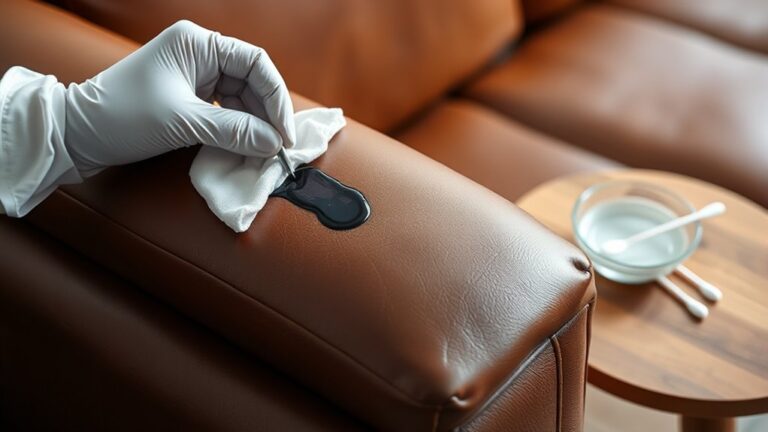
Make sure to test your cleaner on a hidden spot first to see if it causes any discoloration or damage. Then, carefully dab the ink stain with your chosen solution—try not to rub, as this can spread the stain or harm the leather.
After dabbing, blot the area with a dry cloth to lift the ink. Let the leather air dry naturally, away from direct heat or sunlight.
Once dry, apply a leather conditioner to restore moisture and keep the material soft and supple. Follow these simple steps, and you’ll be better prepared to handle tougher ink stains on leather safely and effectively.
Key Takeaways
- Identify the ink type and assess the stain severity before cleaning. This helps you choose the right method to tackle it.
- Gather leather-safe cleaning supplies like rubbing alcohol, cotton swabs, soft cloths, and leather conditioner. Having everything ready makes the process smoother.
- Test the cleaning solution on a hidden spot of the leather first. You want to make sure it won’t cause any discoloration or damage.
- Gently dab the ink stain with the cleaning solution. Work from the edges toward the center, and avoid rubbing or soaking the area.
- Blot the area with a clean, dry cloth, then let it air dry naturally. Once dry, apply leather conditioner to keep the leather soft and protected.
Assess the Type and Severity of the Ink Stain
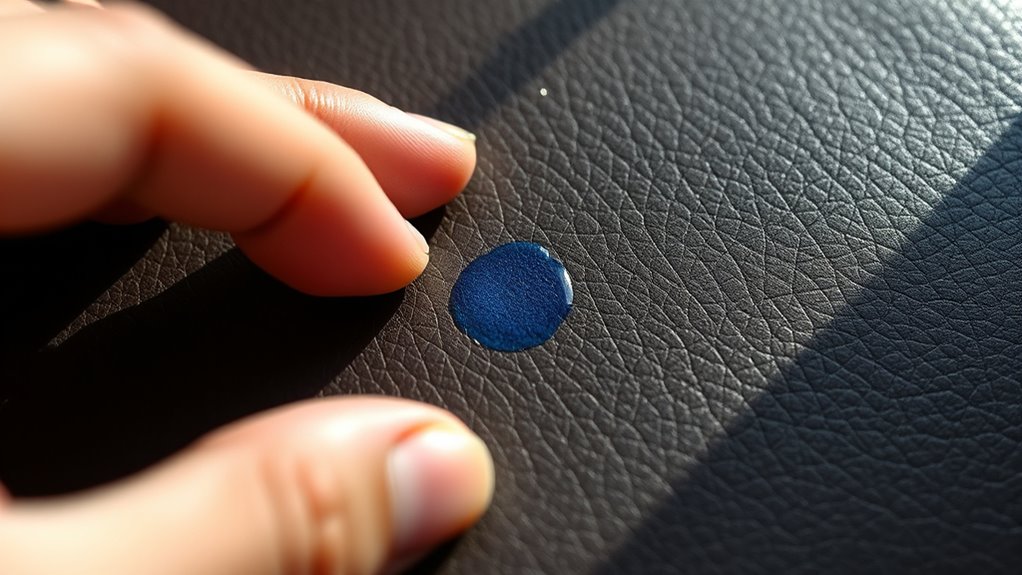
Before you begin treating an ink stain on leather, you need to identify the type of ink and how deeply it has penetrated the surface. Take a close look at the stain’s color and texture—ballpoint pen ink usually appears dark and sits on the surface, while permanent markers tend to soak in deeper.
If the ink feels raised or sticky, it’s likely still fresh and easier to remove. You should also gently press a clean cloth on the stain to see if any ink transfers; this indicates it hasn’t fully set.
Evaluating severity helps you choose the right cleaning method and prevents damage. Remember, older stains that have soaked in will require more careful and possibly repeated treatment.
Gather Necessary Cleaning Supplies
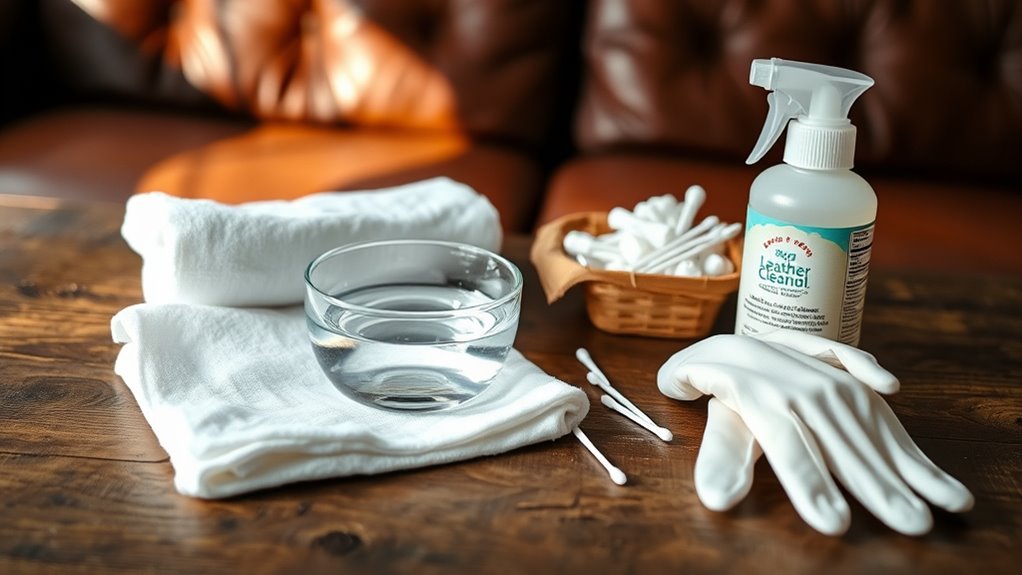
Before you start cleaning, make sure you have the right tools on hand. Gather soft cloths, cotton swabs, and a gentle leather cleaner designed for ink stains.
Having these supplies ready will help you tackle the stain effectively without damaging your leather. It’s all about being prepared!
Essential Cleaning Tools
To tackle ink stains on leather effectively, you’ll need a few essential cleaning tools. Having the right tools guarantees you clean gently without damaging the leather.
Start with soft cotton cloths to avoid scratches and a small, soft-bristled brush for stubborn spots. You’ll also want a spray bottle for applying cleaning solutions evenly and a pair of gloves to protect your hands.
| Tool | Purpose | Tip |
|---|---|---|
| Soft Cotton Cloth | Wiping and drying leather | Use lint-free for best results |
| Soft-Bristled Brush | Gently loosening stains | Avoid hard bristles |
| Spray Bottle | Even application of cleaner | Use distilled water if needed |
Recommended Cleaning Products
Once you have your cleaning tools ready, it’s time to gather the right products that safely remove ink from leather. Choose a gentle leather cleaner designed specifically for delicate surfaces to avoid damage.
Rubbing alcohol or isopropyl alcohol can work well on fresh ink stains, but make sure to test it on a hidden area first. You’ll also want a white eraser or a leather-safe ink remover if the stain is stubborn.
Avoid harsh chemicals like bleach or acetone, as they can ruin the leather’s finish. Keep a soft microfiber cloth and cotton swabs handy for precise application.
Having a leather conditioner on hand is essential to restore moisture and prevent drying after cleaning. With these supplies, you’ll be ready to tackle ink stains effectively and safely.
Test Cleaning Solution on a Hidden Area
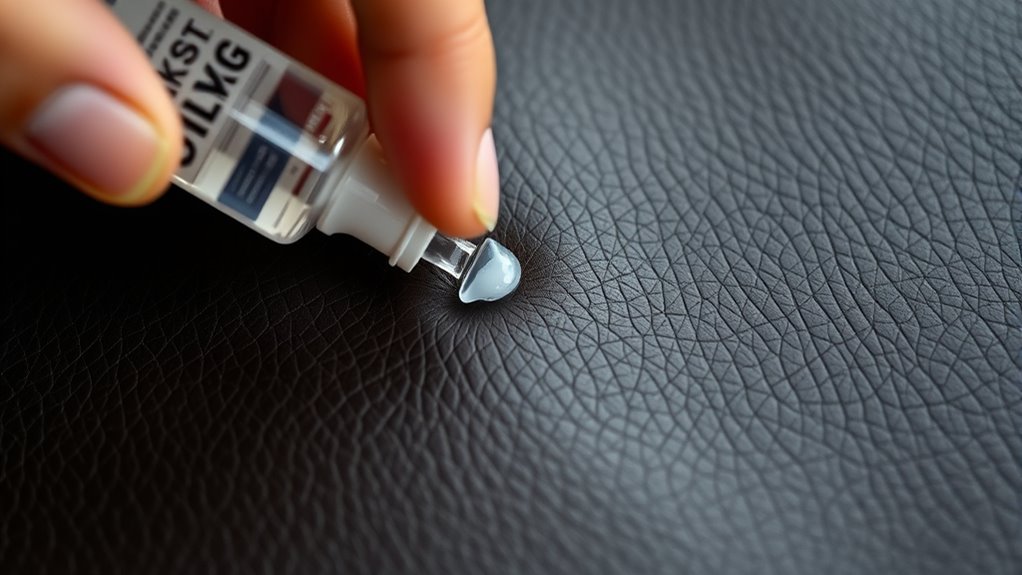
Although you might be keen to remove the ink stain immediately, you should always test your cleaning solution on a hidden area first. This step guarantees the product won’t damage or discolor your leather.
Choose a small, inconspicuous spot like the inside seam or under a flap. Apply a small amount of the solution using a cotton swab or soft cloth. Wait a few minutes to see if any adverse reaction occurs, such as fading, darkening, or texture changes.
If the leather reacts negatively, stop using that product and try a different one. Testing first protects your leather and gives you confidence that your cleaning method is safe before tackling the visible ink stain.
This precaution saves you from costly mistakes and preserves your leather’s appearance.
Gently Apply Cleaning Solution to the Ink Stain
Before the cleaning solution dries, gently dab it onto the ink stain using a soft cloth or cotton swab. Be careful not to rub or spread the ink further.
Apply light pressure and work from the outer edges toward the center to prevent the stain from expanding. Use small, controlled motions to lift the ink without damaging the leather’s surface.
If the stain is stubborn, you can repeat the process, but avoid soaking the leather. Excess moisture can cause discoloration or warping.
Always use a fresh part of the cloth or a new cotton swab with each dab. This helps avoid reapplying ink.
Taking your time during this step ensures the best chance of removing the ink without harming your leather item.
Wipe and Dry the Leather Surface
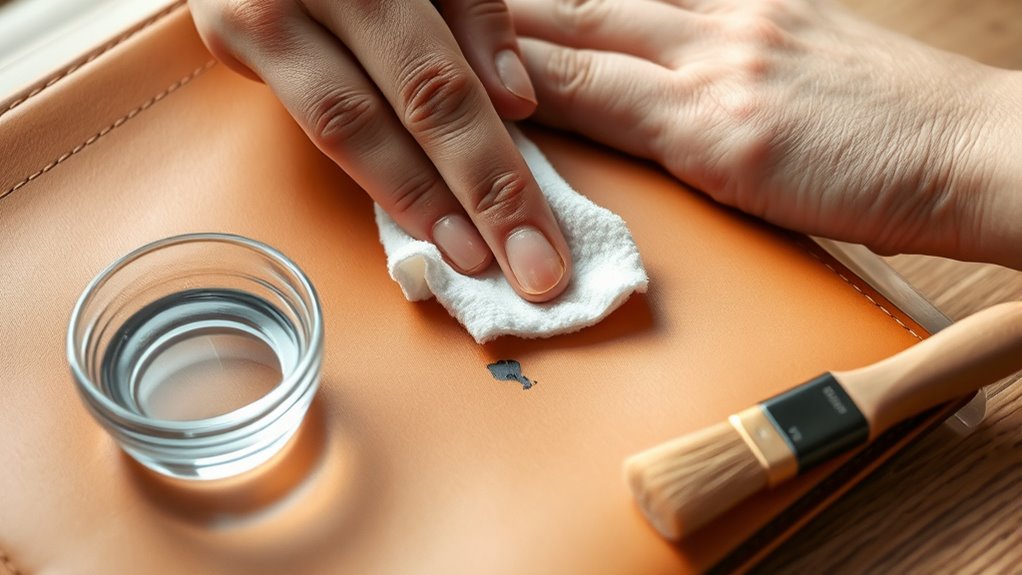
After applying the cleaning solution, grab a soft cloth and gently blot the leather surface to lift the ink without rubbing. Be careful to avoid harsh scrubbing, which can damage the material.
Once done, let the leather air dry naturally to preserve its texture and finish. This way, you keep the leather looking great without causing any harm.
Use Soft Cloth
A soft cloth plays a crucial role in removing ink stains from leather without causing damage. Choose a clean, lint-free cloth made of microfiber or cotton to guarantee gentle contact with the leather.
After applying your chosen cleaning solution, use the soft cloth to gently wipe the stained area in circular motions. This method helps lift the ink without scratching or harming the leather’s surface.
Avoid pressing too hard, as excessive force might spread the stain or damage the material. Once the stain starts to fade, switch to a dry section of the cloth to blot away any remaining moisture.
This step prevents water spots and helps the leather dry evenly. That way, you keep its texture and appearance looking great.
Gentle Blotting Technique
Once you’ve gently wiped the ink stain with a soft cloth, focus on blotting the leather surface carefully to remove excess moisture. Use a clean, dry microfiber or cotton cloth and press it lightly against the stained area.
Avoid rubbing, as this can spread the ink or damage the leather’s finish. Instead, dab repeatedly, letting the cloth absorb the liquid naturally. Change to a fresh section of the cloth as it becomes damp to prevent reapplying ink back onto the leather.
Blotting this way helps lift the stain without causing abrasion. Remember, patience is key—work slowly and check your progress frequently.
This gentle approach preserves the leather’s texture and prepares it for the next cleaning step, ensuring the best chance of removing the ink completely.
Air Dry Naturally
While you might be enthusiastic to speed things up, let the leather air dry naturally to avoid any damage. After gently wiping the area, resist the urge to use a hairdryer or heater, as heat can dry out the leather, causing cracks or discoloration.
Instead, place the leather item in a well-ventilated room away from direct sunlight. Patience is key—allow the moisture to evaporate on its own.
Once dry, check the surface for any remaining dampness. If needed, repeat the gentle blotting process before drying again.
Air drying preserves the leather’s texture and flexibility, ensuring your item stays looking its best while completely removing the ink stain without harm.
Condition the Leather to Restore Moisture
Because ink removal can dry out leather, you’ll need to condition it to restore moisture and keep it supple. Grab a high-quality leather conditioner and apply a small amount to a soft cloth.
Gently rub it into the leather in circular motions, making sure you get even coverage. Let it absorb fully to rejuvenate the texture and prevent cracking.
Here’s a quick overview of the conditioning process:
| Step | Action |
|---|---|
| Choose Conditioner | Select a suitable product |
| Apply Conditioner | Use a soft cloth, gentle rub |
| Absorb & Buff | Let dry, then buff surface |
Following this will keep your leather looking fresh and smooth after ink stain removal. Easy, right?
Frequently Asked Questions
Can Ink Stains Permanently Damage Leather?
Yes, ink stains can permanently damage leather if you don’t act quickly.
You’ll want to treat the stain as soon as possible to prevent it from setting and causing lasting discoloration or damage.
Are All Leather Types Treated the Same for Ink Removal?
Of course, all leather types are treated the same—because who doesn’t love a one-size-fits-all approach?
Actually, you shouldn’t. Each leather reacts differently, so always test a hidden spot before cleaning ink stains.
How Soon Should I Treat an Ink Stain on Leather?
You should treat an ink stain on leather as soon as you notice it. The quicker you act, the easier it is to prevent the stain from setting.
That makes removal more effective and less damaging. So, don’t wait too long before addressing the stain!
Can I Use Household Items to Remove Ink From Leather?
Yes, you can use household items like rubbing alcohol or hand sanitizer to remove ink from leather. Just apply gently with a cotton swab, avoid soaking, and test on a hidden spot first to prevent damage.
It’s a pretty handy trick! Just be careful not to rub too hard, or you might mess up the leather’s finish. Trying it out on a small, hidden area first is definitely the way to go.
What Should I Avoid When Cleaning Ink off Leather?
You should avoid harsh chemicals, excessive water, and scrubbing aggressively, as these can damage leather. Don’t use abrasive tools or bleach.
And always test cleaners on a small, hidden area first to prevent discoloration or deterioration. It’s better to be safe than sorry!
Conclusion
Now that you’ve carefully lifted the ink’s shadow from your leather, your piece can breathe and shine like new. Remember, treating leather is like tending a delicate garden—it needs gentle care and patience.
By following these steps, you’re not just removing ink stains from leather; you’re restoring life and character to your cherished item. Keep your leather nourished with proper cleaning and conditioning.
It will reward you with timeless beauty that withstands ink and time alike. So, embrace this process and enjoy the satisfaction of caring for your leather goods the right way.