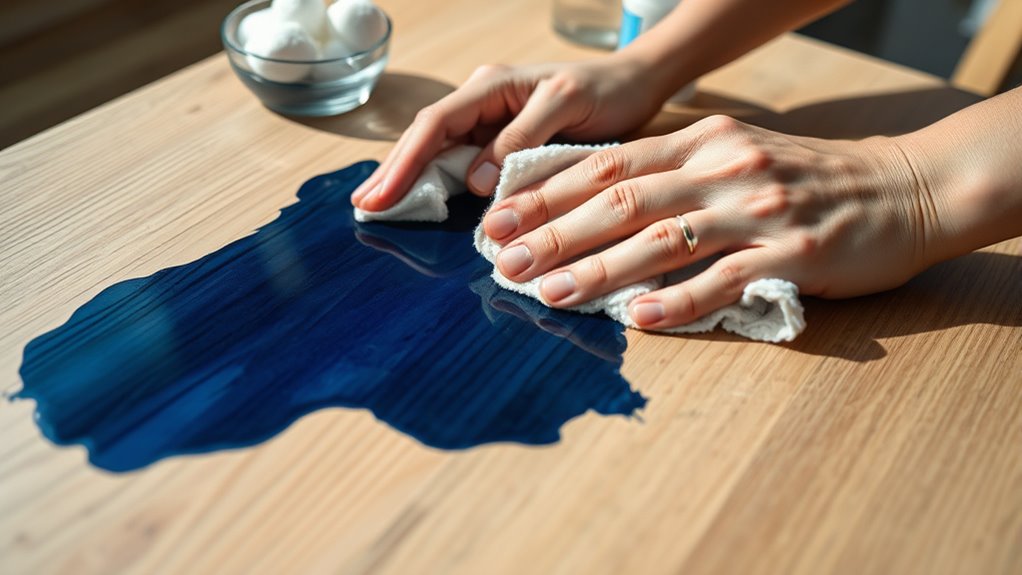
How to Remove Ink From Wood Step by Step
To remove ink from wood, start by identifying the type of ink and checking if your wood has a sealed finish. This step is important because it helps you avoid causing any damage during cleaning.
Next, gather some soft cloths, rubbing alcohol, mild soap, and test any cleaners on a hidden spot first.
For fresh ink stains, gently blot the area instead of rubbing, and dab with rubbing alcohol or soapy water.
If the ink has dried, you might need to try light sanding or make a baking soda paste to lift the stain.
After you’ve cleaned the ink, don’t forget to restore the wood’s finish with some polish.
Taking it step by step like this ensures the best results. Plus, you’ll pick up some handy tips on preventing future ink stains, which is always a bonus!
Key Takeaways
– Identify the ink type and wood finish to choose a safe cleaning method that won’t damage the surface.
This step is important because different inks and finishes react differently to cleaning agents. Knowing what you’re dealing with helps prevent any accidental damage.
– Blot fresh ink stains gently with a soft cloth before applying rubbing alcohol or mild soapy water.
Don’t rub the stain; just blot it gently to avoid spreading the ink further. Once blotted, you can try rubbing alcohol or a mild soap solution.
– For dried ink, lightly sand with fine-grit sandpaper or apply baking soda paste or rubbing alcohol cautiously.
Be gentle here to avoid scratching the wood. Baking soda paste can lift stains without harsh chemicals, but always use caution.
– Test all cleaning solutions on an inconspicuous wood area to check for discoloration or damage before full application.
This is a quick safety check that can save your wood from unexpected harm. It’s better to be safe than sorry!
– After cleaning, restore the wood’s finish with polish or oil and apply protective coatings to prevent future stains.
This step helps your wood look its best and keeps it protected moving forward. It’s worth spending a little extra time here.
Identify the Type of Ink and Wood Finish
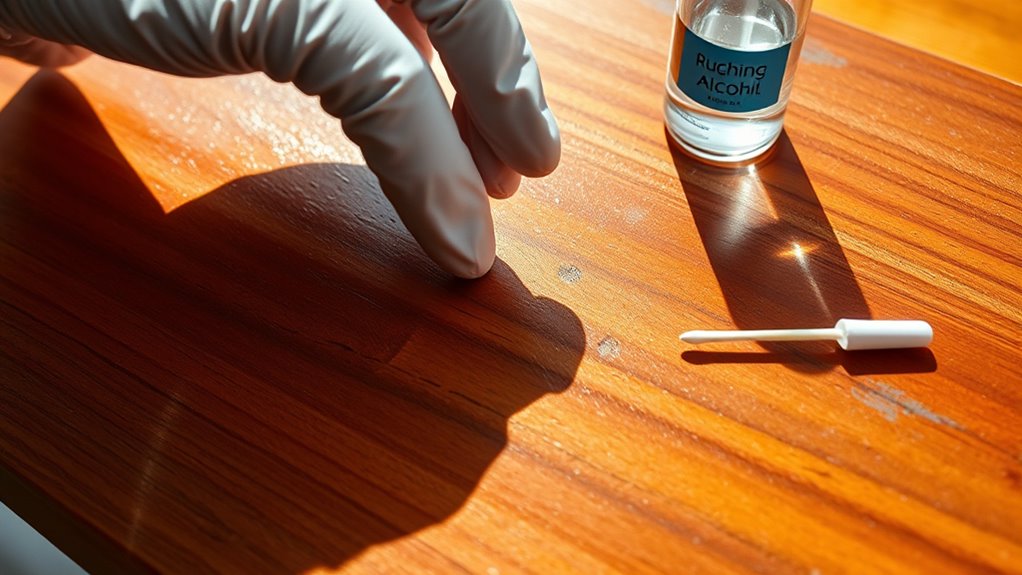
How do you know which method will work best to remove ink from your wood surface? First, identify the type of ink causing the stain. Is it ballpoint pen, marker, or printer ink? Each reacts differently to cleaning agents.
Next, check the wood’s finish. Is it sealed with polyurethane, varnish, shellac, or oil? Unfinished wood absorbs ink faster and requires gentler treatment, while sealed wood is more resistant.
You can test by applying a small drop of water in an inconspicuous spot—if it beads, the wood is sealed. Knowing these details helps you choose a cleaning method that won’t damage the wood or its finish.
Once you understand what you’re dealing with, you’re ready to select the right approach to remove the ink stain effectively.
Gather Necessary Cleaning Supplies
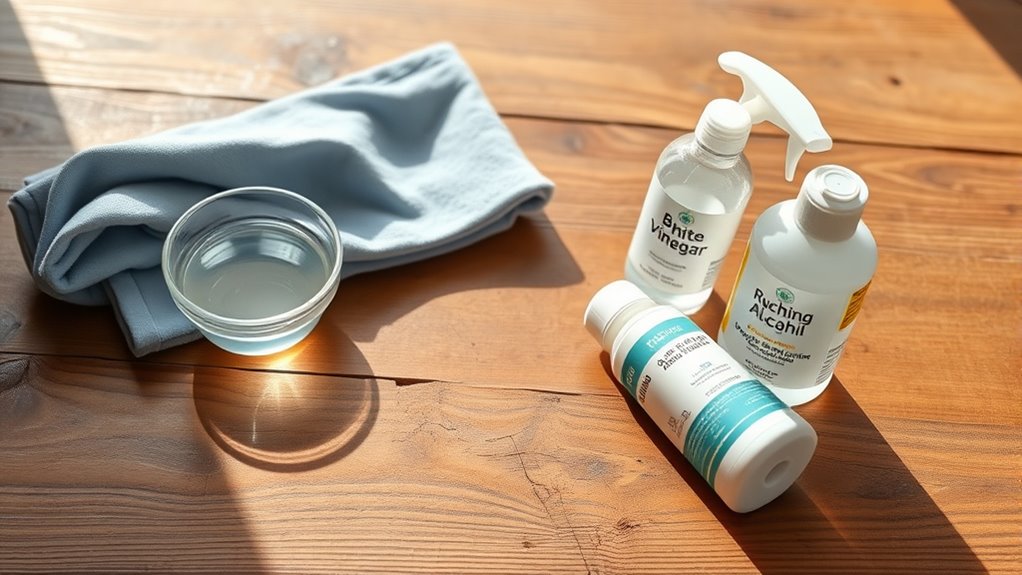
Before you start removing ink from wood, gather all the necessary cleaning supplies to guarantee a smooth process. Having the right tools on hand saves time and prevents damage to your wood surface.
You’ll need items that effectively remove ink without harming the finish. Here’s a quick checklist to get you started:
| Supplies | Purpose | Tips |
|---|---|---|
| Soft cloths | Wiping and blotting | Use lint-free for best results |
| Cotton swabs | Precision cleaning | Great for small spots |
| Mild dish soap | Gentle cleaning agent | Dilute with water |
| Rubbing alcohol | Ink dissolving | Use sparingly |
| Wood polish or oil | Restoring finish | Apply after cleaning |
Make sure to gather these before you begin to keep your workspace organized and efficient. It really makes the whole process easier and less stressful.
Test Cleaning Solutions on a Hidden Area
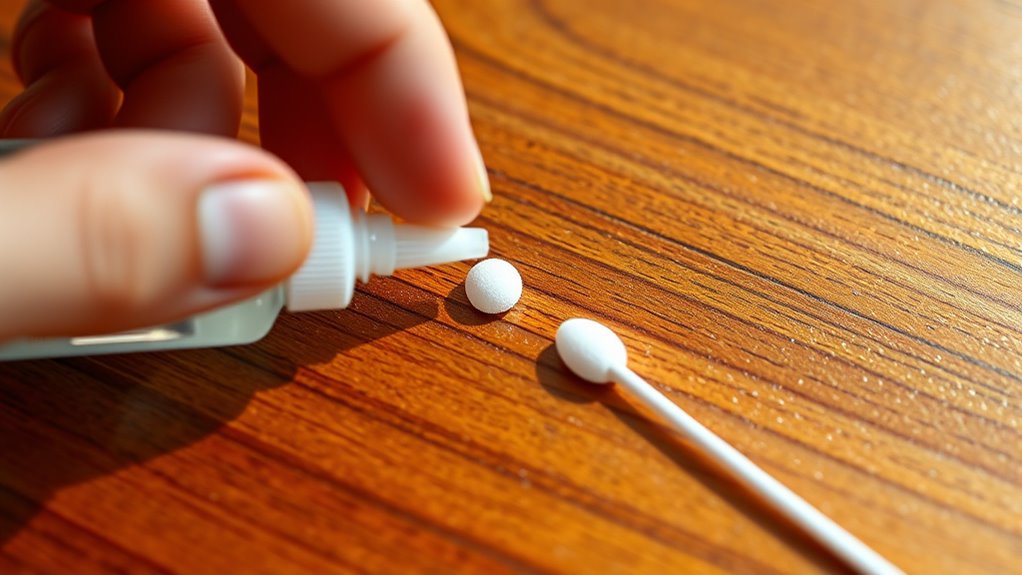
Before applying any cleaner, pick a hidden spot on the wood to test it out. You want to watch how the solution reacts with the finish and wood over a few minutes.
This step helps prevent any unexpected damage before tackling the ink stain. It’s always better to be safe than sorry!
Choose Discreet Spots
You’ll want to pick a discreet spot on the wood to test any cleaning solution before applying it to the visible area. This helps prevent unexpected damage or discoloration.
Look for areas that are hidden from regular view, like the back or underside of furniture. Also, try spots near edges or corners where minor changes won’t be noticed.
Choose small, easy-to-clean areas that won’t cause visible marks. And make sure the spot is close enough to the stain so the wood’s finish is similar.
Observe Reaction Time
When testing a cleaning solution on a hidden area, pay close attention to how long it takes for the wood to respond. Some solutions work almost immediately, while others may take several minutes to show any effect.
Watch for changes like discoloration, swelling, or surface damage. If you notice any adverse effects, rinse the area quickly and try a different method. Don’t rush this step; reaction time can reveal how aggressive the cleaner is and whether it’s safe for your wood.
Keep a timer or stopwatch handy to track the exact duration. This careful observation helps prevent permanent damage and ensures you choose the gentlest, most effective solution before applying it to visible areas.
Apply Cleaning Methods for Fresh Ink Stains
Since fresh ink stains haven’t set, you can often remove them more easily by acting quickly. Start by blotting the stain gently with a clean cloth to absorb excess ink without spreading it.
Then, try these effective cleaning methods:
- Dab the area with a cotton ball soaked in rubbing alcohol to break down the ink.
- Apply a small amount of mild dish soap mixed with water, scrubbing lightly with a soft cloth.
- Use a magic eraser carefully on the stain, testing first on an inconspicuous spot.
- Blot with a mixture of baking soda and water to lift the ink naturally.
Always wipe the wood dry after treatment to prevent moisture damage. Quick action helps keep your wood stain-free and looking great.
Techniques for Removing Dried Ink Stains
Although dried ink stains are tougher to remove than fresh ones, you can still restore your wood by using targeted techniques. Start by gently sanding the stained area with fine-grit sandpaper to lift the ink without damaging the wood.
Next, apply a mixture of baking soda and water or rubbing alcohol on a soft cloth to dab the stain. Let it sit briefly before wiping clean. Always test these methods on a hidden spot first.
| Technique | Material Needed | Application Tip |
|---|---|---|
| Light Sanding | Fine-grit sandpaper | Sand gently along the grain |
| Baking Soda Paste | Baking soda, water | Apply with a soft cloth |
| Rubbing Alcohol | Isopropyl alcohol | Dab, don’t rub vigorously |
These steps help lift dried ink without harming your wood’s finish. Give them a try, and you might be surprised at how well your wood recovers!
Preventing Future Ink Stains on Wood Surfaces
To keep your wood surfaces ink-free, apply protective coatings that create a barrier against stains. Clean up any ink spills immediately to prevent them from soaking in.
Also, set up designated writing areas to minimize the risk of accidental marks elsewhere. This way, you can keep your wood looking great without much hassle.
Use Protective Coatings
When you want to keep your wood surfaces free from future ink stains, applying a protective coating is essential. These coatings create a barrier that prevents ink from soaking into the wood, making cleanup easier.
Here are some effective options to contemplate:
- Polyurethane: Offers a durable, clear finish that resists stains and moisture.
- Wax: Provides a natural finish and mild protection, ideal for lightly used surfaces.
- Lacquer: Dries quickly and forms a hard, protective layer suitable for furniture.
- Varnish: Combines durability and water resistance, perfect for high-traffic areas.
Choose the coating based on your wood type and usage. Make sure to apply it evenly, following product instructions, and let it dry completely before using the surface.
This simple step really helps preserve your wood and keeps those pesky ink stains at bay.
Immediate Ink Cleanup
Applying protective coatings helps reduce ink stains, but acting fast is just as important when ink lands on your wood surface. The moment you notice ink, grab a clean, dry cloth and gently blot the area.
Avoid rubbing, which can spread the ink or push it deeper into the wood grain. Next, dampen a cloth slightly with water or a mild soap solution and carefully wipe the stain, ensuring you don’t oversaturate the wood.
If the ink persists, try using a small amount of rubbing alcohol on a cotton swab, testing it on an inconspicuous spot first. Quick cleanup prevents the ink from setting, making removal easier and protecting your wood’s finish.
The sooner you act, the better your wood will look over time. So, don’t wait around—grab that cloth and tackle the stain right away!
Designated Writing Areas
Although accidents happen, you can greatly reduce ink stains on your wood surfaces by creating designated writing areas. By setting specific spots for writing, you limit the chances of ink spills or leaks directly on your wood furniture or floors.
Here are some practical tips to help you establish these areas:
- Use a sturdy desk or table with a protective mat or cover.
- Keep ink pens, markers, and other writing tools organized in containers.
- Encourage writing only on paper or notebooks placed on these surfaces.
- Train family members or coworkers to respect these zones to avoid accidental stains.
Frequently Asked Questions
Can Ink Stains on Wood Cause Long-Term Damage?
Yes, ink stains on wood can cause long-term damage if you don’t act quickly. The ink may seep deep into the wood fibers, making it harder to remove.
This can potentially discolor the surface permanently. So, it’s best to tackle the stain as soon as you notice it.
Is It Safe to Use Bleach on Wood Ink Stains?
You might think bleach’s power can erase ink stains, but it’s not safe on wood—it can discolor or damage the finish.
Instead, try gentler options first to protect your wood’s natural beauty and integrity.
There are safer ways to tackle ink stains without risking harm to your wood surfaces. Just take it slow and test any cleaner on a small spot before going all in.
How Do Different Wood Types Affect Ink Removal?
Different wood types absorb ink differently, so you’ll need gentler methods on softer woods like pine to avoid damage.
Hardwoods like oak can handle stronger cleaners, but always test a small area first to protect the finish. It’s better to be safe than sorry!
Can Ink Stains on Antique Wood Be Professionally Restored?
Professionals know the ropes when it comes to restoring ink stains on antique wood. They’ll carefully treat the stain without damaging the wood’s charm.
This way, they preserve its value and beauty like a well-kept secret. It’s all about handling it with care and expertise.
Are There Eco-Friendly Alternatives for Removing Ink From Wood?
Yes, you can use eco-friendly options like baking soda paste, white vinegar, or lemon juice to remove ink from wood. These natural ingredients are gentle, effective, and safe for both you and the environment.
They work well without harsh chemicals. Plus, you probably already have them in your kitchen! Give them a try next time you need to clean ink off wood.
Conclusion
Now that you know how to tackle ink stains on wood, picture your surface gleaming like a calm lake at dawn—clear and untouched. With the right tools and careful steps, you can erase those stubborn marks without a trace.
Just remember to test first, work gently, and act quickly. These simple precautions make all the difference when removing ink from wood.
By staying proactive and following these step-by-step instructions, you’ll keep your wood looking fresh and flawless. Your wooden furniture or surfaces will be ready to shine brightly for years to come, free from ink stains and damage.