How to Remove Gel Ink From Clothes Step by Step
First, identify your fabric type by checking the care label. This helps you know how to treat the stain without damaging your clothes. Gently blot the gel ink stain with a clean cloth to avoid spreading it further.
Next, apply rubbing alcohol or hand sanitizer on the stain. Blot again to help dissolve the ink—it works like magic! Then, pre-treat the area with a stain remover or liquid detergent.
After that, rinse the fabric with cold water to flush out the ink and cleaning agents.
Finally, launder the garment following the care instructions on the label. Be sure to avoid heat, like hot water or a dryer, until the stain is completely gone. Keep going, and you’ll discover more tips for tackling those tough ink stains!
Key Takeaways
- Identify fabric type and check the care label to make sure you’re using safe cleaning methods before you start treating gel ink stains.
- Gently blot the ink stain with a clean cloth. Try not to rub it, as that can spread the ink or push it deeper into the fabric.
- Apply rubbing alcohol or hand sanitizer directly onto the stain. Let it sit for a few moments, then blot again to help dissolve and lift the gel ink.
- Next, pre-treat the area with a stain remover or liquid detergent. Gently rub it in and let it sit for a bit before rinsing with cold water.
- Finally, rinse the fabric thoroughly and check how much of the stain has come out. Then, wash according to the care label instructions. Just remember, don’t dry the garment until you’re sure the stain is completely gone.
Identify the Type of Fabric
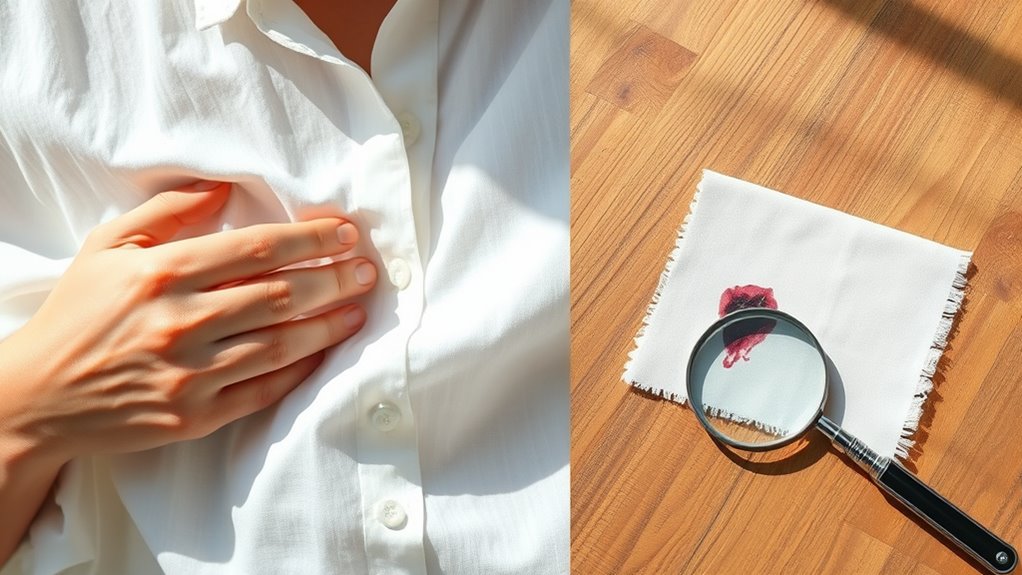
Before you begin removing gel ink stains, you need to identify the type of fabric you’re dealing with. Different fabrics react uniquely to cleaning agents, so knowing what you’re working with helps prevent damage.
Check the care label on your clothing for fabric content and washing instructions. Natural fibers like cotton and linen are generally more durable and can handle stronger stain removers.
Delicate fabrics like silk, wool, or rayon require gentler treatments to avoid discoloration or weakening. Synthetic fabrics such as polyester or nylon might resist stains differently and often tolerate mild solvents.
If the label is missing or unclear, test a small hidden area with water first. Taking this step ensures you apply the most effective and safest method for removing the gel ink stain.
Blot the Ink Stain Gently
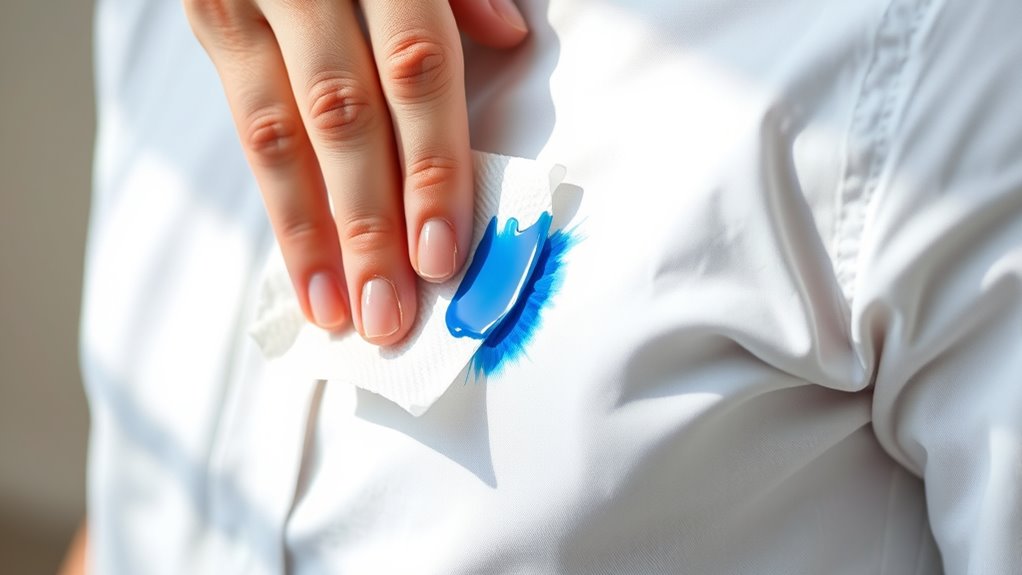
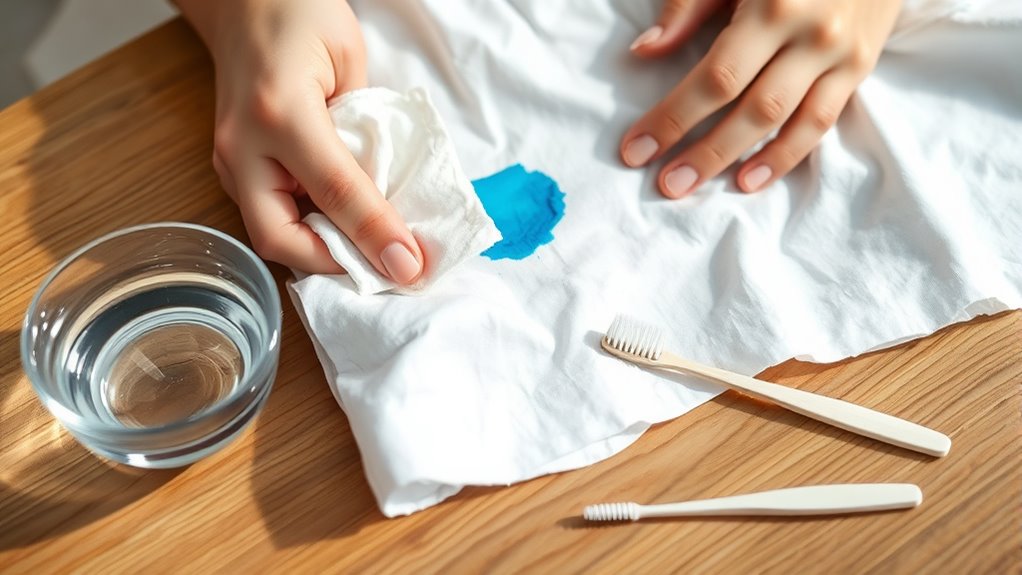
Once you’ve determined your fabric type, you can carefully address the gel ink stain. Start by placing a clean white cloth or paper towel under the stained area. This helps prevent the ink from spreading to other parts of the garment.
Then, gently blot the stain with another clean, dry cloth or paper towel. Avoid rubbing — that can push the ink deeper into the fibers and make the stain worse. Instead, use light, pressing motions to lift as much ink as possible.
Make sure to change the blotting cloth frequently so you don’t reapply ink to the fabric. Be patient and persistent with this step. Removing gel ink takes careful handling to avoid damaging your clothing and to get it ready for further treatment.
Apply Rubbing Alcohol or Hand Sanitizer
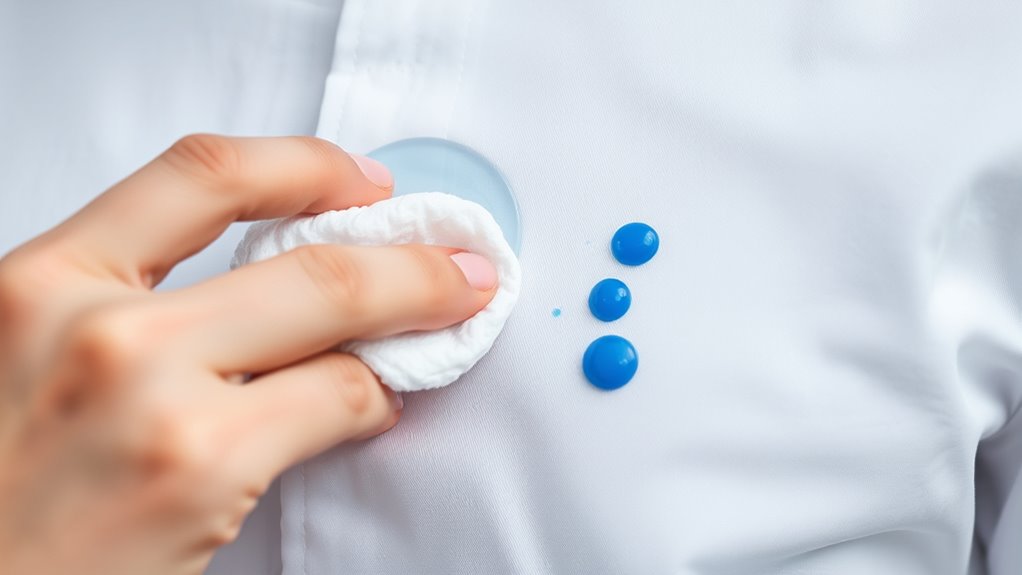
How should you tackle the stubborn gel ink stain next? Applying rubbing alcohol or hand sanitizer is your best bet to break down the ink’s pigments.
Here’s how to do it effectively:
- Test First: Dab a small amount on an inconspicuous area to ensure the fabric won’t get damaged or discolored.
- Apply and Blot: Gently apply rubbing alcohol or hand sanitizer directly onto the stain using a cotton ball or cloth. Let it sit for a minute, then blot the stain carefully without rubbing.
- Repeat if Needed: If the stain persists, repeat the application and blotting process until you see the ink lifting.
This method helps dissolve gel ink and prepares the fabric for the next cleaning step.
Use a Stain Remover or Liquid Detergent
You’ll want to pick a stain remover that’s proven effective on ink stains, or use a liquid detergent known for tough stain removal.
Apply it directly to the affected area and gently work it in before washing. Pre-treating this way boosts your chances of completely removing the gel ink.
Choosing Effective Stain Removers
Although gel ink stains can be stubborn, choosing the right stain remover or liquid detergent makes a big difference in lifting the ink from your clothes.
To maximize your chances of success, consider these points:
- Check for Enzymes: Pick stain removers with enzymes—they break down ink molecules effectively.
- Opt for Color-Safe Formulas: You want a product that targets the stain without fading your fabric’s color.
- Review Ingredients: Avoid harsh chemicals like bleach unless your fabric can handle it; instead, look for gentle but powerful solvents.
Applying Liquid Detergent Properly
When should you apply liquid detergent to gel ink stains for the best results? You want to act quickly, applying detergent as soon as you notice the stain.
First, run cold water through the fabric from the back of the stain to flush out excess ink. Then, gently rub a small amount of liquid detergent directly onto the stained area.
Use your fingers or a soft-bristled brush to work the detergent in, making sure it gets into the fibers without damaging the fabric. Let it sit for at least 5 to 10 minutes to break down the ink.
Avoid using hot water at this stage because it can actually set the stain. Afterward, rinse thoroughly with cold water before moving on to the next cleaning step.
Tips for Pre-Treatment Success
Since gel ink can be stubborn, treating the stain promptly with a stain remover or liquid detergent considerably improves your chances of success. To get the best results, follow these tips for pre-treatment success:
- Test First: Always test the stain remover or detergent on a hidden fabric area. This helps you avoid any damage or discoloration.
- Apply Generously: Dab or gently rub enough product directly onto the stain. This breaks down the ink without spreading it further.
- Let it Sit: Allow the pre-treatment to work for 5-10 minutes before washing. Just don’t let it dry completely, because that can set the stain.
Rinse and Inspect the Stain
Start by rinsing the stained area under cold running water to flush out as much gel ink as possible. Hold the fabric with the stain facing down to prevent ink from seeping deeper into the fibers.
Use your fingers to gently rub the fabric while rinsing, helping loosen the ink particles. Avoid hot water, as it can set the stain.
Once rinsed, inspect the area carefully in good light. Check if the gel ink has faded considerably or if any traces remain.
If the stain is still visible, you might need to repeat pre-treatment steps before moving on. Don’t rush this process; thorough rinsing and inspection ensure the best results in removing the gel ink effectively without damaging your clothes.
Launder the Garment Properly
After rinsing and inspecting the stain, you’ll want to launder the garment properly to fully remove any remaining gel ink. Follow these steps to guarantee the best results:
- Check Care Labels: Always read the garment’s care label to select the appropriate water temperature and washing method. Hot water can set stains, so use warm or cold water if unsure.
- Pre-Treat the Area: Apply a stain remover or liquid detergent directly on the ink stain. Let it sit for 5-10 minutes before washing to break down the ink further.
- Wash Separately: Wash the garment alone or with similar colors to avoid ink transfer. Use the recommended cycle and detergent for the fabric type.
After washing, avoid drying until you confirm the stain is gone, as heat can set any remaining ink permanently.
Frequently Asked Questions
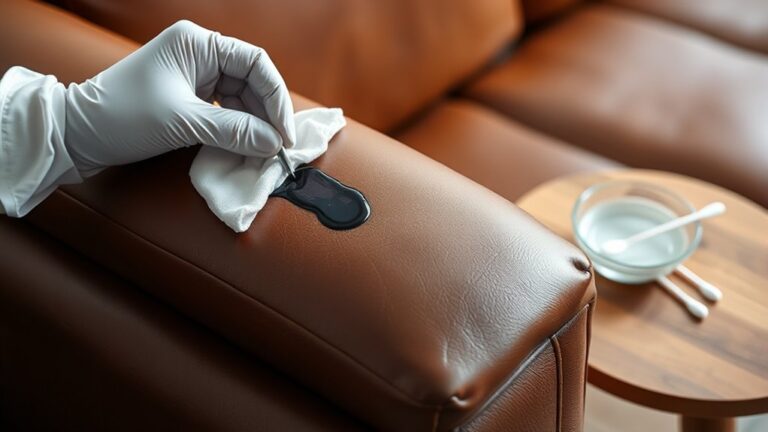
Can Gel Ink Stains Be Removed From Leather or Suede?
You can remove gel ink stains from leather or suede, but you need to be gentle. Use a leather cleaner or rubbing alcohol sparingly.
Test it first to make sure it won’t damage the material. And avoid harsh scrubbing—that can really mess up the leather or suede.
Is It Safe to Use Bleach on Gel Ink Stains?
You shouldn’t use bleach on gel ink stains because it can damage fabric colors and fibers. Instead, try gentle stain removers or rubbing alcohol first.
This way, you avoid ruining your clothes while still effectively lifting the ink. It’s a safer approach that gets the job done without the harsh effects of bleach.
How Long Should I Wait Before Treating a Fresh Gel Ink Stain?
The moment ink lands, don’t wait—grab a paper towel and gently blot it.
You want to treat that fresh stain within 10 to 15 minutes before it sets, like catching a splash before it dries.
Can Gel Ink Stain Removal Methods Damage Delicate Fabrics?
Yes, gel ink stain removal methods can damage delicate fabrics if you’re not careful. Always test treatments on a hidden area first.
Use gentle products, and avoid harsh scrubbing to protect your clothes while removing stains effectively. It’s all about being cautious!
Are There Eco-Friendly Alternatives for Removing Gel Ink Stains?
Yes, you can use eco-friendly alternatives like white vinegar, baking soda, or lemon juice to remove gel ink stains. They’re gentle, effective, and safer for both your clothes and the environment.
Give them a try! You might be surprised how well they work.
Conclusion
Removing gel ink from your clothes might feel like chasing a white whale, but with patience and the right steps, you’ll conquer the stain.
By treating the fabric carefully, using rubbing alcohol, and washing it properly, you’ll restore your garment’s original look.
Just like a skilled detective solving a mystery, your persistence and attention to detail will guarantee the ink doesn’t stand a chance.
Keep calm and tackle the stain step by step—you’ve got this! Removing gel ink from clothes can be straightforward if you follow these simple steps. Start by blotting the ink gently without rubbing, then apply rubbing alcohol to break down the ink. After that, wash the fabric according to the care label instructions. With patience and these easy techniques, your clothes will look as good as new, free from stubborn gel ink stains.