What Will Take Ink Off Leather Step by Step
First, identify your leather type and the kind of ink stain you’re dealing with. This step is super important because it helps you pick the right cleaning method that won’t damage your leather. Gather safe materials like mild soap, rubbing alcohol, and some soft cloths before you start.
Next, test your chosen cleaning solution on a hidden spot. This way, you can make sure it won’t harm or discolor your leather. Once you’re good to go, gently dab the stain with rubbing alcohol or a cleaner, being careful not to scrub too hard. Harsh scrubbing can make things worse!
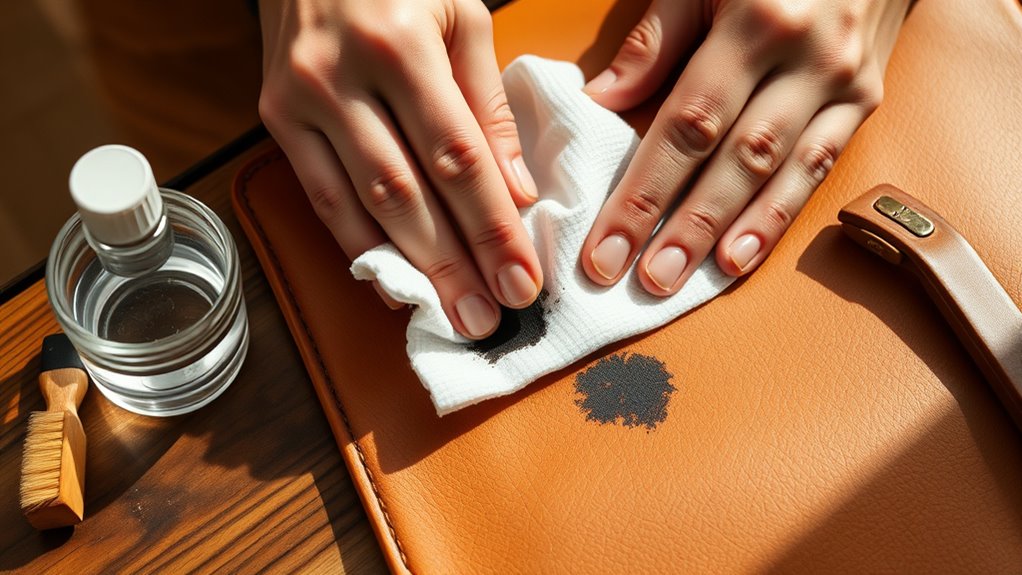
After that, blot the area with a clean cloth until the ink starts fading away. Patience is key here, so keep at it gently.
Finally, apply a leather conditioner to keep your leather soft, shiny, and looking great for longer. Want more precise tips? Keep exploring!
Key Takeaways
- Identify leather type and ink stain characteristics to choose the safest cleaning method.
- Gather soft cloths, mild soap, rubbing alcohol, and leather-safe products for cleaning.
- Test cleaning solution on a hidden leather area to check for discoloration or damage.
- Gently dab ink stain with rubbing alcohol or leather cleaner using a cotton swab or soft cloth.
- Blot stain with a clean cloth, wipe with a damp cloth, then condition and buff the leather.
Assess the Type of Leather and Ink Stain
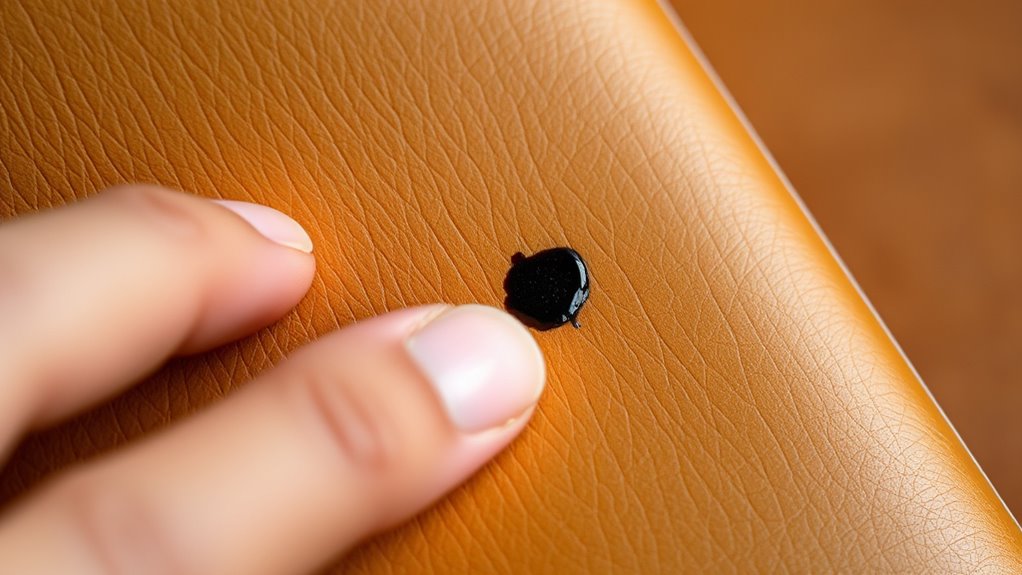
Before you begin removing ink from leather, you need to identify both the leather type and the ink stain. Start by checking if your leather is finished or unfinished.
Finished leather has a protective coating, making it more resistant and easier to clean. On the other hand, unfinished leather is porous and absorbs stains quickly, so it requires gentler treatment.
Next, examine the ink stain closely. Is it recent or dried? Fresh ink will be easier to tackle, but dried ink might need more careful attention to avoid spreading.
Also, think about the ink type—ballpoint, gel, or permanent markers all react differently to cleaning agents. Understanding these factors helps you choose the right cleaning approach, preventing damage and improving the chances of successfully removing the ink without harming your leather.
Gather Necessary Cleaning Materials
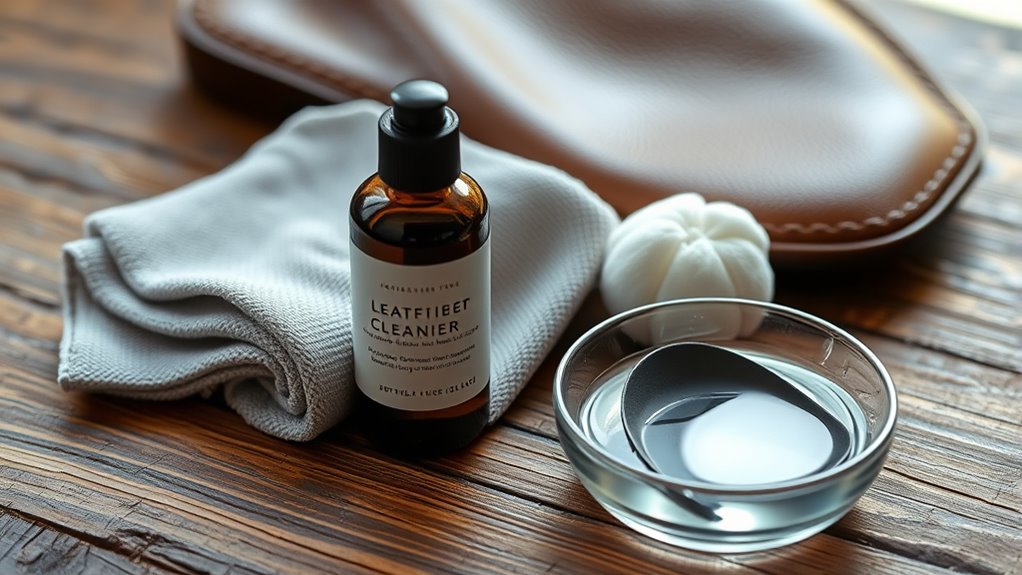
Before you start cleaning, make sure you have all the essential supplies like soft cloths, mild soap, and rubbing alcohol. Choose products specifically safe for leather to avoid damage.
Having the right materials on hand will make the process smoother and more effective. It really helps to be prepared before you dive in!
Essential Cleaning Supplies
To tackle ink removal from leather effectively, you’ll need a few essential cleaning supplies on hand. Start with a clean, soft cloth or cotton balls to gently dab the ink without spreading it.
Have a small bowl of lukewarm water ready for rinsing your cloth between applications. Keep a mild soap or leather cleaner nearby to help lift ink stains safely.
You’ll also want some isopropyl alcohol or rubbing alcohol for tougher marks, but use it sparingly. A soft-bristled toothbrush can assist in loosening ink in textured leather.
Finally, keep leather conditioner on standby to restore moisture and protect the surface after cleaning. Having these supplies ready ensures you’re prepared to treat ink stains quickly and carefully.
Choosing Safe Products
Having gathered your cleaning supplies, the next step is to choose products that won’t damage your leather. Always opt for gentle, leather-safe cleaners like mild soap or specially formulated leather cleaners.
Avoid harsh chemicals such as acetone, alcohol, or bleach, as they can strip the leather’s natural oils and cause discoloration or cracking. Test any product on an inconspicuous area first to check for adverse reactions.
Use soft, lint-free cloths or cotton swabs to apply the cleaner carefully, making sure you don’t oversaturate the leather. If you prefer natural remedies, diluted vinegar or olive oil can be safe alternatives but still require patch testing.
Prioritizing the right products preserves your leather’s texture and appearance while effectively removing ink stains without harm.
Test Cleaning Solution on a Hidden Area
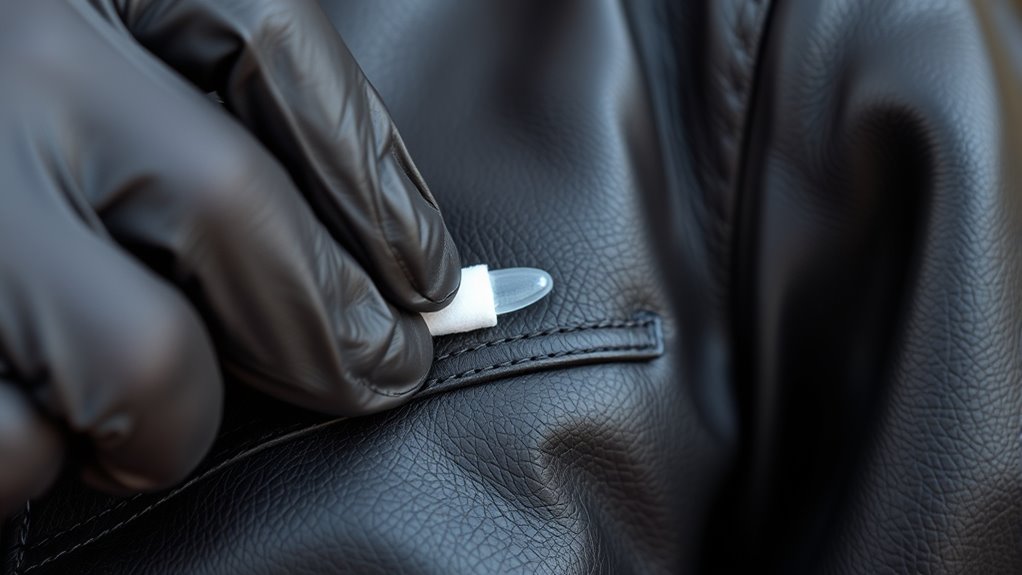
Although it might seem like an extra step, testing your cleaning solution on a hidden area of the leather guarantees you won’t damage the visible surface.
This precaution helps you spot any adverse reactions like discoloration or texture changes before applying the solution broadly.
Here’s how to do it effectively:
- Choose a discreet spot, such as inside a seam or under a flap.
- Apply a small amount of the cleaner and wait 5-10 minutes.
- Observe any changes in color, texture, or finish.
If the leather remains unchanged, you’re good to proceed. If not, try a different product or dilute the solution further.
Taking this simple step protects your leather while ensuring the ink removal process is safe and effective.
Apply Rubbing Alcohol or Leather Cleaner Carefully
You’ll want to pick the right solution—rubbing alcohol for stubborn ink or a leather cleaner designed for delicate surfaces.
Apply it gently with a cotton swab or soft cloth to avoid damage. Taking your time guarantees you protect your leather while tackling the stain effectively.
Choosing the Right Solution
How do you choose the best solution for ink removal on leather without causing damage? Start by understanding your leather type and the ink’s severity.
You want a method that’s effective yet gentle enough to preserve the leather’s finish. Consider these factors:
- Leather Type: Smooth, finished leather often tolerates rubbing alcohol better than suede or nubuck, which need specialized cleaners.
- Ink Freshness: Fresh ink stains respond well to mild leather cleaners, while older stains might require stronger solutions like isopropyl alcohol.
- Product Ingredients: Avoid harsh chemicals or bleach. Opt for leather cleaners with moisturizing agents to prevent drying or cracking.
Safe Application Techniques
When applying rubbing alcohol or leather cleaner, take care to test a small, hidden area first to guarantee it won’t damage the leather. Use a cotton swab or soft cloth to apply the solution gently and avoid soaking the leather.
Work in small sections and blot rather than rub to prevent spreading the ink or harming the surface. Always follow product instructions and allow the leather to dry naturally.
Here’s a quick guide to safe application:
| Step | Action |
|---|---|
| Test Spot | Apply on hidden area, wait 5 mins |
| Use Soft Cloth/Swab | Avoid abrasive materials |
| Apply Gently | Dab, don’t rub |
| Work in Small Sections | Control application area |
| Dry Naturally | No heat or direct sunlight |
Gently Blot and Wipe the Ink Stain
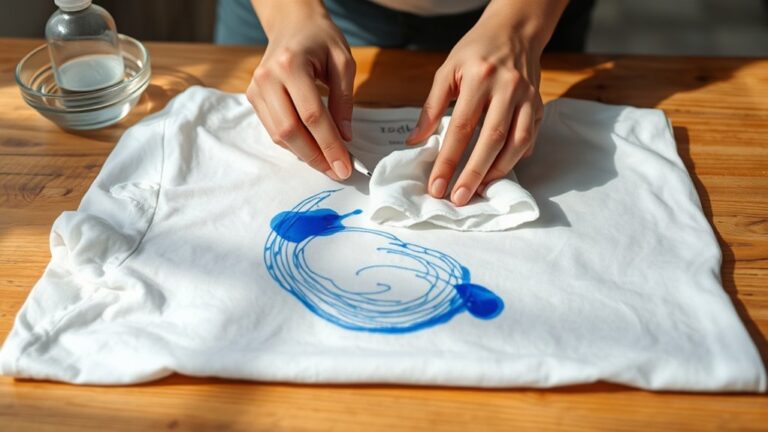
Although ink stains can be stubborn, gently blotting the area right away prevents the ink from spreading further. You want to avoid rubbing, which can push the ink deeper into the leather.
Act quickly and blot gently to stop ink from spreading and avoid rubbing it deeper into the leather.
Instead, follow these steps carefully:
- Use a clean, white cloth or paper towel to gently blot the stain, soaking up as much ink as possible without smearing.
- Lightly dampen another cloth with distilled water and softly wipe the stained area to lift remaining ink particles.
- Repeat blotting and wiping gently, switching to a fresh cloth as needed, until the stain visibly fades.
Condition the Leather After Cleaning
Since ink removal can dry out your leather, you’ll want to condition it promptly to restore moisture and flexibility. After cleaning, apply a small amount of leather conditioner onto a soft cloth. Gently rub it into the leather using circular motions, ensuring even coverage without oversaturating the surface.
This step replenishes the oils stripped away during cleaning and prevents cracking or stiffness. Allow the conditioner to absorb fully, usually for about 10 to 15 minutes. Then buff the leather with a clean, dry cloth to remove excess product and enhance its natural shine.
Regular conditioning not only keeps your leather supple but also extends its lifespan. So, make this a routine part of your care after tackling any ink stains or other cleaning tasks.
Frequently Asked Questions
Can Ink Stains on Leather Be Completely Removed Without Damage?
You can often remove ink stains from leather without damage if you act quickly and use gentle methods.
Just make sure to test any cleaner on a hidden spot first to avoid ruining the leather’s finish. It’s always better to be safe than sorry!
Are There Natural Alternatives to Chemical Leather Cleaners?
Yes, you can use natural alternatives like diluted white vinegar, lemon juice, or olive oil to clean leather gently. Always test a small area first to avoid damage.
And don’t forget to condition the leather afterward to keep it soft. That way, your leather stays in great shape without harsh chemicals.
How Often Should I Condition Leather After Cleaning Ink Stains?
You should condition leather right after cleaning ink stains to restore moisture.
Then, condition it every 3 to 6 months, depending on use and environment, to keep it soft and prevent cracking over time.
Does the Type of Ink Affect the Cleaning Method?
Yes, the type of ink affects your cleaning method. Permanent ink needs stronger solvents, while water-based ink is easier to remove with mild soap and water.
Always test a small area first to avoid damage. It’s better to be safe than sorry!
Can Ink Removal Methods Be Used on All Leather Colors?
Colors can complicate cleaning; some methods might cause discoloration or damage.
You’ll want to test treatments on a small, subtle spot first to safeguard the shade and surface before tackling the entire leather piece confidently.
Conclusion
Now that you know how to safely remove ink from leather, why let a stubborn stain ruin your favorite item? Start by evaluating your leather type to ensure you choose the right cleaning method. Always test solutions on a small, hidden area first to avoid damage.
Next, gently treat the ink stain with your chosen product, being careful not to scrub too hard. After the stain is removed, don’t forget to condition the leather. This step is crucial to maintain its softness and durability.
By following these simple steps, you can confidently tackle ink stains on leather and restore your item’s natural beauty. Remember, proper care and the right techniques will keep your leather looking great for years to come. Ready to give it a try?