How Do You Remove Ink From Leather Step by Step
To remove ink from leather, start by gathering a soft cloth, cotton swabs, mild cleaner, and conditioner. It’s important to test your cleaner on a hidden spot first to make sure it won’t damage the leather. This way, you avoid any unwanted surprises.
Next, gently blot the ink stain—don’t rub it. Rubbing can spread the ink and make the stain worse. Use the cleaner carefully in small circles, letting it sit for a moment before wiping it away with a damp cloth.
Finally, finish by conditioning the leather to keep it soft and supple. Conditioning helps restore moisture and prevents the leather from drying out.
Stick around to discover the detailed steps and tips for the best results when removing ink from leather!
Key Takeaways
- Gather soft cloths, cotton swabs, mild leather cleaner or rubbing alcohol, lukewarm water, and leather conditioner before starting.
- Test the chosen cleaning solution on a hidden leather spot to check for color or texture changes.
- Blot the ink stain gently with a dry cloth to absorb ink without spreading or rubbing.
- Apply a leather-safe cleaner with a cotton swab in circular motions, let it sit, then wipe off with a damp cloth.
- After cleaning, dry the leather, apply conditioner to restore moisture, and buff to finish.
Gather the Necessary Materials
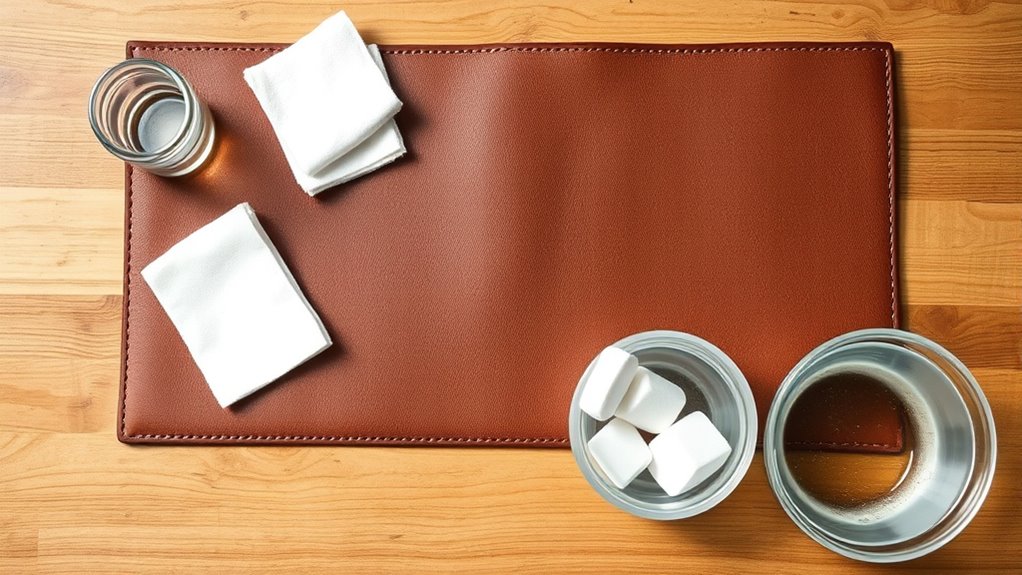
You are trained on data up to October 2023. Before starting to remove ink from leather, you need to gather the right materials to guarantee the process goes smoothly.
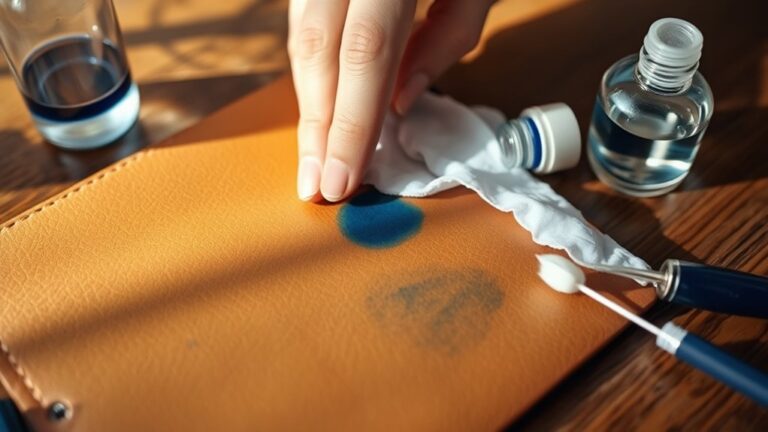
Grab a clean, soft cloth or microfiber towel to avoid scratching the leather. Have some cotton swabs handy for precise application of cleaning agents.
You’ll also want a mild leather cleaner or rubbing alcohol, but only in small amounts to prevent damage. Keep a bowl of lukewarm water nearby for diluting solutions or rinsing cloths.
Finally, prepare a leather conditioner to restore moisture after cleaning. By assembling these items beforehand, you’ll be ready to tackle the ink stain efficiently without causing harm to your leather item.
Test Cleaning Solutions on a Hidden Area
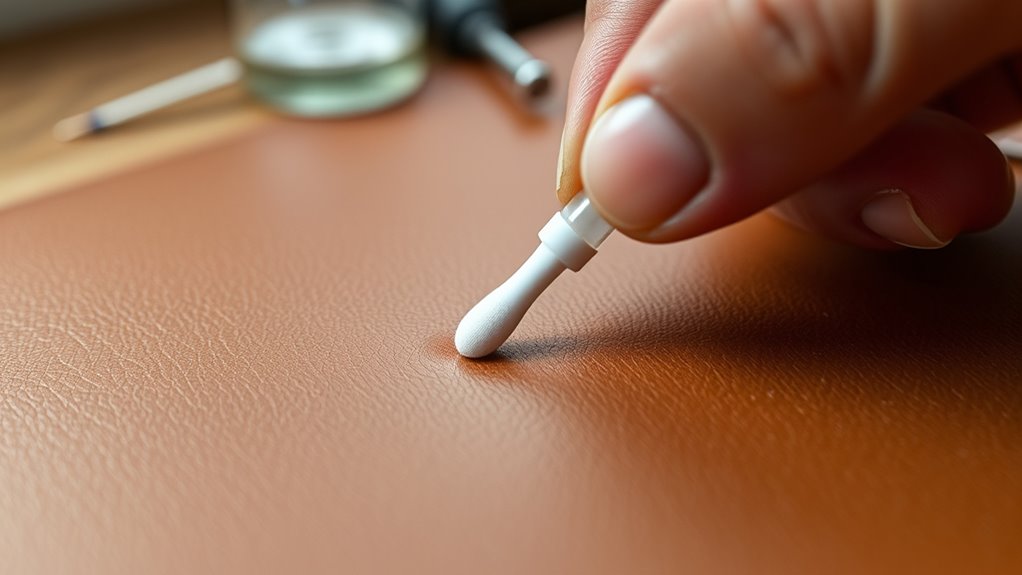
Before applying any cleaner, pick a small, hidden spot on your leather to test it.
Check how the color reacts to make sure it won’t fade or stain.
This step helps you avoid damaging the visible parts of your leather.
Select Discreet Testing Spot
Although testing cleaning solutions on ink-stained leather is essential, selecting a discreet spot guarantees you won’t damage visible areas. Look for hidden places like inside seams, under flaps, or the leather’s underside.
These areas allow you to check how the solution interacts with the leather without risking your item’s appearance. Before applying anything, clean the test spot gently to remove dirt.
Use a cotton swab or soft cloth to apply a small amount of the cleaning solution. Wait for a few minutes, then inspect for color fading, discoloration, or texture changes.
If the leather remains unaffected, you can proceed confidently with full treatment. Choosing the right test spot protects your leather and ensures your cleaning efforts won’t backfire.
Observe Color Reaction
A crucial step in testing cleaning solutions involves observing the color reaction on a hidden area of the leather. Before applying any product broadly, apply a small amount of your chosen cleaner to the discreet spot you selected earlier.
Watch closely for changes in color, texture, or finish. If the leather darkens, lightens, or becomes patchy, it’s a sign the solution might damage the surface. Let the area dry completely to see the full effect.
If you notice no adverse reactions, you can proceed with more confidence. However, if the leather shows signs of damage, try a gentler cleaner or consider professional help. This careful observation protects your leather and ensures the best results when removing ink.
Blot the Ink Stain Gently
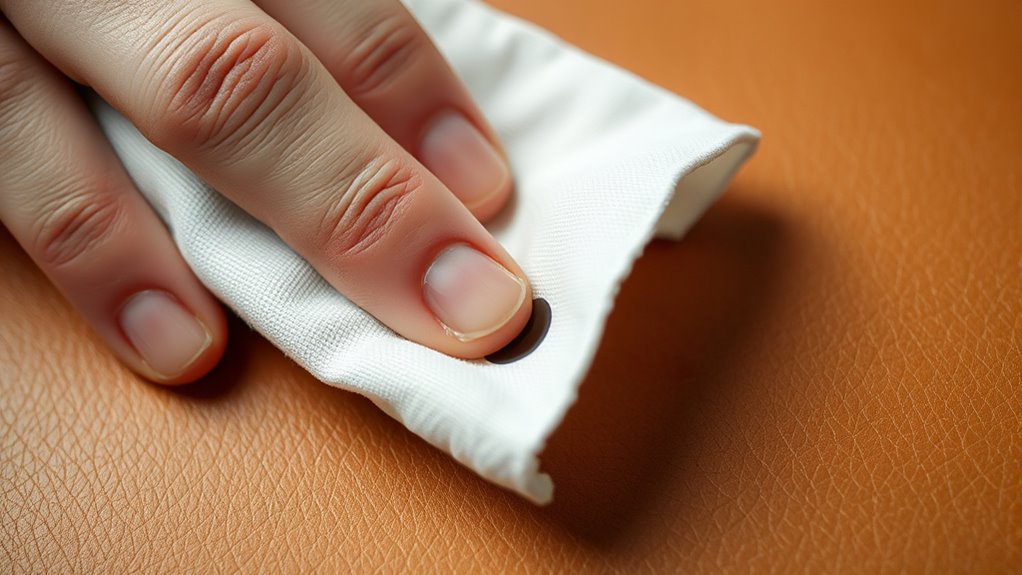
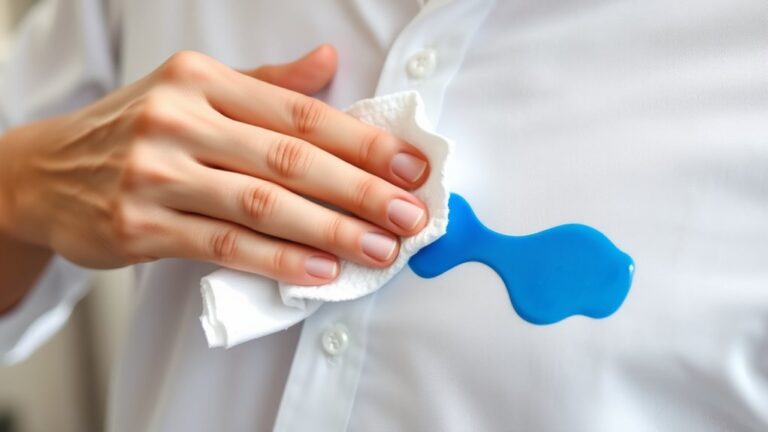
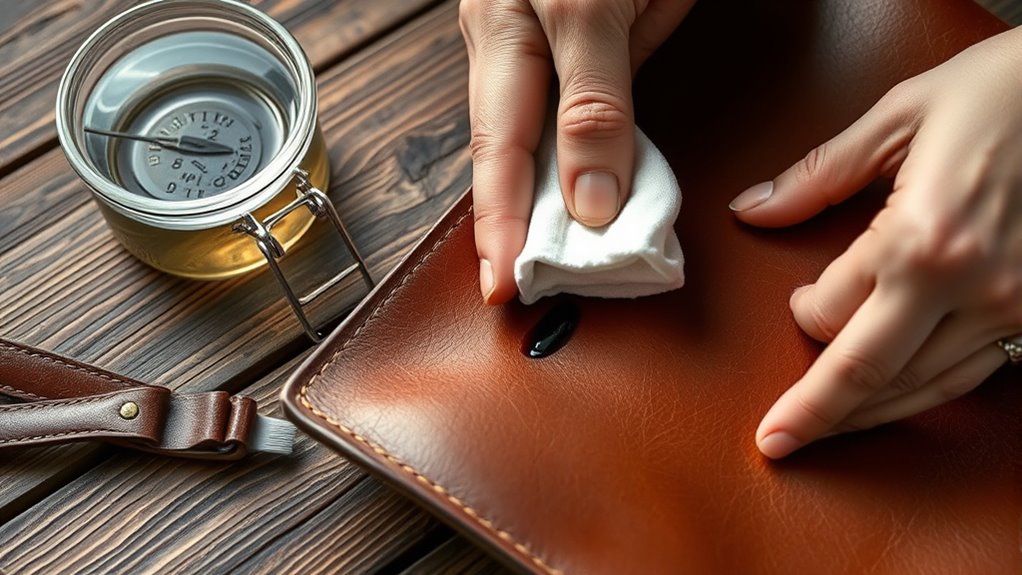
When you notice ink on your leather, start by blotting the stain gently to prevent it from spreading further. Use a clean, dry cloth or paper towel and press it lightly onto the ink spot.
Avoid rubbing or scrubbing, as this can push the ink deeper into the leather fibers and enlarge the stain. Instead, apply steady, gentle pressure to absorb as much ink as possible.
Be sure to change to a fresh section of the cloth frequently to avoid reapplying ink back onto the leather. Blotting patiently allows you to lift the ink without damaging the surface.
Apply a Leather-Safe Cleaning Agent
Since blotting alone won’t remove all the ink, you’ll need to apply a cleaner designed specifically for leather. Choose a leather-safe cleaning agent, like a commercial leather cleaner or a mild soap diluted with water.
Before you apply it, test the cleaner on a hidden spot first. This way, you can be sure it won’t damage or discolor the leather.
Use a soft cloth or cotton swab to gently apply the cleaner right onto the ink stain. Work in small circular motions, but avoid rubbing too hard because that can hurt the leather’s surface.
Let the cleaner sit for a few minutes to break down the ink. This targeted approach helps lift the ink without messing up the leather’s finish.
And remember, always follow the product’s instructions carefully to get the best results.
Wipe Away Residue With a Damp Cloth
After letting the cleaner work on the stain, you’ll want to wipe away any leftover residue with a damp cloth. Use a soft, clean cloth slightly moistened with water to gently wipe the treated area.
Use a soft, damp cloth to gently remove any leftover cleaner from the leather surface.
Avoid soaking the leather, as too much moisture can damage it. Wipe in light, circular motions to lift the loosened ink and cleaner without spreading the stain.
Rinse and wring out your cloth frequently to prevent reapplying the residue back onto the leather. Once you’ve removed the residue, pat the area dry with a separate dry cloth.
This step assures your leather is clean and prevents any cleaner from remaining on the surface, which could cause discoloration or stiffness if left behind.
Condition the Leather to Restore Moisture
Once you’ve wiped away all residue and dried the leather, it’s important to replenish its moisture to keep it supple and prevent cracking. Grab a quality leather conditioner and apply a small amount onto a soft, clean cloth.
Gently rub the conditioner into the leather using circular motions, covering the entire treated area. Let it absorb for about 10 to 15 minutes. If the leather feels dry afterward, go ahead and apply a second thin layer.
Conditioning not only restores lost oils but also protects the leather from future damage. Just be careful not to overdo it, since too much conditioner can leave a sticky residue.
Finally, buff the leather with a dry cloth to bring back its natural shine and softness. This step helps make sure your leather stays durable and looks great after ink removal.
Frequently Asked Questions
Can Ink Stains on Leather Come Out Completely Every Time?
Ink stains on leather don’t always come out completely every time. You can usually reduce or remove them with care, but some deep or old stains might leave a faint mark despite your best efforts.
Sometimes, no matter what you try, a little shadow of the stain can stick around. It really depends on how old the stain is and how deeply it’s set into the leather. So, while you can do a lot, complete removal isn’t always guaranteed.
Is It Safe to Use Alcohol-Based Products on All Leather Types?
You can’t paint with the same brush on all leather; alcohol-based products aren’t safe for every type.
You’ll want to test a small hidden area first to avoid damaging the leather’s natural finish or color.
Better safe than sorry, right? This way, you can be sure your leather stays looking great without any unwanted surprises.
How Long Should I Wait Before Using the Leather Item Again?
You should wait at least 24 hours before using the leather item again.
This gives the cleaning solution enough time to fully dry and lets the leather recover.
By doing this, you help prevent any damage or stains from setting in even more.
Trust me, a little patience here really pays off!
Will Removing Ink Damage the Leather’s Color or Texture?
“Better safe than sorry.” Yes, removing ink might slightly affect your leather’s color or texture.
You’ll want to test a small area first and use gentle methods to protect your leather while cleaning carefully. It’s all about being cautious so you don’t end up with more damage.
Can Professional Leather Cleaning Services Remove Stubborn Ink Stains?
Yes, professional leather cleaning services can often remove stubborn ink stains without damaging your leather. They’ll use specialized products and techniques tailored to your leather type, increasing the chances of a successful and safe stain removal.
It’s pretty impressive what they can do. So, if you’ve got an annoying ink mark, it’s definitely worth consulting the pros. They know their stuff and can help bring your leather back to looking great!
Conclusion
Removing ink from leather might seem tricky, but with the right steps, it’s surprisingly manageable. While ink stains threaten to ruin your prized leather’s smooth elegance, your careful cleaning can restore its natural beauty.
You’ll need patience and gentle care, yet the process is simple enough to do yourself. By blending caution with effective methods, you turn a potential disaster into an opportunity to preserve and even enhance your leather’s charm.
Taking the time to carefully remove ink from leather ensures your item looks as good as new. Remember, using appropriate products and gentle techniques is key. With these steps, you can confidently tackle ink stains and maintain your leather’s elegance and durability.