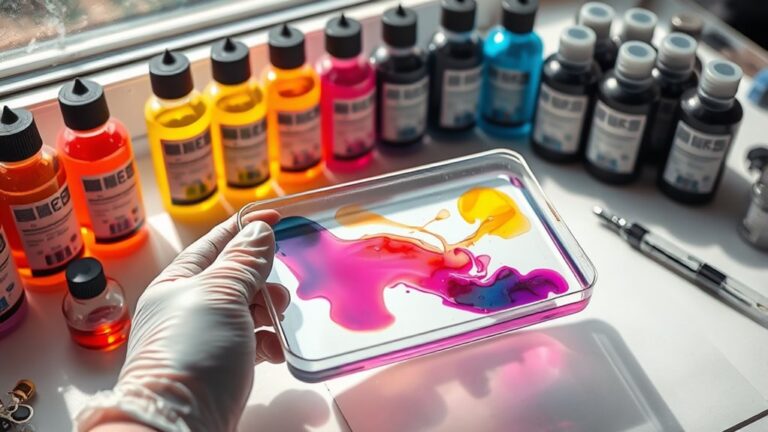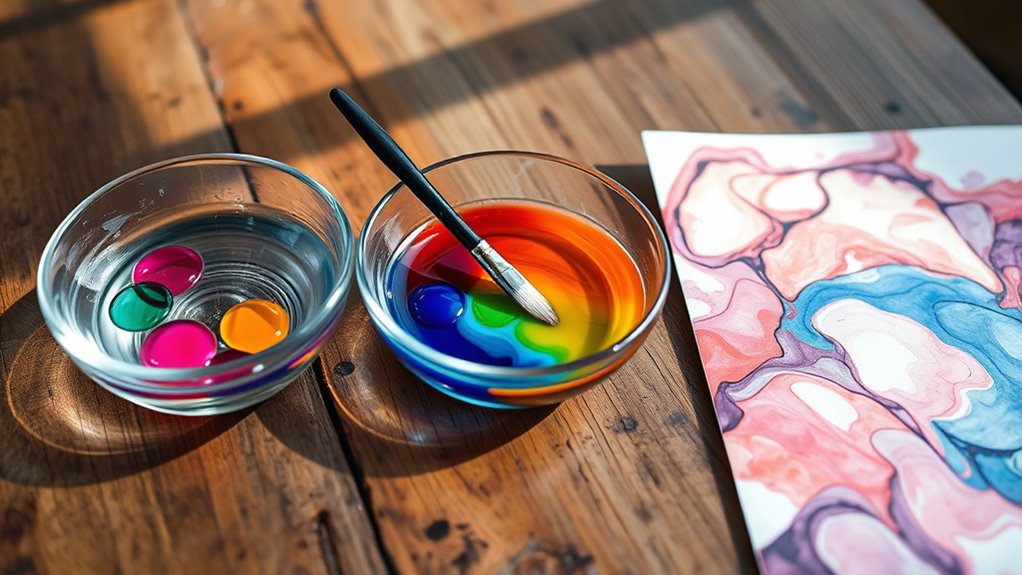
How to Use Alcohol Inks in 3 Simple Steps
First, prepare your workspace by covering surfaces and ensuring good ventilation. Gather your alcohol inks, blending solution, and non-porous paper. These materials are key to getting started with alcohol inks.
Next, drop alcohol inks onto the surface and manipulate them by tilting or using tools for vibrant effects. Work quickly before the inks dry because they move fast and create stunning patterns.
Finally, seal your art with a clear, non-yellowing spray or resin to protect and enhance it.
If you keep going, you’ll discover how to create stunning, lasting designs with ease. Trust me, once you get the hang of it, alcohol inks are so much fun!
Key Takeaways
– Prepare a non-porous surface like Yupo paper and protect your workspace for easy cleanup.
This makes sure your inks don’t soak in and your area stays tidy.
– Drop alcohol ink directly onto the surface and let it flow naturally or blend with solution for gradients.
You can just watch it spread or play with it to get smooth color transitions.
– Manipulate ink by tilting the surface, using brushes or air blowers to create desired effects.
Have fun experimenting with different techniques to get the look you want.
– Layer wet inks quickly for depth and vibrant patterns before they dry.
This helps you build up rich, interesting textures and colors.
– Seal finished artwork with a clear, non-yellowing sealant to preserve color and protect the piece.
That way, your amazing creation stays bright and safe for a long time.
Preparing Your Workspace and Materials
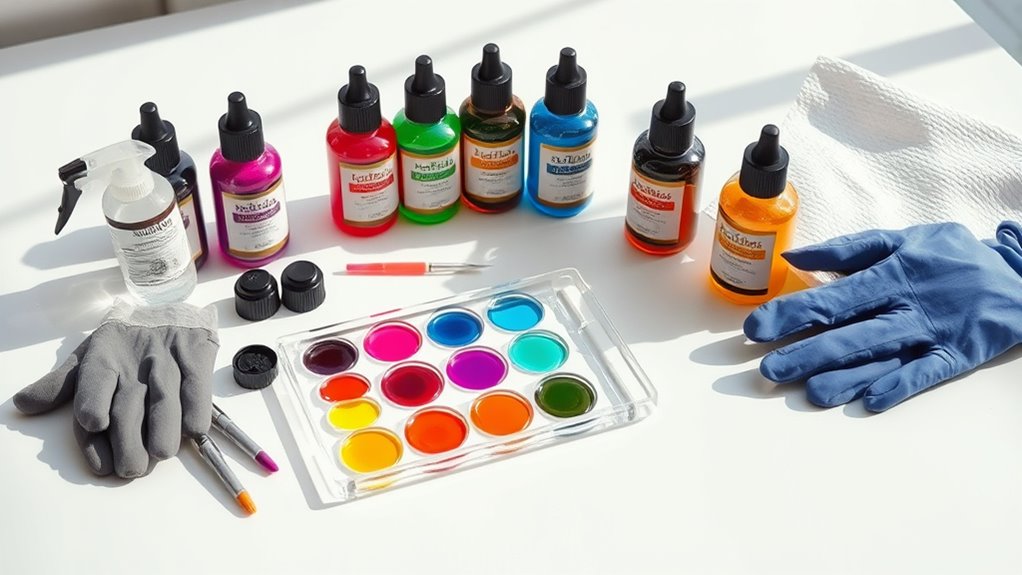
Before you begin working with alcohol inks, set up a well-ventilated area and cover your workspace with protective material, like plastic or disposable paper. This keeps your surfaces safe from stains and fumes.
Gather all the materials you’ll need: alcohol inks, blending solution or isopropyl alcohol, applicators like brushes or felt pads, and a non-porous surface such as Yupo paper or ceramic tiles.
Wear gloves to protect your skin and have paper towels handy for quick cleanups. Arrange your tools within easy reach to keep your flow steady and prevent accidents.
Make sure your containers are sealed tightly when not in use to avoid spills and drying out. Taking these steps guarantees a smooth, enjoyable experience when you start creating with alcohol inks.
Applying and Manipulating Alcohol Inks
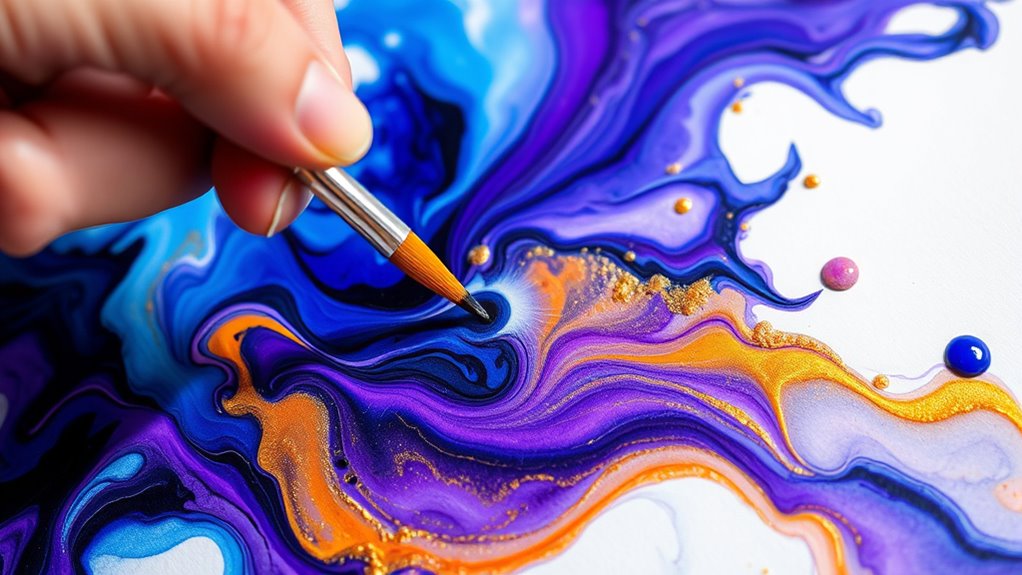
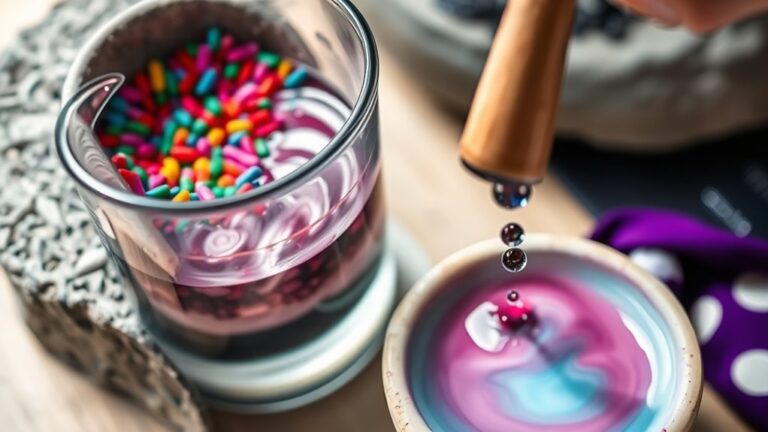
How do you get the most vibrant effects when applying alcohol inks? Start by dropping the ink directly onto your non-porous surface—like Yupo paper or ceramic tiles. The inks spread naturally, so let them flow freely.
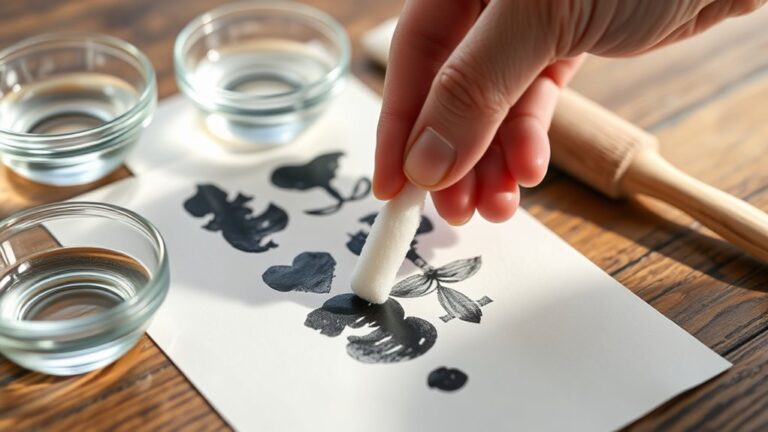
Use a blending solution or isopropyl alcohol to dilute colors and create soft gradients. You can manipulate the ink by tilting your surface or using tools like brushes, cotton swabs, or air blowers to push and pull the ink around.
Dilute colors with blending solution or alcohol, then tilt or use tools to shape and blend vibrant ink flows.
Layering colors while they’re wet enhances depth and vibrancy. Remember, alcohol inks dry quickly, so work fast but confidently.
Experiment with different application methods to find your style, but always keep your strokes and movements deliberate to control the flow and avoid muddying colors.
Sealing and Finishing Your Artwork
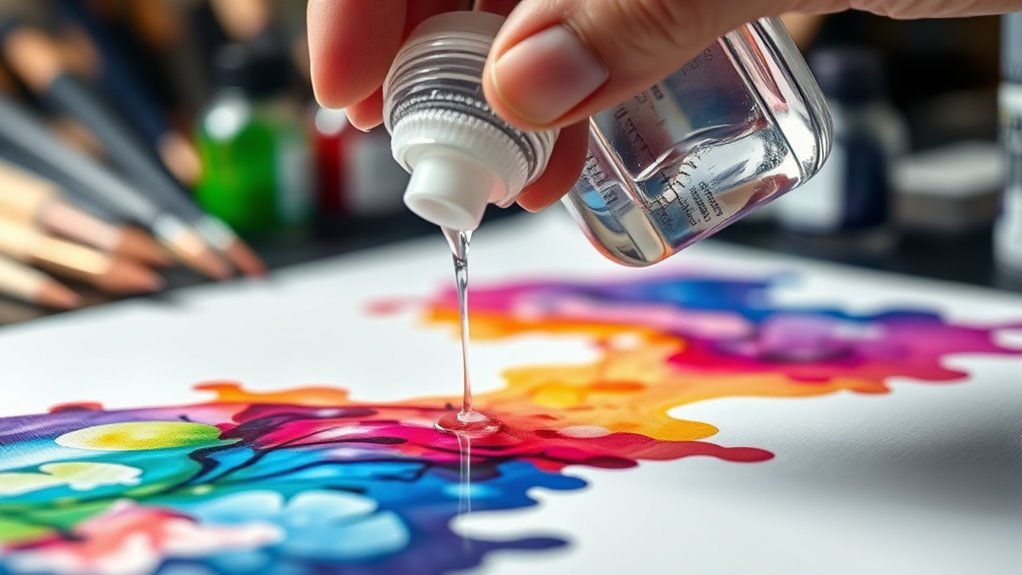
Once your alcohol ink artwork has dried, safeguarding it guarantees your vibrant colors stay vivid and your design remains intact. Start by choosing a clear, non-yellowing sealant like a UV-resistant spray or resin.
Apply it in thin, even layers to avoid smudging or pooling. Spray sealants dry quickly, making them perfect for delicate pieces, while resin offers a glossy, durable finish but requires careful mixing and curing time.
Work in a well-ventilated area and follow the product instructions closely. Avoid touching the surface until fully cured to prevent fingerprints or damage.
Sealing not only protects your artwork from moisture and fading but also enhances its depth and brilliance. This way, your alcohol ink creation looks stunning for years to come!
Frequently Asked Questions
Can Alcohol Inks Be Used on Fabrics or Only Hard Surfaces?
You can use alcohol inks on fabrics, but they work best on synthetic materials like polyester. They’ll create vibrant, permanent colors.
That said, you should test first since results vary and might not be as durable as on hard surfaces. It’s always good to see how the fabric takes the ink before committing to a big project.
How Do Alcohol Inks Compare to Traditional Watercolors?
You’ll love that alcohol inks dry 70% faster than watercolors, giving vibrant, intense colors on non-porous surfaces.
Unlike watercolors, they’re less blendable but create stunning, unpredictable effects you can’t achieve with traditional paints.
Are Alcohol Inks Safe for Children to Use?
Alcohol inks aren’t the safest for children because they contain alcohol and strong fumes.
You should supervise kids closely, use them in well-ventilated areas, and consider safer alternatives like water-based markers for younger artists.
What Is the Best Way to Store Leftover Alcohol Inks?
Safely store leftover alcohol inks in sealed, sturdy containers. Stash them somewhere cool, dark, and dry.
This prevents pigment pollution, preserves potency, and prolongs performance. That way, you can paint passionately without worrying about wasted wonders.
Can Alcohol Inks Be Mixed With Other Types of Paint?
You can mix alcohol inks with some paints, like acrylics, but they don’t blend well with watercolors or oils.
Experiment carefully, since alcohol inks dry fast and behave differently, so results might surprise you!
Conclusion
Now that you know the basics, you’re ready to create stunning art with alcohol inks. Did you know that over 60% of artists say alcohol inks boost their creativity because of the vibrant colors and fluid effects?
By preparing your workspace, applying inks confidently, and sealing your work properly, you’ll enjoy both the process and the beautiful results. Keep experimenting—each piece you make will be more unique and inspiring than the last!
Using alcohol inks is a fun and rewarding way to explore your artistic side. With just a few simple steps, you can create vibrant, fluid artwork that truly stands out. So grab your supplies, dive in, and watch your creativity flow with every stroke!