How to Clean Rubber Ink Stamps in 3 Easy Steps
To clean your rubber ink stamps effectively, start by gathering a few simple supplies: mild dish soap, warm water, a soft cloth, and a toothbrush for those detailed areas. These items will help you remove ink without damaging your stamps.
Keeping your rubber stamps clean not only improves the clarity of your impressions but also extends their lifespan, saving you money in the long run.
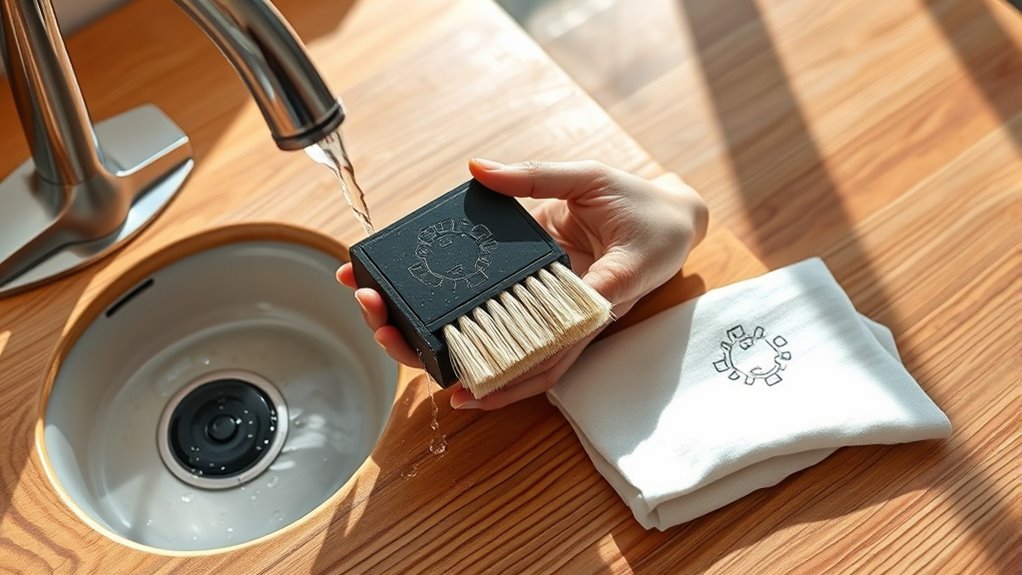
Next, gently dip the cloth into the soapy water and carefully wipe the surface of the stamp to remove ink buildup. For those tight spots and intricate designs, use the toothbrush to get into all the nooks and crannies.
This step ensures a thorough clean without harming the rubber.
Finally, pat the stamp dry with a lint-free cloth, then let it air dry completely before storing it away. Make sure to keep your stamps in a cool, dry place to prevent any damage.
Stick around for more tips on preserving your stamps so they last even longer!
Key Takeaways
- Use mild dish soap and warm water with a soft cloth to gently clean the rubber stamp surface. Focus on removing dried ink by softly rubbing and using a soft-bristled toothbrush for detailed areas.
- Avoid harsh chemicals and abrasive tools to protect the rubber and preserve stamp details. You want to be gentle so your stamps last longer!
- Pat the stamp dry with a lint-free cloth and air dry completely away from sunlight or heat. Make sure they’re fully dry before storing.
- Store stamps dry in a cool, flat environment, using acid-free paper between multiple stamps to prevent damage. This helps keep them in great shape for next time you use them!
Gather Your Cleaning Supplies
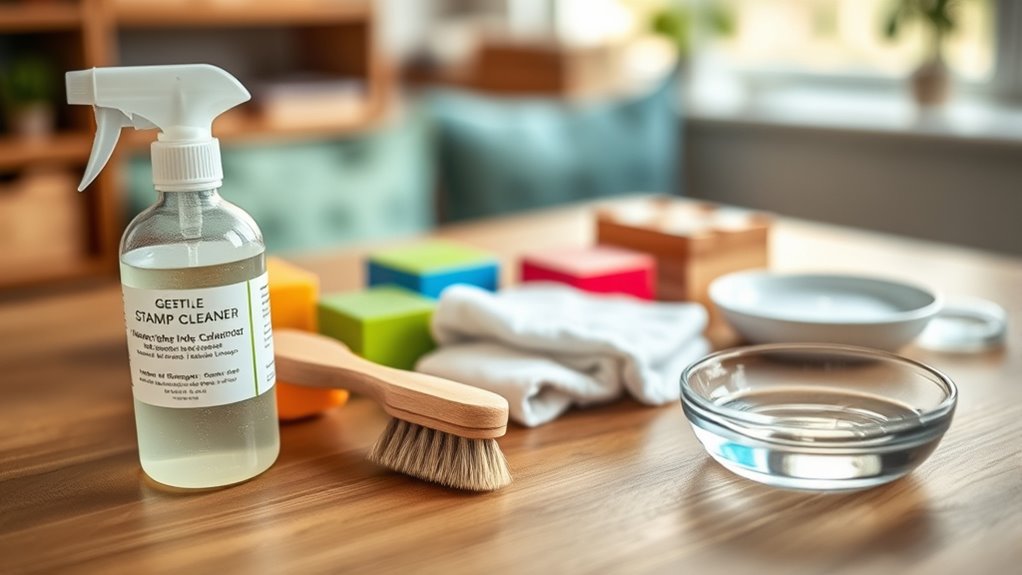
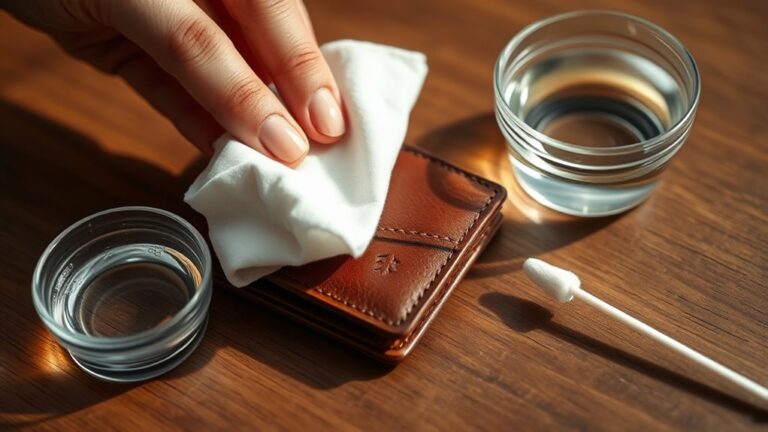
Before you begin cleaning your rubber ink stamps, gather all the necessary supplies to make the process smooth and efficient. You’ll need a mild dish soap, warm water, and a soft cloth or sponge. Avoid anything abrasive that could damage the rubber.
Start by collecting mild soap, warm water, and a soft cloth to gently clean your rubber stamps without damage.
Have a small bowl or container handy for mixing the soapy water. It’s also helpful to have paper towels or a lint-free cloth nearby to dry the stamps after cleaning.
If your stamps have intricate details, keep a soft-bristled toothbrush or a cotton swab ready to reach tight spots. Ultimately, confirm you work in a well-lit area so you can clearly see any remaining ink.
Having everything prepared will save you time and prevent frustration during cleaning.
Gently Remove Ink Residue
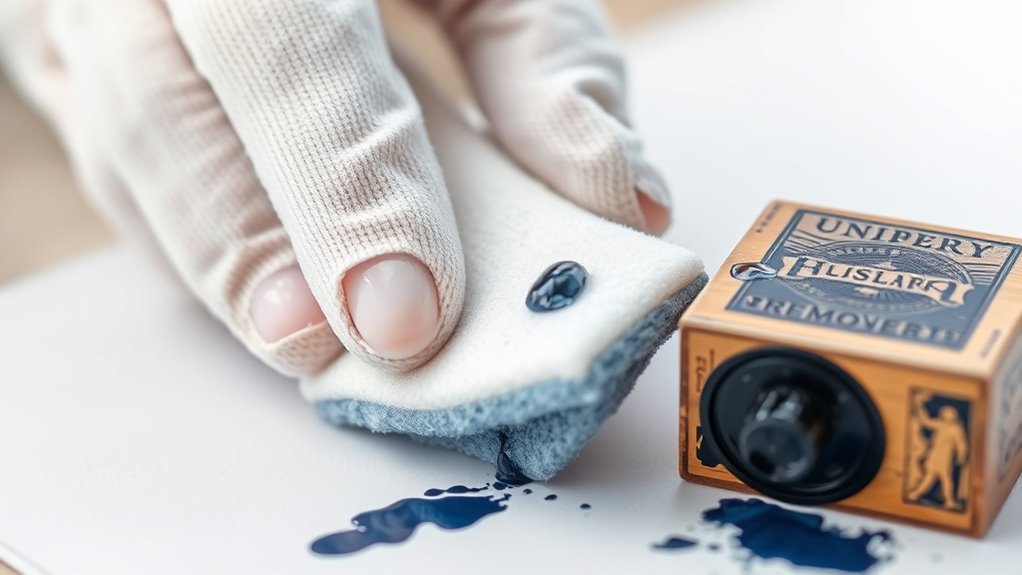
Although removing ink residue can seem tricky, you can easily clean your rubber stamps by gently scrubbing them with your soapy cloth or sponge. Start by dipping your cloth or sponge into warm, soapy water, then carefully rub the stamp’s surface.
Focus on areas where ink has dried, but avoid using too much pressure to prevent damaging the rubber. If stubborn ink remains, use a soft-bristled toothbrush to reach into small crevices.
Make sure to rinse the stamp under cool water occasionally to check your progress and remove loosened ink. Avoid harsh chemicals or abrasive tools that can wear down the rubber.
Taking your time during this step ensures your stamps stay clean and last longer without losing detail. It’s worth being gentle and patient to keep your stamps in great shape!
Dry and Store Your Stamps Properly
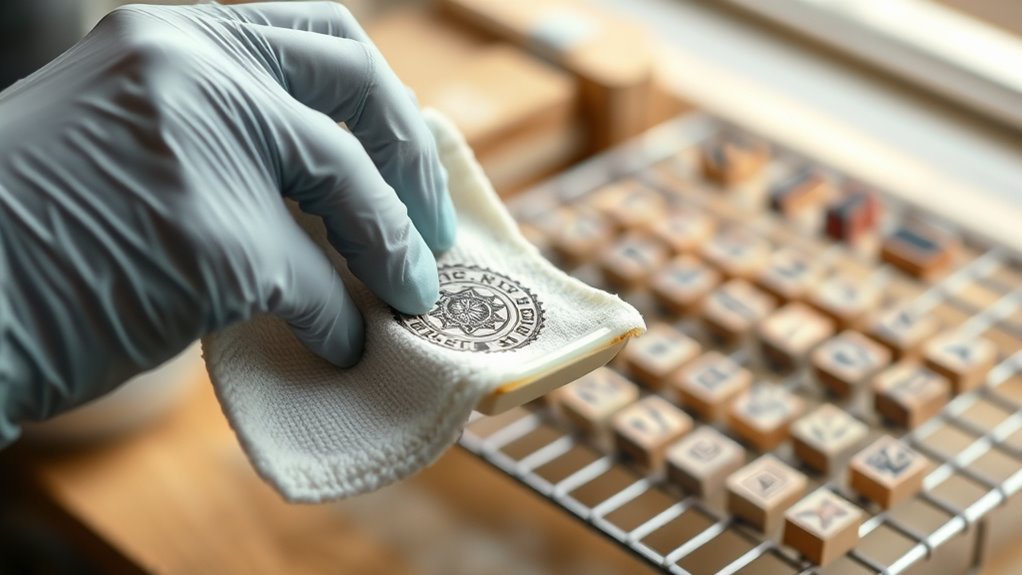
Once you’ve thoroughly cleaned your rubber ink stamps, drying them properly is key to preventing damage and mold growth. Pat them gently with a lint-free cloth or paper towel to remove excess moisture. Avoid rubbing, which can harm the rubber surface.
Let the stamps air dry completely in a well-ventilated area, away from direct sunlight or heat sources that could cause cracking or warping.
When storing your stamps, keep them in a cool, dry place. Store them flat or upright in a container to avoid deformation.
If you’re stacking stamps, use acid-free tissue paper between them to prevent sticking. Proper drying and storage will extend your stamps’ lifespan and keep them ready for your next creative project.
Frequently Asked Questions
Can I Use Household Cleaners to Clean Rubber Ink Stamps?
You shouldn’t use harsh household cleaners on rubber ink stamps, as they can damage the rubber.
Instead, use mild soap and water or a stamp cleaner designed specifically for rubber stamps to keep them in good condition.
These options are much gentler and will help your stamps last longer.
How Often Should I Clean My Rubber Ink Stamps?
You should clean your rubber ink stamps after every use to prevent ink buildup and maintain crisp impressions.
If you stamp frequently, consider cleaning them weekly to keep them in good condition and extend their lifespan.
Keeping your stamps clean not only helps with the quality of your prints but also means your stamps will last longer.
What Is the Best Way to Remove Stubborn Ink Stains?
You should use a stamp cleaner or rubbing alcohol with a soft cloth or cotton swab to gently remove stubborn ink stains. Avoid harsh scrubbing to prevent damage.
Then rinse and dry your stamp thoroughly. It’s pretty simple once you get the hang of it!
Can Cleaning Damage the Rubber or Affect Stamp Quality?
Yes, harsh cleaning can damage rubber or affect stamp quality. You should avoid strong solvents and abrasive scrubbing.
Instead, gently clean with mild soap and water to preserve your stamp’s durability and clear impressions.
Taking care of your stamp this way helps keep it in great shape for longer. Just a little bit of gentle care goes a long way!
Are There Specific Inks That Are Harder to Clean off Stamps?
Some inks, like permanent or pigment-based ones, are insanely stubborn and harder to clean off your stamps. You’ll need special cleaners or solvents, but don’t worry—
you’ll still get your stamps sparkling without damage!
Conclusion
Cleaning your rubber ink stamps is as simple as a gentle breeze wiping away dust. By gathering your supplies, carefully removing ink residue, and drying them completely, you’ll keep your stamps in great shape for years to come.
Taking these small steps not only preserves your tools but also guarantees every impression you make is crisp and clear. Treat your stamps with care, and they’ll reward you with consistent, beautiful prints every time.
Regularly cleaning your rubber ink stamps ensures longevity and optimal performance. It’s a quick, easy process that keeps your stamping projects looking professional and sharp. Remember, a well-maintained stamp means every detail stands out perfectly—making your creative work truly shine. So, invest a few minutes in cleaning your stamps and enjoy flawless, vibrant impressions for all your crafting needs!