

How Do You Change Ink in an Epson Printer in 5 Easy Steps
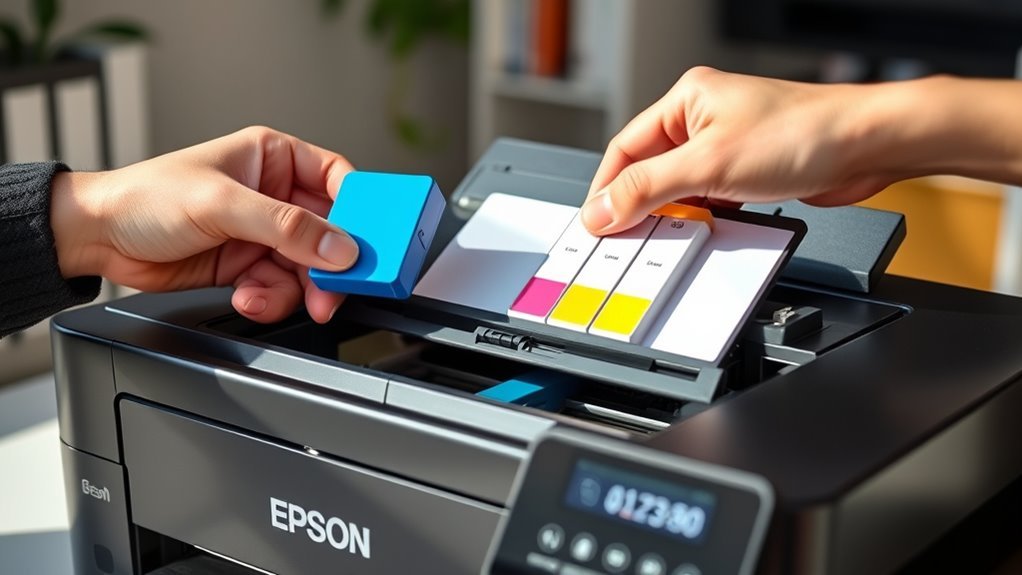
To change ink in your Epson printer, first make sure it’s powered on and properly connected. Then, open the printer cover to access the ink cartridges. You’ll see the carriage move to the center for easy access.
Next, carefully remove the old cartridge by pressing its release tab. Be gentle to avoid any damage.
After that, take your new cartridge and insert it firmly into the matching slot. Just a quick tip—try not to touch the contacts on the cartridge to keep it working perfectly.
Once the new cartridge is in place, close the printer cover. It’s a good idea to run a test print after closing everything up. This way, you can confirm that the new ink is installed correctly and your printer is ready to go.
If you want the process to be even smoother or need more help, keep reading! There’s more detailed guidance ahead to assist you step-by-step.
Key Takeaways
- Turn on the Epson printer and open the printer cover to access the ink cartridge compartment.
- Wait for the cartridge holder to move to the center and identify the cartridge to replace.
Now, press the release tab and carefully pull out the old ink cartridge. Just be sure not to touch the nozzles or contacts—they’re sensitive!
- Remove the new cartridge from its packaging.
- Firmly insert it into the matching slot until you hear a click.
Finally, close the printer cover. It’s a good idea to run a test print or a nozzle check from the printer’s maintenance menu to make sure everything’s working perfectly!
Prepare Your Epson Printer for Ink Cartridge Replacement
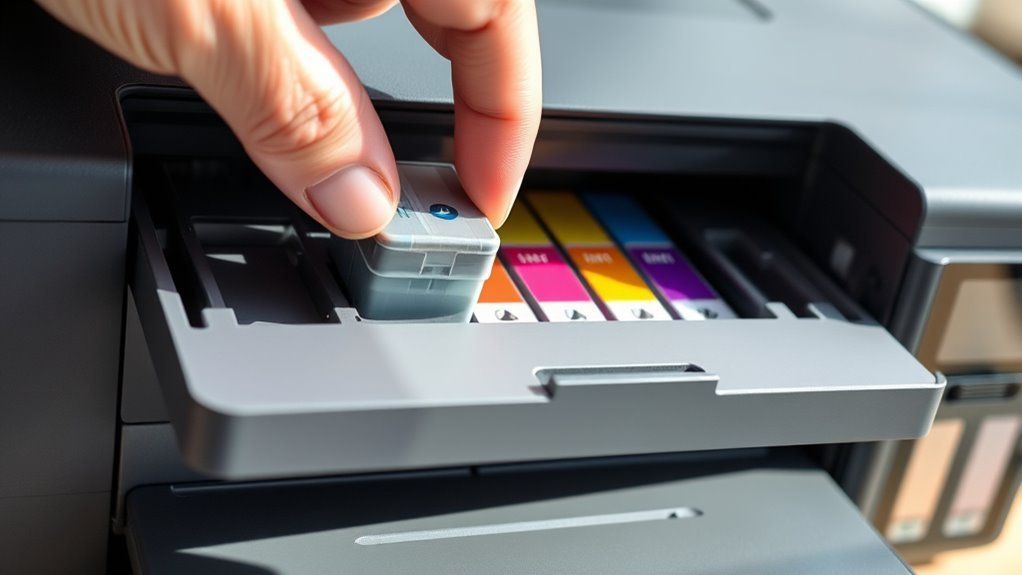
Before you replace the ink cartridge in your Epson printer, make sure the printer is turned on and connected properly. This guarantees the printer recognizes the cartridge replacement process.
Next, check the printer display or software on your computer for any error messages or instructions related to ink replacement. It’s also a good idea to have a clean, flat surface nearby to place the new cartridge and any tools you might need.
Check your printer display for replacement instructions and keep a clean surface ready for the new cartridge.
Avoid touching the cartridge’s electronic contacts or nozzles to prevent damage. Finally, gather your replacement ink cartridge and confirm it matches your printer model to avoid compatibility issues.
Taking these steps will help you prepare efficiently and prevent problems during the ink cartridge replacement process. Easy, right? Just follow these simple tips!
Open the Printer Cover and Access the Ink Cartridges

Once your Epson printer is ready, gently lift the printer cover to reveal the ink cartridge compartment. You’ll notice the cartridges are housed in a carriage that often moves to the center for easy access.
If it doesn’t move automatically, wait a few moments; it usually positions itself for you. Make sure you have a clear view and enough light to see the cartridges properly.
Avoid touching any internal parts besides the cartridges to prevent damage. Keep the cover open as you work to avoid interrupting the printer’s setup.
Remove the Old Ink Cartridges Safely
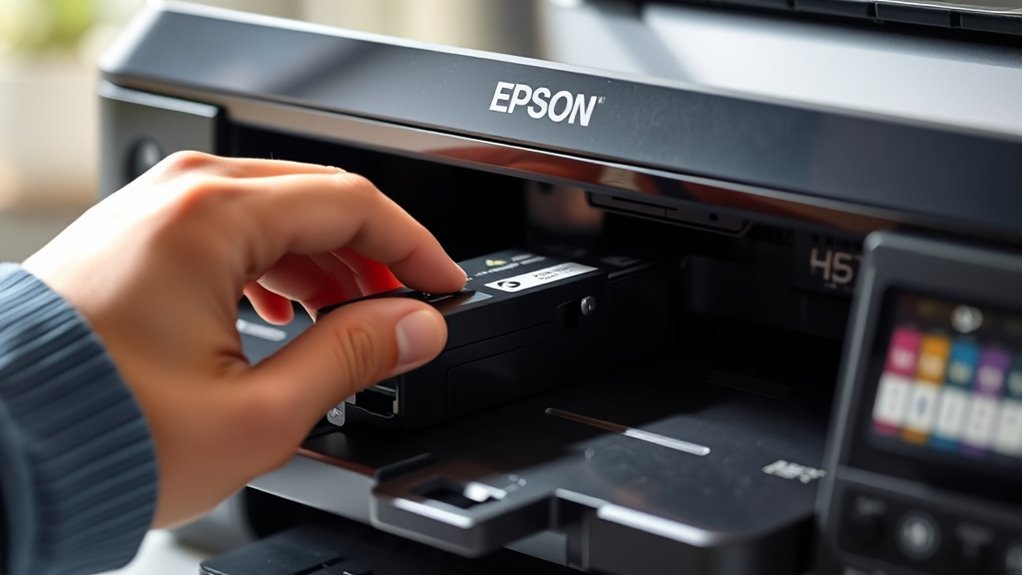
Although the printer carriage may hold the cartridges securely, you’ll need to release each one carefully to avoid spills or damage. First, identify the cartridge you want to remove.
Gently press down or lift the tab depending on your Epson model to disengage the cartridge. Avoid forcing it out, as this can cause damage.
Once unlocked, pull the cartridge straight out with steady, even pressure. Keep the cartridge upright to prevent ink leakage.
Place the removed cartridge on a disposable cloth or paper towel to catch any drips. If you notice any ink on your hands, wipe it off immediately.
Always handle cartridges by their sides, avoiding contact with the copper contacts or nozzles to maintain functionality and prevent clogs.
Install the New Ink Cartridges Correctly
When you’re ready to install the new ink cartridges, make sure you handle them carefully to avoid damaging the contacts or spilling ink. Remove each cartridge from its packaging, and gently shake it a few times to mix the ink inside.
Avoid touching the copper-colored contacts or nozzles. Insert the cartridge into its designated slot in the printer, matching the color and shape exactly. Press down firmly until you hear a click, signaling the cartridge is securely in place.
Repeat this process for each cartridge, one at a time. By installing each cartridge correctly, you ensure proper alignment and prevent leaks or errors during printing. Take your time to prevent mistakes, and your printer will be ready for the next step.
Close the Printer and Run a Test Print
After installing each cartridge securely, gently close the printer cover to prepare for the next step. Make sure the cover clicks into place so the printer recognizes the new ink cartridges.
Secure cartridges, close the cover gently, and ensure it clicks to let the printer recognize the new ink.
Power on your Epson printer if it’s not already on. Navigate to the printer’s control panel or use the Epson software on your computer to find the “Maintenance” or “Setup” menu.
Select the option to run a test print or nozzle check. This will confirm that the ink is flowing correctly and the cartridges are installed properly.
If the printout looks clear, you’re all set. But if there are gaps or streaks, consider running a cleaning cycle before printing again.
This guarantees your printer delivers the best quality prints every time.
Frequently Asked Questions
How Often Should I Replace Epson Printer Ink Cartridges?
You should replace Epson ink cartridges when print quality drops or the printer alerts you. Frequency depends on your usage—heavy printing means more often, while occasional use lets cartridges last longer.
Keep spares handy! It’s always good to have backups so you don’t get caught without ink when you need to print something important.
Can I Use Third-Party Ink Cartridges in My Epson Printer?
You can use third-party ink cartridges in your Epson printer, but be careful—they might save money yet risk print quality or void your warranty.
If you value reliability, sticking to genuine Epson ink is usually smarter. Just something to keep in mind!
How Do I Know if an Ink Cartridge Is Compatible With My Printer Model?
You can check compatibility by looking up your printer model on Epson’s website or the cartridge packaging. Also, your printer manual lists compatible cartridges.
Avoid guessing to prevent damage or poor print quality. It’s always better to be sure before you buy or install a cartridge.
What Should I Do if the Printer Doesn’T Recognize the New Cartridge?
If your printer doesn’t recognize the new cartridge, try removing and reinstalling it carefully. Clean the cartridge contacts gently, restart the printer, and check for firmware updates.
Sometimes, a quick reset or update can do the trick. But if the problem keeps popping up, don’t hesitate to reach out to Epson support for help. They’re there to assist you!
How Can I Recycle or Dispose of Used Epson Ink Cartridges?
Isn’t it ironic how you toss used Epson cartridges, yet they can harm the planet? Instead, recycle them through Epson’s take-back program or local e-waste centers.
You’ll feel better saving Earth while clearing clutter. It’s a simple step that makes a big difference. So next time, think twice before throwing them away!
Conclusion
Changing your Epson ink cartridges might seem intimidating, but once you get the hang of it, it’s as easy as pie. Just follow the steps carefully, and you’ll have your printer back in action in no time.
Remember, keeping your printer well-stocked with fresh ink is like feeding a hungry engine—it keeps everything running smoothly. So, don’t hesitate when it’s time to replace those cartridges and enjoy crisp, clear prints every time!
Changing ink in an Epson printer doesn’t have to be complicated. With these simple steps, you can maintain your printer’s performance and avoid any printing interruptions. Regularly changing your Epson ink cartridges ensures vibrant colors and sharp text, making every print job look professional.
So next time you notice your prints fading or your printer alerting you to low ink, follow these easy instructions to change ink in your Epson printer quickly and efficiently. Your printer—and your documents—will thank you!