How to Compute Ink in 7 Simple Steps
To compute ink in 7 simple steps, start by measuring your print area’s size precisely. This is key because knowing the exact dimensions helps you understand how much ink will be needed.
Next, identify the ink coverage percentage on that area. This tells you how much of the surface will actually be covered in ink, which affects the total ink consumption.
Calculate the total ink volume by multiplying the coverage percentage by the area. Then, check your printer’s cartridge capacity to figure out how many cartridges you’ll need for the job.
Don’t forget to factor in extra ink for wastage and test prints. It’s always better to have a little more ink on hand than to run out mid-project.
Finally, finalize your estimate by adjusting for your specific paper type and printer variables. These can influence how the ink behaves and how much you actually use.
Keep going to uncover detailed tips for perfect ink calculations that make your printing smooth and efficient!
Key Takeaways
- Measure the print area’s dimensions accurately and calculate total surface area in square units. Make sure you get the measurements right to avoid any surprises later.
- Determine the ink coverage percentage of the design using grid overlays or software tools. This helps you understand how much ink the design will actually use.
- Multiply total print area by coverage percentage to estimate initial ink volume needed. This gives you a good starting point for how much ink to prepare.
- Add 5-10% extra ink to account for wastage, test prints, and printer maintenance cycles. It’s always better to have a little extra than to run out mid-print.
- Compare total ink volume against cartridge capacity to estimate the number of cartridges required. That way, you know exactly how many cartridges you need to have on hand.
Determine the Print Area Size
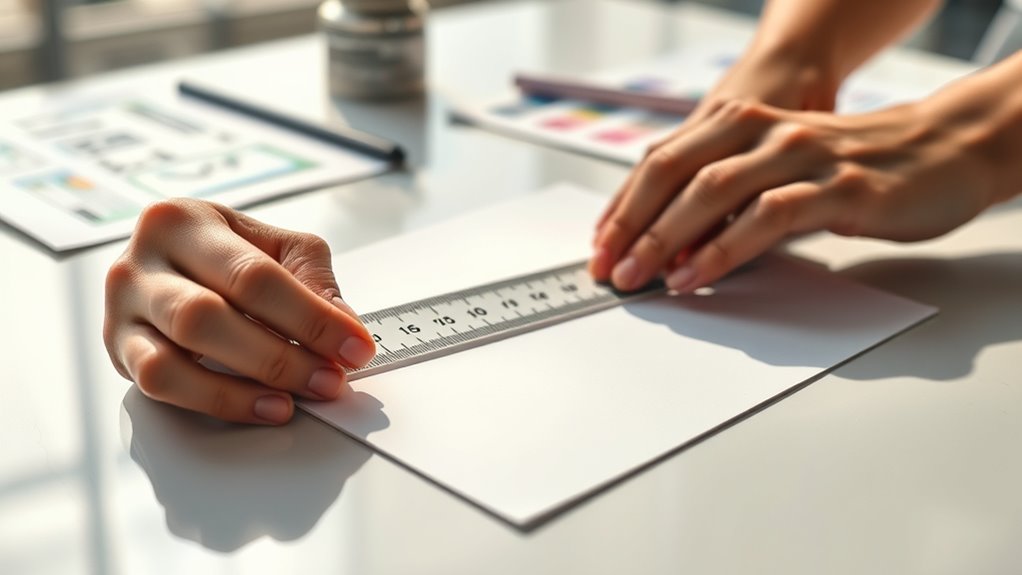
Before you calculate the amount of ink needed, you need to determine the exact size of the print area. Start by measuring the width and height of the section where the ink will be applied. Use a ruler or digital tool for accuracy.
Multiply these two dimensions to get the total print area in square units, such as square inches or square centimeters. If your design includes multiple print sections, measure each one separately and add the areas together.
Keep in mind the shape of the print area—whether it’s rectangular, circular, or irregular—since this affects how you calculate the total space. Knowing the precise print area size guarantees you won’t underestimate or waste ink, setting a solid foundation for the next steps in your ink calculation process.
Identify the Ink Coverage Percentage

To identify the ink coverage percentage, start by measuring the inked area on your print. Next, calculate the total surface area of the print.
Finally, determine the coverage ratio by comparing the inked area to the total surface.
It’s pretty straightforward once you break it down like this! Just take it step by step.
Measure Inked Area
How do you determine the exact portion of your page covered in ink? Start by measuring the inked area directly.
You can do this by dividing the page into sections and estimating the percentage each section is covered with ink. Using tools like grid overlays or image editing software can help you get precise values.
Once you have these percentages, calculate the average to find the overall ink coverage.
| Section | Ink Coverage (%) | Notes |
|---|---|---|
| Top Left | 20 | Light text, few marks |
| Center | 60 | Bold graphics |
| Bottom Right | 15 | Sparse ink usage |
This table helps you visualize where ink concentrates, making your measurements more accurate and manageable.
Calculate Total Surface
Although measuring inked areas gives you valuable data, calculating the total surface lets you pinpoint the exact ink coverage percentage on your page. Start by determining the total printable area, which usually matches your page size in square inches or centimeters.
If your page has margins or non-printable zones, subtract those from the overall dimensions to get an accurate surface measurement. Once you have the total surface area, you’ll compare it to the inked area you measured earlier.
This step is essential because it sets the baseline for how much of the page is covered by ink. Knowing this total surface ensures your calculations reflect the real proportion of ink used, helping you manage resources and predict printing costs more effectively.
Determine Coverage Ratio
Now that you’ve calculated the total surface area, you can find out what percentage of that space is covered by ink. To determine the coverage ratio, measure the inked area and divide it by the total surface area.
For example, if your ink covers 30 square inches on a 100-square-inch surface, your coverage ratio is 0.3 or 30%. You can use tools like digital imaging software or grid counting to get accurate inked measurements. This ratio helps you estimate how much ink you’ll need and avoid wastage.
Once you have the coverage percentage, multiply it by the total ink volume required for full coverage to adjust your ink quantities precisely. This step guarantees your printing process is efficient and cost-effective.
Calculate the Total Ink Volume Needed

Before you can order ink or prepare your equipment, you need to calculate the total ink volume required for your project. This guarantees you have enough ink without overbuying.
Follow these steps:
Follow these steps to accurately calculate the total ink volume needed for your project.
- Measure the total print area in square inches or centimeters.
- Use the coverage ratio you previously determined to find the amount of ink per unit area.
- Multiply the print area by the coverage ratio to get the total ink volume.
- Add a small buffer (usually 5-10%) to account for any unforeseen usage or errors.
Check Your Printer’s Ink Cartridge Capacity
Since you’ve calculated the total ink volume needed, the next step is to check your printer’s ink cartridge capacity to guarantee it can hold enough ink for your project.
Start by locating your printer model’s specifications, usually found in the user manual or the manufacturer’s website. Look for the ink cartridge size, often listed in milliliters (ml) or cubic centimeters (cc).
Compare this capacity with your total ink volume requirement. If the cartridge capacity is smaller than your needed volume, you might need multiple cartridges or plan for refills.
Knowing your cartridge’s capacity helps avoid interruptions during printing and ensures you purchase the right amount of ink. This step keeps your project efficient and prevents running out of ink midway.
Convert Ink Volume to Cartridge Units
After determining your total ink volume and knowing your cartridge capacity, you’ll want to convert the ink volume into the number of cartridges required. This helps you plan your purchases and avoid running out mid-print.
Here’s how to do it:
- Divide the total ink volume needed (in milliliters) by the cartridge capacity (also in milliliters).
- Round up the result to the nearest whole number since you can’t buy partial cartridges.
- Double-check your printer model to confirm cartridge sizes, as they can vary.
- Keep a small buffer in mind for unexpected printing needs.
Factor in Ink Wastage and Test Prints
When you calculate your ink needs, remember that not all the ink you buy will end up on the page. Ink wastage happens during cleaning cycles, nozzle priming, and test prints, which are essential to maintain print quality.
To avoid running out mid-job, always factor in these extra uses.
Here’s a quick reference for estimating ink wastage and test prints:
| Task | Approximate Ink Use | Notes |
|---|---|---|
| Cleaning cycle | 5-10% of cartridge | Helps unclog nozzles |
| Test prints | 1-3 pages | Checks print alignment |
| Priming | 2-5% of cartridge | Prepares ink flow |
| Initial setup | 3-5 pages | During first use |
| Routine checks | 1-2 pages weekly | Keeps quality consistent |
Keep these in mind for accurate ink planning. It really helps ensure you don’t get caught short when you’re in the middle of a print job.
Estimate the Final Ink Requirement
Now that you’ve accounted for wastage and test prints, it’s time to estimate the final ink requirement.
You’ll calculate the total coverage needed and modify for variables like print speed and material type.
This guarantees you have enough ink without overspending.
Calculate Total Coverage
Although calculating total coverage might seem complex at first, you can easily estimate the final ink requirement by combining the ink needed for each color and layer in your design. Start by determining the ink volume for individual colors, then sum them up to get an overall figure.
Here’s how you can calculate total coverage efficiently:
- Measure the ink amount used per color based on area coverage.
- Multiply each color’s coverage by the number of layers it requires.
- Add all color totals together for the entire design.
- Convert the total ink volume into your preferred units (e.g., milliliters or grams).
Adjust for Printing Variables
Why does adjusting for printing variables matter in estimating your final ink requirement? Because factors like paper type, printer model, and ink absorption can considerably affect how much ink you’ll actually need.
After calculating your total coverage, you need to account for these variables to avoid underestimating or wasting ink.
Start by considering the paper’s texture—rougher surfaces absorb more ink. Then, factor in your printer’s efficiency and calibration; some printers use ink more sparingly than others.
Environmental conditions like humidity can also influence drying time and ink consumption.
Adjust your initial ink estimate by applying a percentage increase based on these factors, typically between 10-20%. This adjustment helps you get a more accurate final ink requirement, ensuring your print runs smoothly without unexpected shortages or excess.
Frequently Asked Questions
What Types of Ink Are Best for Different Printing Materials?
You’ll want dye-based inks for glossy paper, pigment inks for longevity on matte surfaces, solvent inks for vinyl, UV inks for plastics, and sublimation inks for fabrics.
Picking the right ink guarantees vibrant, durable prints every time. It really makes all the difference!
How Does Ink Formulation Affect Print Quality?
You might think all inks print similarly, but the formulation directly impacts color vibrancy, drying time, and adhesion.
Choosing the right ink guarantees sharp images and durability, preventing smudges or fading on your final print. It really makes a big difference in the quality you see.
Can Environmental Factors Influence Ink Drying Time?
Yes, environmental factors like temperature, humidity, and airflow directly influence ink drying time. You’ll notice ink dries faster in warm, dry conditions but slows down in cold, humid environments.
This can really affect your print quality and timing. So, keeping an eye on these factors helps ensure your prints come out just right.
What Are Common Causes of Ink Smudging?
Common causes of ink smudging include using excess ink, printing on wet or glossy surfaces, not allowing enough drying time, or touching the print too soon.
You’ll want to handle prints carefully to avoid smudges. Taking these simple steps can really help keep your prints looking sharp and clean.
How to Store Ink Cartridges Properly for Longevity?
Think of ink cartridges as delicate flowers—store them upright in a cool, dry place, away from sunlight and extreme temperatures.
Seal them tightly to keep their essence fresh, so your prints bloom beautifully every time.
Conclusion
Now that you know how to compute ink in just seven easy steps, you might wonder if estimating ink usage is really that straightforward. The truth is, while these calculations give you a solid estimate, factors like printer efficiency and test prints can affect your actual ink consumption.
By following this method, you’ll get a reliable starting point. This helps you avoid surprises and manage your printing costs more effectively every time. Remember, understanding how to compute ink lets you plan better and keep your printing budget in check. So, next time you print, you’ll have a clearer idea of your ink usage and expenses.