How to Get Ink Off Leather in 7 Easy Steps
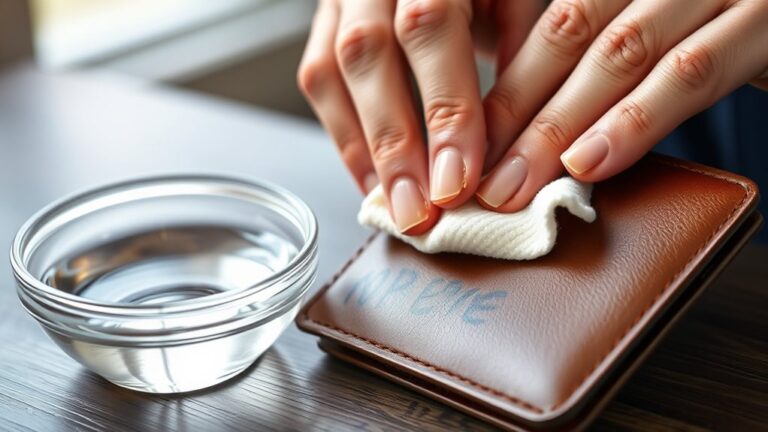
To get ink off leather in seven easy steps, start by figuring out what kind of ink you’re dealing with and how long the stain has been there. This is important because different inks react differently to cleaning methods.
Next, always test any cleaning product on a hidden spot of the leather first. You don’t want to accidentally damage the material while trying to clean it.
When you’re ready, gently blot the ink stain using a dry cloth. Remember, don’t rub—that can spread the ink or push it deeper into the leather.
If the stain is stubborn, dab a little rubbing alcohol on a cloth and carefully apply it to the area. Use it sparingly so you don’t harm the leather.
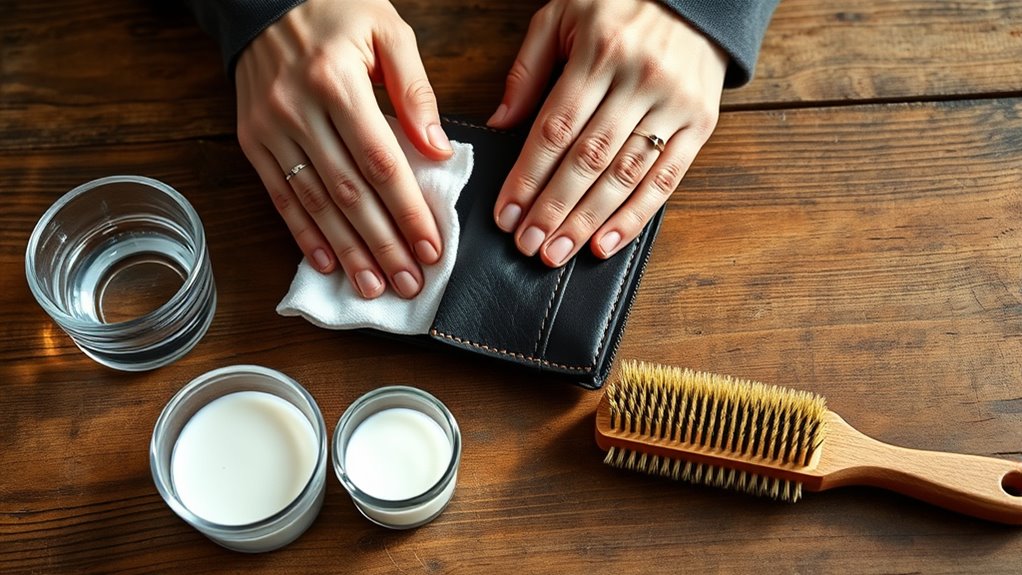
For tougher spots, a dedicated leather cleaner can work wonders. After cleaning, be sure to condition the leather. This helps keep it soft and supple.
Finally, let the leather air dry completely before using it again. Stick around for more tips on keeping your leather looking its absolute best!
Key Takeaways
- Identify the ink type and stain age to choose the most effective removal method for your leather item.
- Test any cleaning product, like rubbing alcohol, on a hidden area to avoid damaging the leather’s color or texture.
- Gently blot the ink stain with a clean, soft cloth without rubbing to prevent spreading and further damage.
- Apply rubbing alcohol sparingly with a cotton ball, dabbing gently and allowing drying between attempts if needed.
- Use a leather-specific cleaner for tough stains, then condition the leather to restore moisture and prevent cracking.
Assess the Type and Age of the Ink Stain
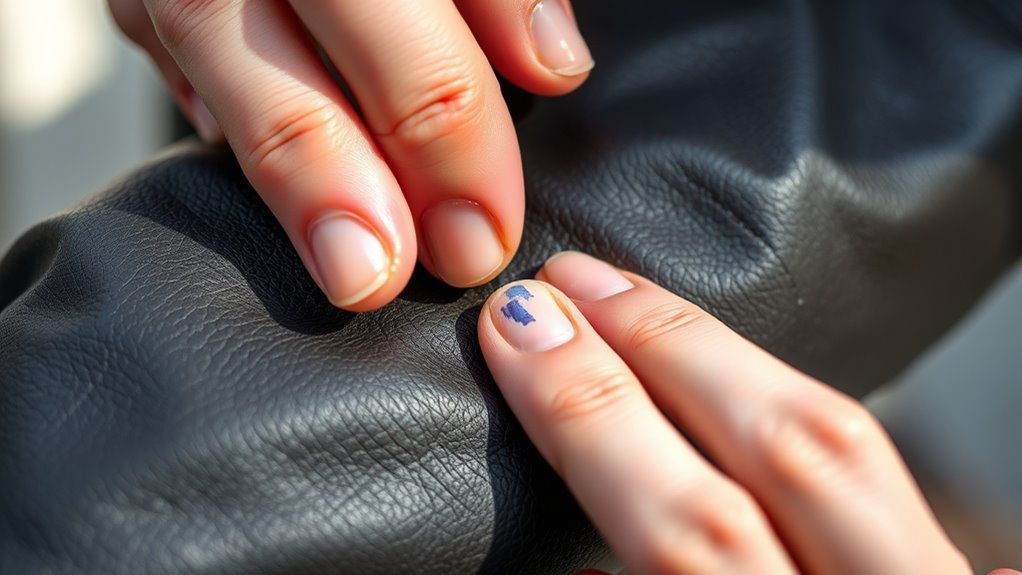
Before you begin cleaning, you should assess the type and age of the ink stain on your leather. Different inks react differently to cleaning methods, so identifying whether it’s ballpoint, gel, or permanent marker helps you choose the right approach.
Fresh stains are generally easier to remove than older ones, which may have set into the leather fibers. Take note of how long the stain has been there; if it’s new, you can act quickly to prevent it from soaking in.
Also, check the leather’s finish—some types are more delicate and require gentler treatment. Understanding these factors guarantees you don’t damage your leather while trying to remove the ink, making the cleanup safer and more effective.
Test a Small Hidden Area First
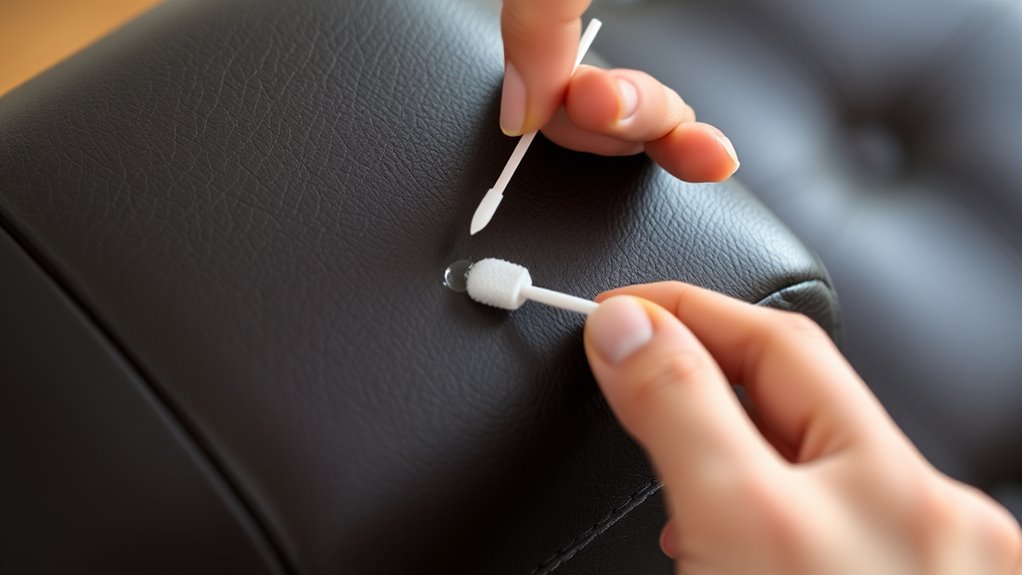
Before applying any cleaning solution, find a small, hidden spot on your leather to test it first. This helps you see how the leather reacts without risking visible damage.
If the area stays intact, you can proceed with more confidence. It’s always better to be safe than sorry!
Locate Inconspicuous Spots
Although it might be tempting to apply ink remover directly, you should always test it on a small hidden area of your leather first. Locate an inconspicuous spot—like the underside of a cushion, the back of a leather jacket’s collar, or inside a seam—where any potential damage won’t be noticeable.
This helps you check how the leather reacts to the cleaning product without risking visible harm. Make sure the spot is similar in texture and color to the stained area for a reliable test.
Assess Leather Reaction
When you apply the ink remover to a hidden area, watch closely to see how your leather reacts. Check for any changes in color, texture, or softness.
If the leather darkens, lightens, or becomes rough, the product might be too harsh for your material. Give it a few minutes to observe any delayed reactions.
If the leather remains unchanged, you’re safe to proceed with treating the ink stain on the visible area. Remember, every type of leather responds differently, so this small test can prevent permanent damage.
If you notice any negative effects, stop immediately and consider trying a gentler method or consulting a professional leather cleaner. Being cautious now saves you from costly repairs later.
Blot the Stain Gently With a Dry Cloth
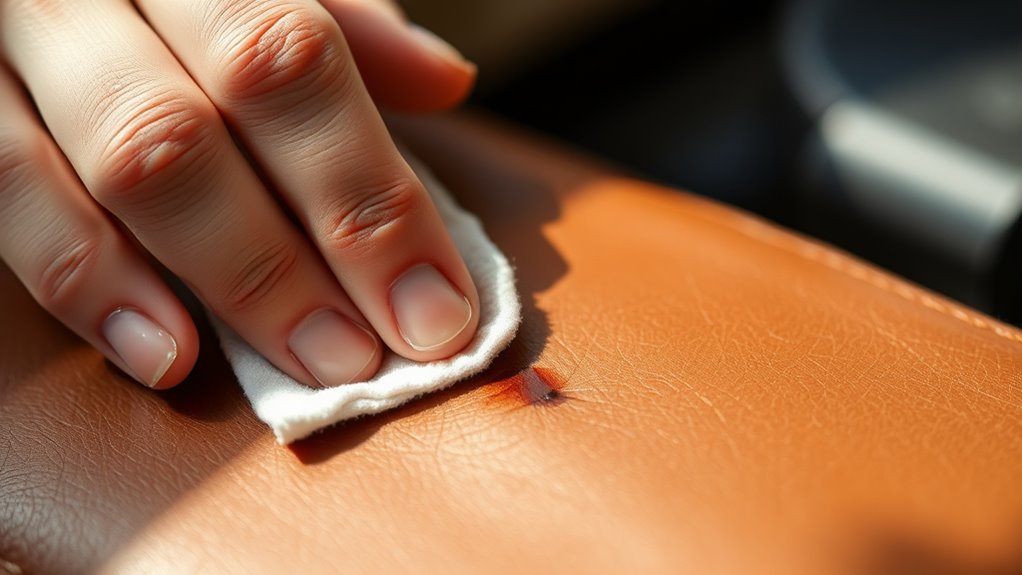
Since ink can easily spread on leather, you’ll want to blot the stain gently with a dry cloth to absorb as much ink as possible without rubbing it deeper into the material. Use a clean, soft cloth and press it lightly against the ink spot.
Avoid any scrubbing or wiping motions, as these can push the ink further into the leather fibers and cause the stain to enlarge. Instead, gently blot and lift the ink off the surface.
Change to a fresh area of the cloth frequently to prevent reapplying the ink back onto the leather. Blotting carefully at this stage is vital—it reduces the amount of ink that remains and makes the next cleaning steps more effective.
This way, you’ll minimize damage to your leather item and keep it looking its best.
Use Rubbing Alcohol Sparingly on the Stain
Before you apply rubbing alcohol, test it on a hidden spot to make sure it won’t damage the leather. When treating the stain, dab gently instead of rubbing to avoid spreading the ink.
Use only a small amount to keep the leather safe. It’s better to be cautious than sorry!
Test Alcohol First
Although rubbing alcohol can effectively remove ink stains, you should always test it on a hidden area of the leather first. Apply a small drop of alcohol to an inconspicuous spot, like the inside seam or underside, and wait a few minutes.
This test helps guarantee the alcohol won’t discolor, dry out, or damage the leather’s finish. If you notice any fading, cracking, or changes in texture, avoid using it on the stain.
Leather types and finishes vary, so what works on one piece might ruin another. Testing first protects your item from unintended harm and lets you proceed with confidence.
Dab, Don’t Rub
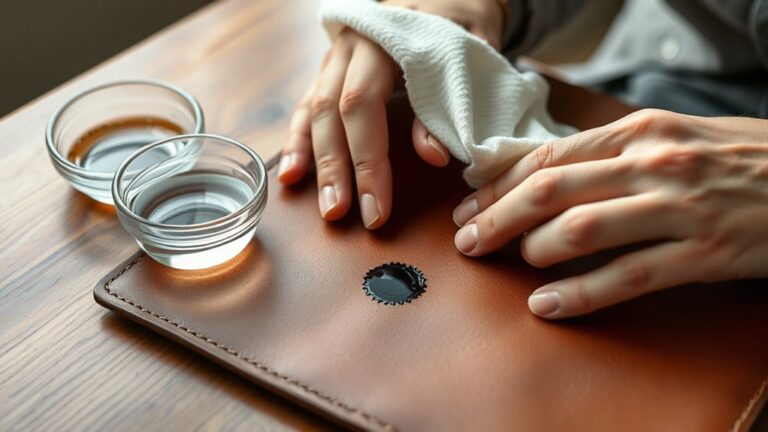
When you apply rubbing alcohol to an ink stain on leather, dab it gently with a cotton ball or soft cloth instead of rubbing. Rubbing can spread the ink and damage the leather’s surface, making the stain worse.
Use the alcohol sparingly—just enough to dampen the cloth—so you don’t oversaturate the leather. Dab the stain lightly, lifting the ink without pushing it deeper.
After each dab, switch to a clean part of the cloth to avoid reapplying ink. If the stain persists, repeat the process carefully, allowing the leather to dry between attempts.
Apply a Leather Cleaner for Deeper Cleaning
Since ink can deeply penetrate leather fibers, you’ll want to use a specialized leather cleaner to tackle stubborn stains effectively.
Choose a cleaner designed specifically for leather, as it won’t damage the material or strip away its natural oils. Apply a small amount of the cleaner onto a soft, clean cloth and gently rub it onto the stained area in circular motions.
Avoid soaking the leather; a little cleaner goes a long way. Let it sit for a few minutes to loosen the ink before wiping away any residue with a damp cloth.
Repeat this process if necessary, but don’t overdo it to prevent damaging the leather’s surface. This step guarantees a deeper clean beyond surface ink removal.
Condition the Leather to Restore Moisture
After removing ink stains, you’ll want to condition the leather to restore its natural moisture and prevent cracking. Choose a high-quality leather conditioner designed for your type of leather.
Apply a small amount to a soft, clean cloth and gently rub it into the leather using circular motions. Focus on areas that feel dry or stiff, but be careful not to oversaturate the surface.
Use a soft cloth to gently apply conditioner in circular motions, avoiding oversaturation on dry spots.
Conditioning replenishes oils lost during cleaning, keeping the leather supple and durable. Don’t forget to follow the product’s instructions regarding application frequency.
Regular conditioning not only restores moisture but also protects the leather from future damage. This way, it stays soft and attractive over time.
This simple step is essential for maintaining your leather’s long-term health after ink removal. It really makes a difference!
Allow the Leather to Air Dry Completely
Although it might be tempting to speed things up, you should let the leather air dry completely on its own to avoid any damage. Rushing the process with heat sources like hairdryers or heaters can cause the leather to crack or become stiff.
Place the item in a well-ventilated area away from direct sunlight or extreme temperatures. This gentle drying method preserves the leather’s natural oils and texture.
Be patient—depending on the thickness and type of leather, drying can take several hours. Avoid touching or using the leather until it’s fully dry to prevent re-soiling or smudging the ink residue.
Once dry, you’ll find the leather ready for any additional care steps, ensuring it stays soft and intact after ink removal.
Frequently Asked Questions
Can Ink Stains on Leather Cause Permanent Damage?
Yes, ink stains on leather can cause permanent damage if you don’t act quickly.
You’ll want to clean it gently and promptly to prevent the ink from soaking in and ruining the leather’s surface forever.
Is It Safe to Use Household Products on Leather?
Better safe than sorry—it’s not always safe to use household products on leather. You should test a small, hidden area first because some cleaners can damage or discolor it.
Always choose gentle, leather-specific products when possible. That way, you protect your leather and keep it looking great.
How Often Should I Condition Leather After Cleaning?
You should condition leather every 3 to 6 months after cleaning to keep it supple and protected.
If your leather item faces heavy use or dryness, consider conditioning more often to maintain its quality and prevent cracking.
It really helps to keep the leather looking its best and lasting longer. Just listen to what your leather needs!
Can Ink Stains Be Removed From All Types of Leather?
About 60% of leather types can have ink stains removed, but not all. You’ll find delicate or suede leather often resists cleaning, so test a small spot first to avoid damage before tackling the stain.
It’s always better to be safe than sorry, right? Give that little test spot a try before going all in on the stain. That way, you won’t accidentally ruin your leather item.
What Should I Do if the Stain Doesn’T Come Off?
If the ink stain doesn’t come off, don’t panic. You should consult a professional leather cleaner to avoid damage.
Avoid harsh chemicals yourself, as they can ruin the leather’s finish or color permanently. It’s better to be safe than sorry!
Conclusion
Now that you’ve given your leather a fresh start, it’s time to enjoy its renewed charm. Remember, a little patience and gentle care go a long way in keeping your prized possessions looking their best.
By following these simple steps to get ink off leather, you’re not just removing stains—you’re giving your leather a subtle makeover that whispers elegance. It’s all about treating your leather with kindness and attention.
Keep up the good work, and your leather will continue to tell its story beautifully for years to come. Taking care of your leather properly ensures it stays soft, supple, and stain-free. So, take a deep breath and enjoy that fresh, clean look—it’s a small effort for a big difference!