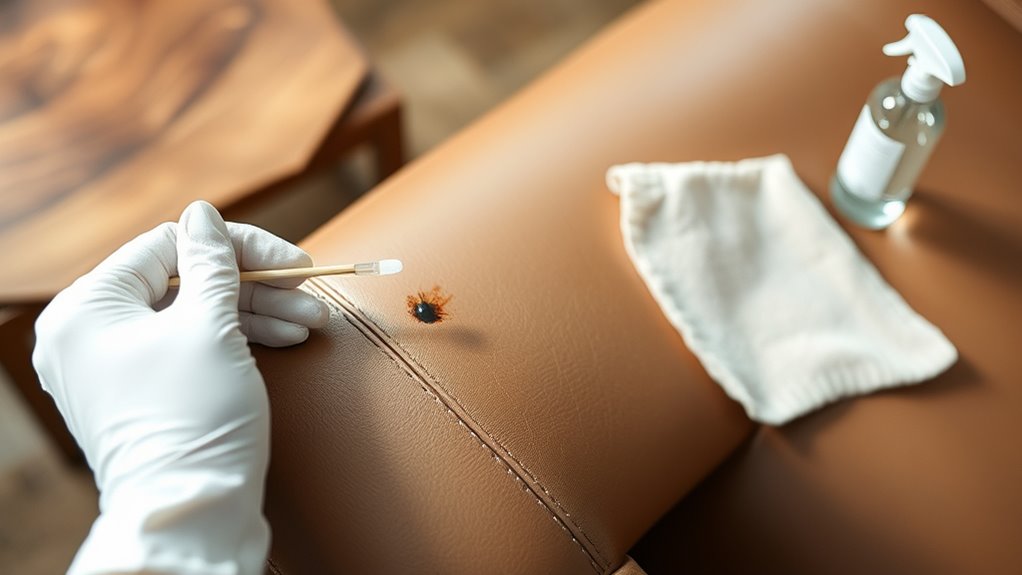
5 Easy Steps to Remove Ink Marks From Leather
To remove ink marks from leather, first check your stain and gather soft cloths, rubbing alcohol or leather cleaner, and mild soap.
Testing your cleaner on a hidden spot is really important to avoid any damage to your leather.
Dab the stain gently with a cotton swab using rubbing alcohol or cleaner, then blot it softly without rubbing. This helps lift the ink without spreading it or harming the leather’s surface.
Once the ink lifts, condition and protect your leather to restore its softness and shine.
Following these simple steps makes the full method easier than you might think, keeping your leather looking great.
Key Takeaways
- Assess the ink stain’s size and type, and gather soft cloth, cotton swabs, rubbing alcohol or leather cleaner, and distilled water.
- Test the cleaning solution on a hidden leather spot to check for discoloration or damage before full application.
- Dab rubbing alcohol or leather cleaner gently onto the ink mark using a cotton swab without soaking the leather.
- Blot the stain with a dry cloth using light dabbing motions, avoiding rubbing to prevent spreading or deeper penetration.
- After cleaning, apply a leather conditioner and protectant to restore softness and prevent future stains.
Assess the Ink Stain and Gather Supplies
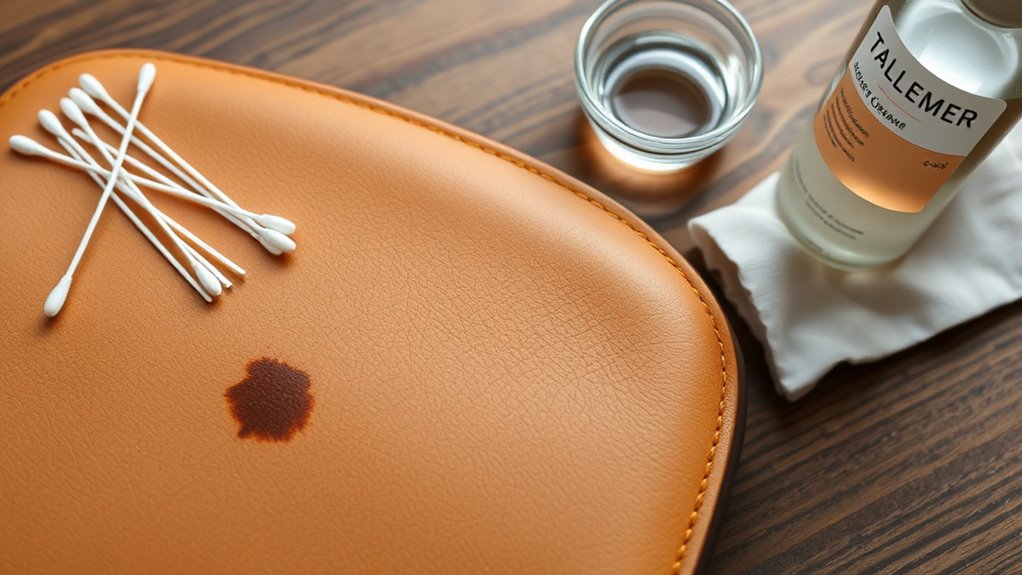
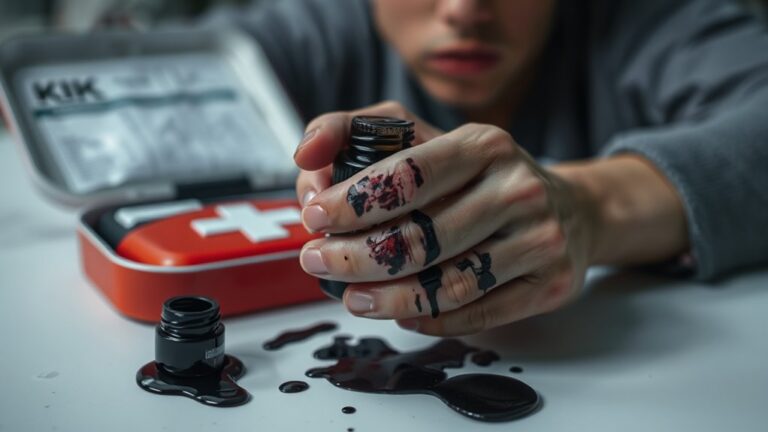
Before you begin removing ink from your leather, take a close look at the stain to determine its size and type. Is it a small spot or a larger blotch? Knowing this helps you decide how much cleaning effort you’ll need.
Also, identify whether the ink is fresh or dried, as fresh ink is usually easier to remove. Once you’ve assessed the stain, gather the right supplies: a soft cloth, cotton swabs, mild soap, rubbing alcohol or a leather cleaner, and some distilled water.
Having all these ready ensures you won’t interrupt the cleaning process. Make sure you’re working in a well-lit area, so you can see the ink clearly and avoid missing any spots. This preparation sets you up for success.
Test Cleaning Method on a Hidden Area
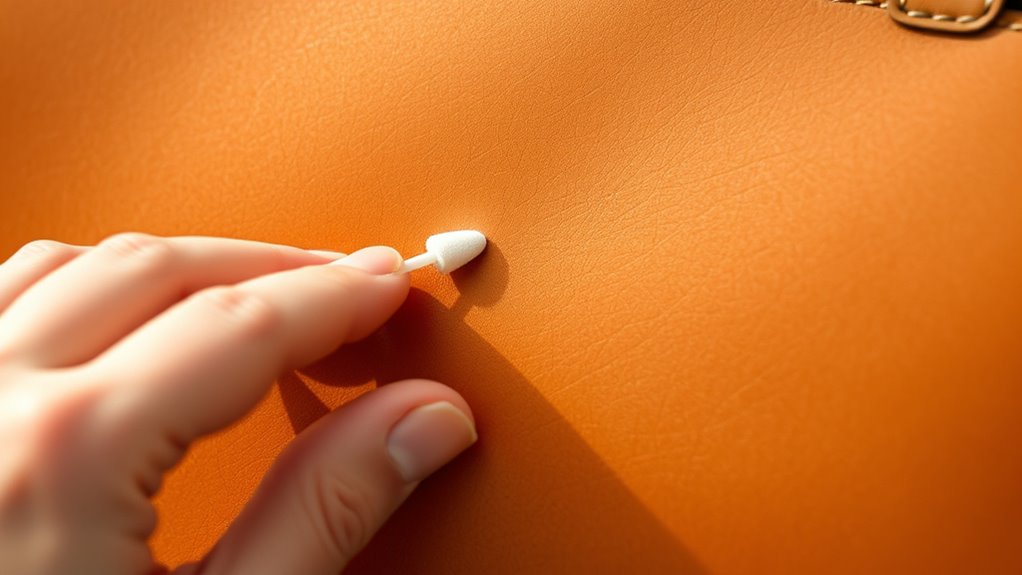
Although it might be tempting to apply your cleaning solution directly to the visible stain, you should always test it on a hidden area of the leather first to make certain it won’t cause discoloration or damage.
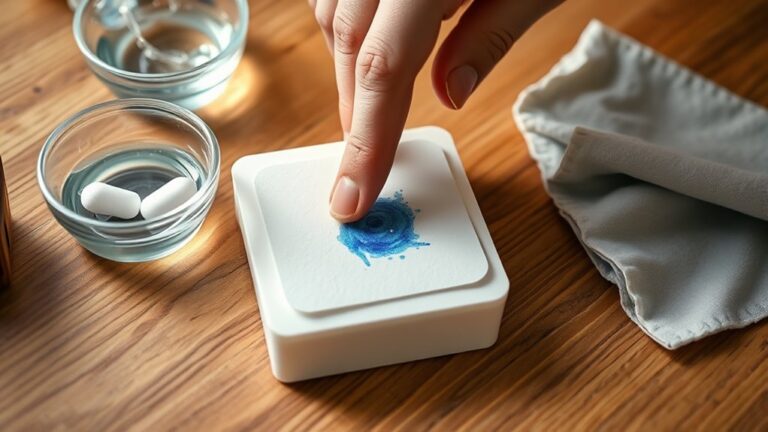
Find an inconspicuous spot, like the inside of a seam or under a flap, where any changes won’t be noticeable. Apply a small amount of the cleaning solution and wait for at least 15 minutes.
Check for any color fading, darkening, or texture changes. If the leather reacts poorly, don’t proceed with that product; try another cleaner or method.
Testing first protects your leather and ensures your cleaning efforts won’t make the stain or surface worse. This step saves you time, money, and stress in the long run.
Apply Rubbing Alcohol or Leather Cleaner
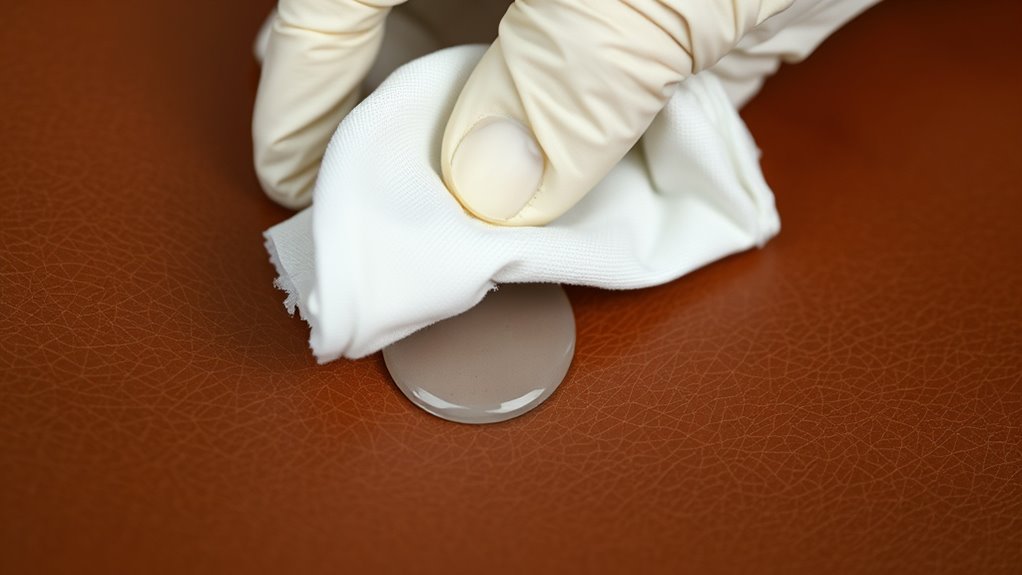
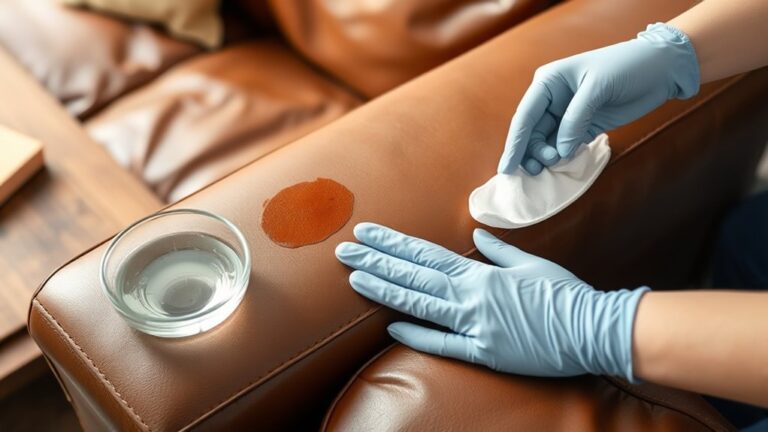
Once you’ve confirmed your cleaning solution is safe, you can apply rubbing alcohol or a leather cleaner directly to the ink stain. Use a cotton swab or a soft cloth to dab a small amount onto the affected area. Avoid soaking the leather to prevent damage.
Here’s a quick guide to help you choose and apply the right solution:
| Cleaning Solution | Application Tip |
|---|---|
| Rubbing Alcohol | Dab gently with a cotton swab |
| Leather Cleaner | Use a soft cloth, follow instructions |
| Avoid Excess Water | Prevent leather damage |
| Test First | Always check on a hidden spot |
Applying the solution carefully guarantees the ink starts to lift without harming your leather’s finish. Just take it slow and be gentle—you’ll get there!
Gently Blot and Wipe the Ink Mark
After applying the cleaning solution, gently blot the ink mark with a clean, dry cloth to lift the stain without spreading it further. Avoid rubbing, as that can push the ink deeper into the leather or cause it to smudge.
Use light, dabbing motions and change to a fresh area of the cloth frequently. If the stain starts to fade, you can lightly wipe the area in one direction with a slightly damp cloth to remove any remaining residue.
Be sure not to soak the leather, as excess moisture can damage it. Continue this process patiently until the ink mark visibly lightens or disappears.
If needed, reapply the cleaning solution sparingly, always blotting gently to protect your leather’s surface.
Condition and Protect the Leather After Cleaning
To keep your leather looking its best and prevent it from drying out or cracking, you’ll want to condition it thoroughly after cleaning. Conditioning restores moisture and flexibility, making your leather feel soft and supple again.
Choose a high-quality leather conditioner suitable for your specific leather type. Apply a small amount evenly using a soft cloth, then let it absorb fully before buffing gently.
After conditioning, protect your leather by applying a leather protectant spray to repel stains and moisture. Also, try to store leather items away from direct sunlight and heat sources.
Make it a habit to clean and condition your leather every few months to maintain its durability. Following these steps ensures your leather stays beautiful and lasts longer, even after tough ink stains and cleaning.
Frequently Asked Questions
Can Ink Stains on Leather Be Completely Removed Without Damage?
You can often remove ink stains from leather completely without damage if you act quickly and use gentle methods. Always test cleaning solutions on a hidden area first to avoid ruining the leather’s texture or color.
It’s really important to be careful because leather can be delicate. So, taking your time and being gentle usually pays off. If you’re unsure, it’s better to try on a small spot before going all in.
What Types of Ink Are Easiest to Clean From Leather?
You’ll find water-based inks easiest to clean from leather since they’re less likely to penetrate deeply.
Avoid oil-based and permanent inks—they soak in quickly and are tougher to remove without damaging the leather’s surface.
How Soon Should I Treat an Ink Stain on Leather?
You should treat an ink stain on leather as soon as you notice it. The quicker you act, the better your chances of preventing permanent damage.
And honestly, catching it early gives you a much better shot at removing the stain without making things worse. So, don’t wait around—tackle it right away!
Are There Any Household Items That Can Replace Rubbing Alcohol?
You can use household items like hand sanitizer, which contains about 60% alcohol, as a rubbing alcohol substitute.
Lemon juice or vinegar also work but test a small leather area first to avoid damage or discoloration. Just to be safe!
Can Professional Leather Cleaning Guarantee Ink Stain Removal?
Professionals can often remove ink stains effectively, but they can’t guarantee complete removal every time.
You’ll get the best results by acting quickly and trusting their expertise. Still, some stains might stubbornly persist.
Conclusion
Now that you know the simple steps to tackle those stubborn ink marks, you might be wondering—will your leather look flawless again? With a little patience and the right care, it absolutely can.
Just remember to test first, treat gently, and don’t skip conditioning afterward. These are key to ensuring your leather stays soft and vibrant.
Ready to see your leather come back to life? Grab your supplies, follow these easy steps, and watch the ink vanish before your eyes.
Removing ink marks from leather doesn’t have to be a headache. With these 5 easy steps, your leather items can look refreshed and almost brand new again.
Your leather’s transformation is closer than you think!