How to Remove Ink Off Leather Step by Step
To remove ink from leather effectively, start by identifying the type of leather you have and the kind of ink stain you’re dealing with. This step is crucial because different leathers and inks react differently to cleaning methods.
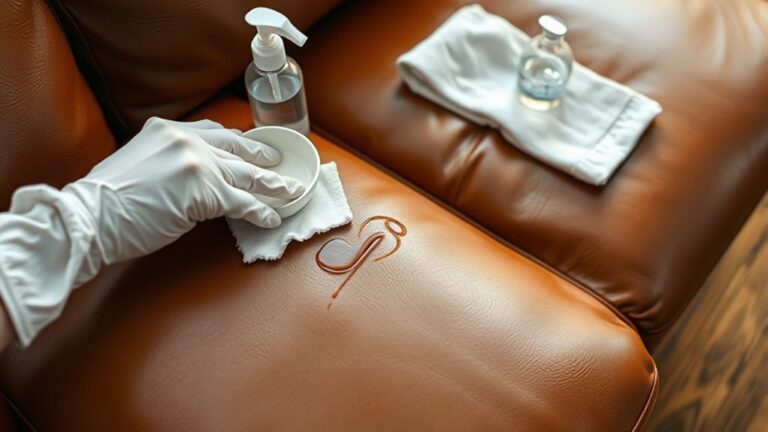
Next, gather your supplies: soft cloths, rubbing alcohol or a gentle leather cleaner, and cotton swabs.
Before you dive in, test your chosen cleaner on a hidden spot of the leather to make sure it won’t cause any damage or discoloration.
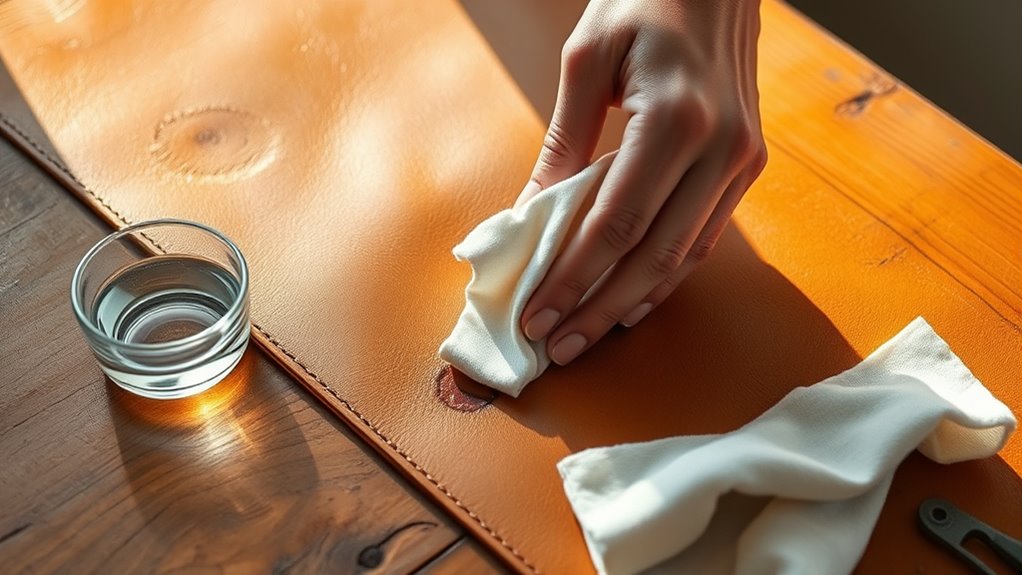
Lightly dab the ink stain with a cotton swab or cloth—remember, don’t rub hard or soak the leather, as this can make things worse.
Once the ink starts lifting, wipe the area clean with a soft cloth and let it air dry naturally.
Finally, apply a leather conditioner to restore the leather’s suppleness and keep it looking great.
Follow these simple steps, and you’ll also discover helpful tips for effective stain removal and ongoing leather care.
Key Takeaways
- Identify your leather type and ink stain nature to choose an appropriate cleaning method without causing damage.
- Gather soft cloths, cotton swabs, gentle leather cleaner or rubbing alcohol, and prepare a well-lit, ventilated workspace.
- Test your chosen solvent on a hidden leather spot to ensure it won’t discolor or harm the material.
- Gently apply solvent with a cloth or swab, carefully lifting ink without soaking or excessive rubbing.
- Then let it air dry fully.
- Condition the leather with a suitable conditioner to restore moisture and shine, ensuring long-term leather health after cleaning.
Assess the Type of Leather and Ink Stain
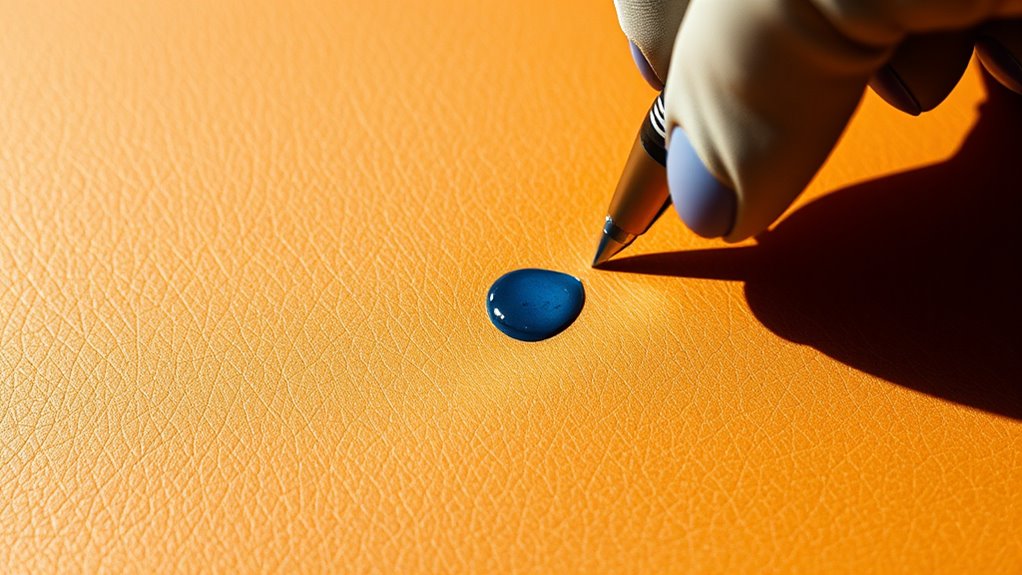
Before you begin removing ink from leather, you need to identify both the type of leather and the ink stain. Check if your leather is finished, like smooth or coated leather, or unfinished, like suede or nubuck.
Identify your leather type and ink stain before cleaning to choose the safest, most effective removal method.
Finished leather handles cleaning better, while unfinished leather requires extra care to avoid damage. Next, look at the ink stain itself. Is it fresh or dried? Fresh stains are easier to remove, so act quickly.
Also, determine the ink type—ballpoint pen ink is different from permanent marker or printer ink, which can be tougher to remove. Knowing these details helps you choose the right cleaning method and prevents further harm.
Taking this first step ensures you protect your leather while effectively tackling the stain.
Gather Necessary Cleaning Supplies
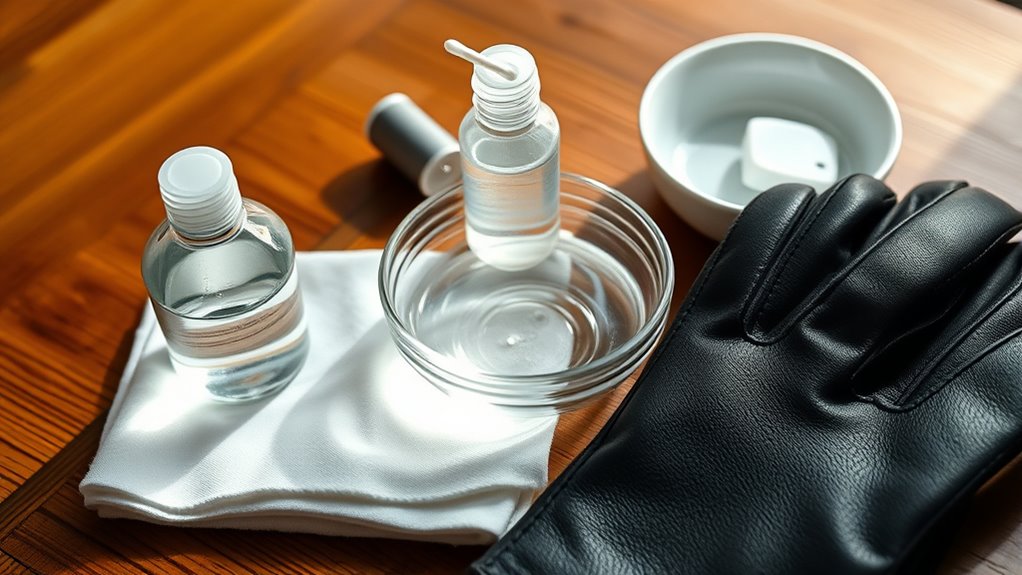
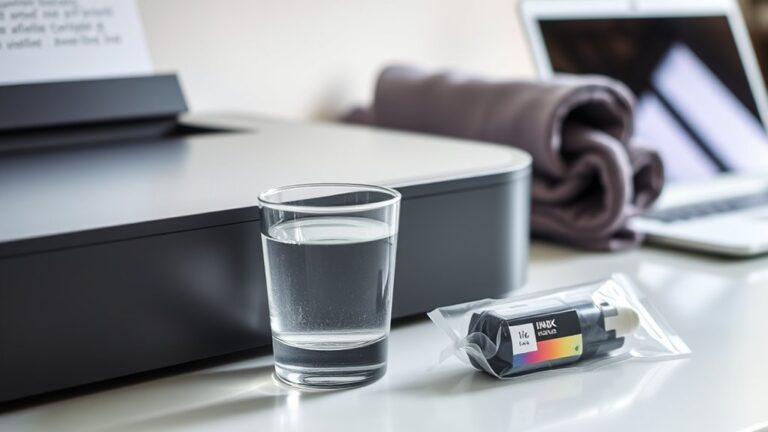
Before you start cleaning, make sure you have the right tools like soft cloths, cotton swabs, and a gentle leather cleaner. Choose solvents that won’t damage your leather, such as rubbing alcohol or specialized ink removers.
Set up a clean, well-lit workspace to keep everything organized and protect your surfaces. It makes the whole process easier and helps you avoid any accidental damage.
Essential Cleaning Tools
Although removing ink from leather can be tricky, having the right cleaning tools makes the process much easier. Before you start, gather these essentials to guarantee a smooth and effective cleaning experience.
Each tool plays a vital role in safely lifting ink without damaging your leather.
| Tool | Purpose |
|---|---|
| Soft cloths | Blotting and gentle wiping |
| Cotton swabs | Targeted application and spots |
| Soft-bristled brush | Loosening dried ink particles |
| Small bowl | Mixing cleaning solutions |
Make sure your cloths are lint-free to avoid leaving fibers behind. Cotton swabs help you precisely treat small stains, while a soft brush gently agitates the surface without scratching.
Having a small bowl handy lets you prepare your cleaning mixture easily. With these tools ready, you’re set to tackle ink stains effectively.
Choosing Safe Solvents
When tackling ink stains on leather, choosing the right solvents is essential to protect the material while breaking down the ink. You’ll want to avoid harsh chemicals like acetone or bleach, as they can damage or discolor leather.
Instead, opt for mild options like rubbing alcohol, white vinegar, or specialized leather cleaners designed for ink removal. Always test your chosen solvent on a hidden spot first to make sure it doesn’t cause any damage or fading.
Keep in mind, some natural oils or saddle soaps can help lift ink without messing up leather’s finish. By picking gentle yet effective solvents, you’ll safely get rid of the stain without risking further harm to your leather item.
Preparing Your Workspace
Since ink removal requires careful handling, you’ll want to prepare your workspace with all necessary cleaning supplies within reach. Gather a soft, clean cloth or microfiber towel, cotton swabs, mild leather cleaner or a chosen safe solvent, and a small bowl of lukewarm water.
Have paper towels or an absorbent cloth ready to blot excess moisture. It’s also helpful to keep a small brush with soft bristles on hand for gentle scrubbing if needed.
Protect your work surface with old newspapers or a plastic sheet to catch drips. Make sure the area is well-lit and ventilated.
Organizing your supplies beforehand ensures you can work efficiently without interruptions, reducing the risk of spreading ink or damaging the leather. It just makes the whole process smoother, you know?
Test Cleaning Solution on a Hidden Area
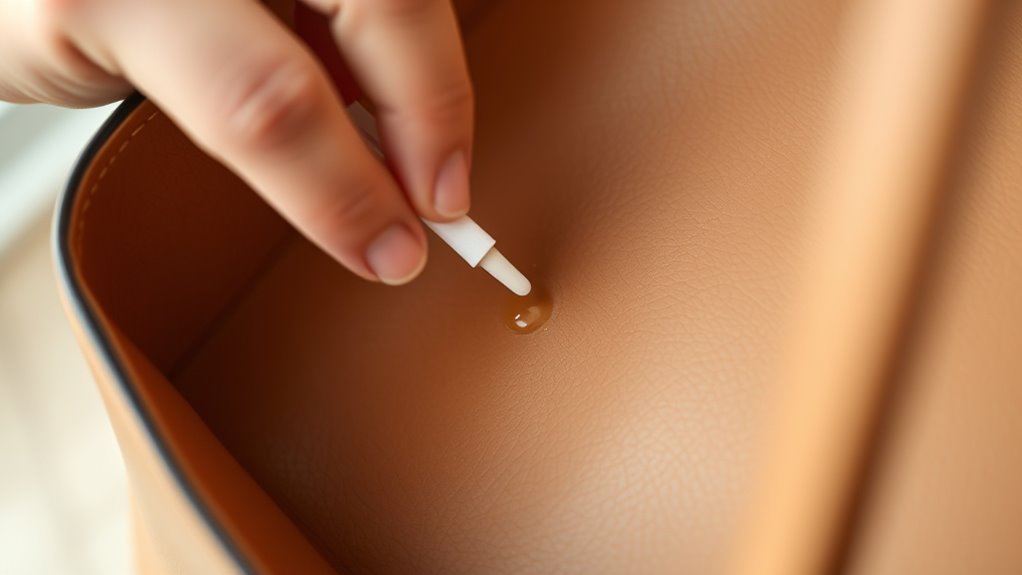
Before applying any cleaning solution to the ink stain, you’ll want to test it on a hidden area of the leather first. This step helps verify the solution won’t damage or discolor your leather.
Choose a spot that’s out of sight, like inside a seam or under a flap. Apply a small amount of the cleaning solution using a cotton swab or soft cloth. Wait a few minutes and observe the area for changes in color, texture, or finish.
Pick a hidden spot, apply cleaner gently, then watch for any changes before proceeding.
If the leather looks unaffected and feels normal, you can proceed with confidence. However, if you notice any discoloration, fading, or damage, try a different cleaner or consult a professional.
Testing first protects your leather and saves you from unintended harm. It’s worth taking a few extra minutes to be safe!
Gently Apply Cleaning Solution to Ink Stain
Although ink stains can be stubborn, you can effectively treat them by gently applying your chosen cleaning solution. First, dip a cotton swab or soft cloth into the solution, making sure it’s damp but not soaked.
Carefully dab the ink stain, working from the outer edges inward to prevent spreading. Avoid rubbing, as this can push the ink deeper or damage the leather’s surface.
Take your time and apply the solution in small amounts, allowing it to break down the ink gradually. If needed, repeat the process, but always be gentle to preserve the leather’s texture and color.
Patience is key here—gentle application guarantees the best chance of removing the stain without causing harm. Just go slow and steady, and you’ll see good results.
Wipe Away Residue With a Soft Cloth
You’ll want to use a soft, lint-free cloth to gently wipe away the ink residue. Move in small circular motions to avoid damaging the leather’s surface.
Be careful not to soak the leather, since too much moisture can cause further harm. Just a little dampness is enough to get the job done without risking damage.
Choose Appropriate Cloth Type
Selecting the right cloth is crucial when removing ink from leather. Using a soft, non-abrasive fabric helps prevent further damage.
You should go for materials like microfiber or a clean, lint-free cotton cloth. These fabrics are gentle enough to avoid scratching or wearing down the leather’s surface.
Avoid rough materials like paper towels or coarse rags, since they can leave scratches or fibers behind. Before you start, make sure the cloth is clean and dry.
This prevents spreading dirt or moisture that could stain the leather even more. Having the right cloth on hand means you can lift ink residue effectively without messing up the leather’s texture or finish.
This small step is key to protecting your leather item and getting ready for the next stage of cleaning.
Use Gentle Circular Motions
When removing ink from leather, gently rubbing in circular motions helps lift the stain without damaging the surface. Using a soft cloth, apply light pressure and move in small circles to gradually break down the ink residue.
This method guarantees even cleaning and prevents harsh abrasions. It’s a simple trick that really makes a difference.
| Step | Action | Tip |
|---|---|---|
| 1 | Dampen cloth lightly | Use distilled water if needed |
| 2 | Apply gentle pressure | Avoid scrubbing hard |
| 3 | Move in small circles | Cover entire stain evenly |
| 4 | Check progress often | Stop if leather feels rough |
| 5 | Wipe away residue | Use a dry cloth to finish |
This careful approach preserves your leather’s texture while effectively removing ink. So, take your time and be gentle—it’s worth it!
Avoid Excessive Moisture
One key step to protecting your leather while removing ink is avoiding excessive moisture. Leather is porous and can absorb water, leading to stains or damage.
After applying your chosen cleaning solution, use a soft, dry cloth to gently wipe away any residue. Avoid soaking the leather; instead, lightly dampen the cloth if needed to prevent over-wetting.
Work in small sections, drying as you go to keep moisture levels low. This careful approach helps prevent watermarks and preserves the leather’s texture.
Remember, less is more when it comes to liquid on leather. By controlling humidity, you ensure your cleaning effort removes ink without compromising the material’s integrity or appearance.
Always finish by letting the leather air dry completely in a well-ventilated area.
Condition the Leather After Cleaning
Although you’ve successfully removed the ink, your leather still needs conditioning to restore its natural oils and prevent drying or cracking. Conditioning replenishes moisture, keeping your leather soft and supple.
Here’s how to do it right: choose a leather conditioner suitable for your leather type to avoid damage. Then, apply a small amount with a clean, soft cloth, spreading it evenly in circular motions.
Let the conditioner absorb naturally. After that, buff lightly with a dry cloth to remove excess.
Conditioning not only extends your leather’s lifespan but also enhances its appearance, making it look rich and well-maintained. Skip this step, and your leather might dry out, crack, or look dull over time.
Frequently Asked Questions
Can Ink Stains on Leather Be Completely Removed Without Damage?
You can often remove ink stains from leather without damage if you act quickly and use gentle methods. However, complete removal isn’t guaranteed, so always test a small area first and proceed with care to avoid harm.
It’s kind of like a delicate dance—you want to be careful but also effective. If you’re unsure, maybe try a little spot that no one really sees first. That way, you can see how the leather reacts before going all in.
Is It Safe to Use Alcohol-Based Cleaners on All Leather Types?
You shouldn’t use alcohol-based cleaners on all leather types because they can dry out or damage some finishes.
Always test on a hidden spot first, and opt for leather-specific cleaners to keep your leather safe and intact.
It’s better to be safe than sorry, right? Leather can be pretty sensitive, so sticking to products made just for it is usually the way to go.
How Long Should I Wait Before Conditioning Leather After Cleaning?
You should wait at least 24 hours before conditioning leather after cleaning.
Think of 24 hours as giving a full day for all the moisture to evaporate completely. This way, your conditioner can soak in deeply without trapping any dirt or residue underneath.
It’s all about making sure your leather stays clean and in great shape!
Can Ink Stains Reappear After Cleaning Leather?
Yes, ink stains can reappear if the leather isn’t cleaned thoroughly or if residue remains beneath the surface.
You should act quickly and use proper cleaning methods to prevent the ink from setting and coming back later.
It’s kind of like when a stain looks gone but then pops back up after a while. So, being thorough is key!
Are Professional Leather Cleaning Services Worth the Cost?
You might think professional leather cleaning services are pricey, but they’re worth it. They use specialized products and techniques that protect your leather, ensuring thorough stain removal and long-lasting care you can’t easily achieve at home.
Honestly, it’s not just about getting rid of stains. It’s about preserving the quality and look of your leather over time. So, when you weigh the cost, think about the value you’re getting in return.
Conclusion
By bravely battling bothersome blotches, you’ve brought back your leather’s lovely luster. Always assess and approach your ink issue with care, choosing the correct cleaning concoction.
Test thoroughly, then tackle the taint tenderly to avoid any accidental abrasions. Wiping with a warm, soft wipe works wonders, while conditioning carefully completes the cleanup.
Stick to these steps, and your leather will stay stunning, smooth, and spotless. With the right techniques for how to remove ink off leather, you’ll showcase your savvy stain-solving skills every time! Keeping your leather clean and well-maintained ensures it looks great for years to come. So, take your time, be gentle, and enjoy that fresh, ink-free finish!