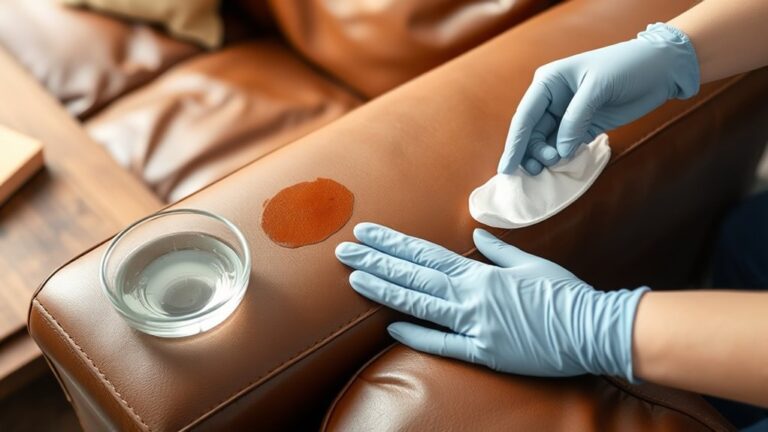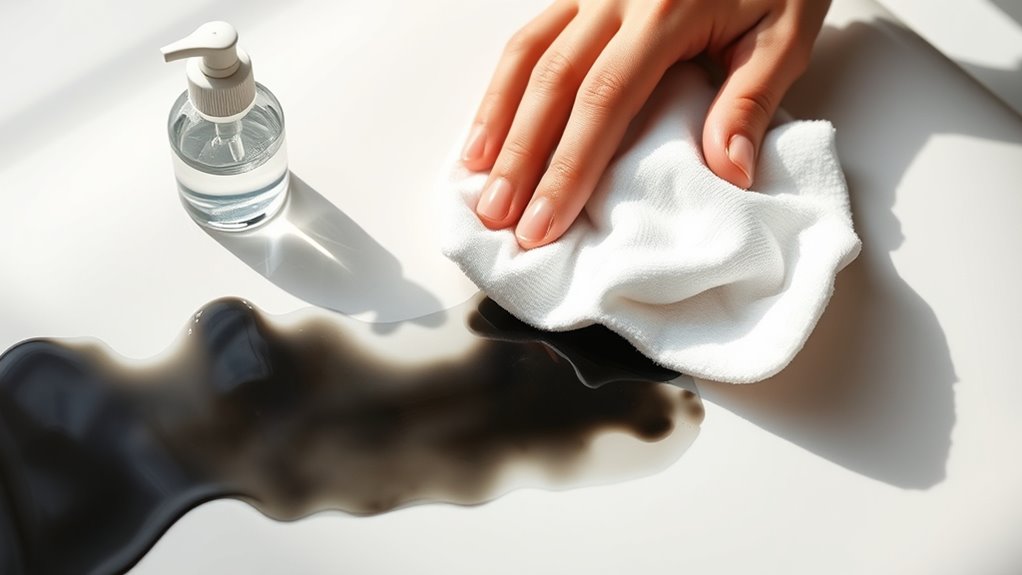
How to Get Ink Out of Vinyl Step by Step
First, identify the type of ink and vinyl to choose the right cleaner. This step is crucial because different inks and vinyl materials react differently to cleaning agents.
Gather supplies like rubbing alcohol, baking soda, soft cloths, and cotton swabs to get started.
Make sure to test your cleaner on a hidden spot first to avoid any damage.
Dab rubbing alcohol gently on the ink without rubbing, then wipe clean. If the stain is stubborn, don’t worry—there’s a way to handle that too.
For tougher stains, apply a baking soda paste, let it sit for a while, and then wipe off carefully.
Finish by rinsing with water and drying thoroughly to keep your vinyl looking great.
Keep exploring for a detailed step-by-step method that makes ink removal from vinyl simple and effective!
Key Takeaways
- Identify the ink and vinyl type, then gather microfiber cloths, rubbing alcohol, baking soda, and gloves for safe cleaning.
- Test any cleaning solution on a hidden vinyl spot to ensure no damage or discoloration occurs.
- Gently dab the ink stain with rubbing alcohol using a cotton ball, avoiding rubbing to prevent spreading ink.
- Apply a baking soda and water paste to stubborn stains, let sit 5-10 minutes, then gently rub and wipe away.
- Rinse the vinyl with lukewarm water, dry thoroughly with a microfiber towel, and repeat if stains persist.
Identify the Type of Ink and Vinyl
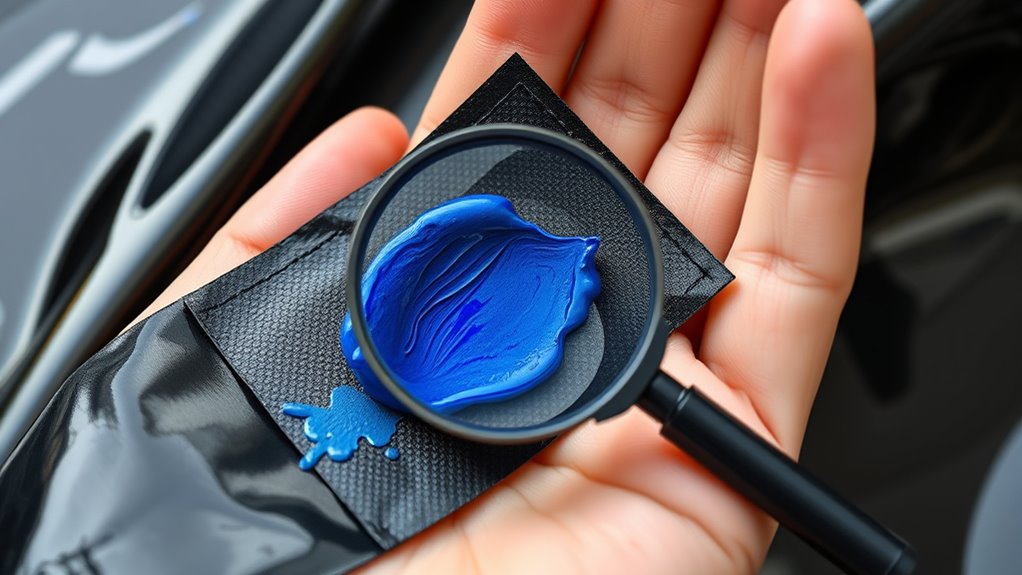
Before you begin removing ink from vinyl, you need to figure out what kind of ink and vinyl you’re dealing with. Different inks—like ballpoint, marker, or printer ink—react differently to cleaning methods.
For example, permanent marker ink usually requires stronger solvents than water-based inks. Next, check the type of vinyl. Is it smooth, textured, or coated?
Smooth vinyl can tolerate more aggressive cleaning, while textured or delicate vinyl needs gentler care to avoid damage. You can often find vinyl type information on product tags or packaging.
Identifying these details helps you choose the right cleaning approach and prevents ruining your vinyl. So take a moment to inspect the stain and surface carefully before moving on to the next step.
Gather Necessary Cleaning Supplies
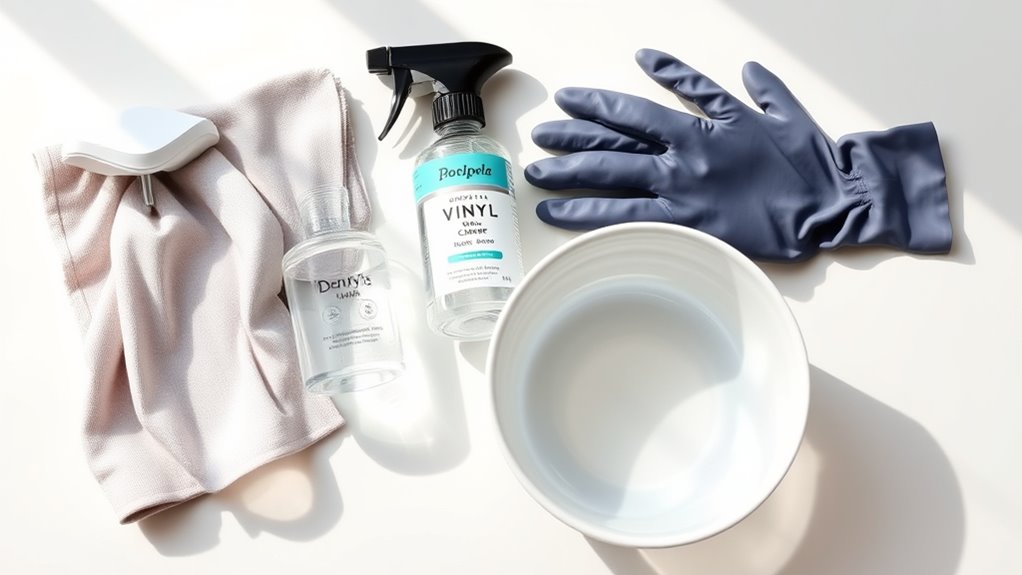
Before you start, make sure you have the right cleaning tools like soft cloths and brushes. You’ll also need recommended solutions such as rubbing alcohol or specialized vinyl cleaners.
Don’t forget to wear protective gloves to keep your skin safe during the process. It’s always better to be safe than sorry, right? Just gather everything beforehand so you’re all set when you begin.
Essential Cleaning Tools
To tackle ink stains on vinyl effectively, you’ll need a few key cleaning tools at hand. Start with soft microfiber cloths that won’t scratch the surface.
Have cotton swabs ready for targeting small or stubborn ink spots. Keep a soft-bristled toothbrush nearby to gently scrub textured vinyl without causing damage.
A spray bottle can help you apply cleaning solutions evenly and avoid soaking the vinyl. Also, prepare a bowl for mixing any homemade cleaning agents if needed.
Don’t forget to use rubber gloves to protect your hands from harsh chemicals. Finally, a clean sponge can assist in blotting away excess ink and moisture.
Gathering these tools beforehand ensures a smooth, efficient cleaning process without interruptions.
Recommended Cleaning Solutions
Which cleaning solutions work best for removing ink from vinyl? You’ll want to gather isopropyl alcohol, white vinegar, and mild dish soap.
Isopropyl alcohol is effective because it breaks down ink without harming vinyl. White vinegar offers a natural alternative that lifts stains gently.
Mild dish soap mixed with warm water helps to clean any remaining residue after treating the ink. Avoid harsh chemicals like bleach or acetone, as they can damage the vinyl’s surface.
Have a spray bottle ready for vinegar or diluted soap solutions, so you can apply evenly. Also, keep some clean microfiber cloths on hand to blot and wipe away the ink.
With these solutions, you’re well-prepared to tackle ink stains safely and effectively.
Protective Gear Essentials
Although cleaning ink off vinyl requires effective solutions, equipping yourself with the right protective gear is just as important to guarantee safety and prevent further damage. Start by wearing disposable gloves to protect your skin from harsh chemicals, especially if you plan to use rubbing alcohol or acetone.
Safety goggles are a smart choice, too, preventing accidental splashes from reaching your eyes. If you’re working in a poorly ventilated area, consider a mask to avoid inhaling fumes.
Also, lay down old towels or newspapers to shield your work surface and catch any drips. Having these essentials ready not only keeps you safe but also makes the cleanup process smoother and more efficient.
Don’t skip this step—it’s a key part of successful ink removal from vinyl. It really makes a difference!
Test Cleaning Solutions on a Hidden Area
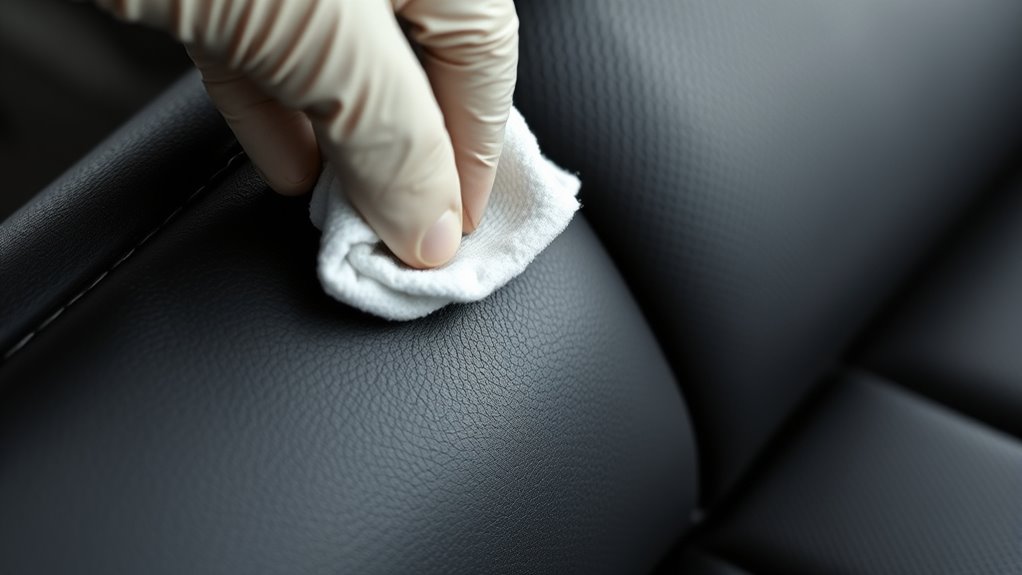
Before you start cleaning, pick a hidden spot on your vinyl to test the solution. Apply just a small amount there and watch closely for any changes or damage.
This step helps you avoid ruining the entire surface. It’s a quick way to make sure your cleaning won’t cause any trouble.
Choose Discreet Test Spot
Since different vinyl materials react uniquely to cleaning solutions, you should always verify any product on a hidden spot first. Choosing a discreet test spot ensures you won’t damage a visible area if the solution causes discoloration or texture changes.
Look for places like under seams, inside pockets, or behind flaps where damage won’t be obvious.
Here’s a quick guide to help you pick a good test spot:
| Location | Reason |
|---|---|
| Under seam | Least visible, protects edges |
| Inside pocket | Hidden, easy to access |
| Back flap | Out of sight, safe for testing |
| Underside edge | Concealed, less exposure |
| Back panel | Large area, hidden from view |
Test carefully to avoid surprises before treating the visible ink stain.
Apply Small Solution Amount
A small amount of your chosen cleaning solution should be applied to the discreet test spot you selected earlier. Use a cotton swab or a clean cloth to dab just enough solution—too much can soak into the vinyl and cause damage.
Focus on a tiny patch, maybe about the size of a dime, so you can closely monitor the effect without risking the entire surface. This careful approach helps you spot any discoloration, texture changes, or warping before tackling the visible ink stain.
- A gentle dab of liquid pooling briefly on smooth vinyl
- The quiet hiss as the solution meets the surface
- A faint scent of cleaning agents lingering momentarily
Observe Vinyl Reaction Closely
Once you’ve applied a small amount of cleaning solution, watch the vinyl’s reaction carefully. You want to guarantee it doesn’t discolor, warp, or degrade.
Testing on a hidden spot helps you avoid damage to visible areas. Check for any immediate changes within 5 to 10 minutes before proceeding.
| Reaction | Action |
|---|---|
| No change | Safe to use on visible areas |
| Slight discoloration | Dilute solution and retest |
| Sticky residue | Choose a different cleaner |
| Vinyl softening | Stop immediately, damage risk |
| Fading color | Avoid using on entire surface |
Observing closely ensures you protect your vinyl while effectively removing ink stains. It’s always better to be safe than sorry!
Apply Rubbing Alcohol to Remove Ink Stains
When you notice ink stains on your vinyl, applying rubbing alcohol can quickly break down the ink’s pigments. Start by dampening a cotton ball or soft cloth with rubbing alcohol.
Dampen a cotton ball with rubbing alcohol to gently break down ink stains on vinyl surfaces.
Gently dab the stain—don’t rub, as that might spread the ink. You’ll see the ink begin to lift, turning the cotton darker as it absorbs the pigment. Keep replacing the cotton ball as it gets saturated.
To visualize the process, imagine: a soft cotton ball soaking up inky blue stains like a sponge. The vinyl surface gradually clearing as ink dissolves. Fresh cotton balls turning grayish from the ink you’re removing.
Once the stain fades, wipe the area with a clean, damp cloth to remove any residue. This method is effective and safe when you treat the stain promptly.
Use Baking Soda Paste for Stubborn Marks
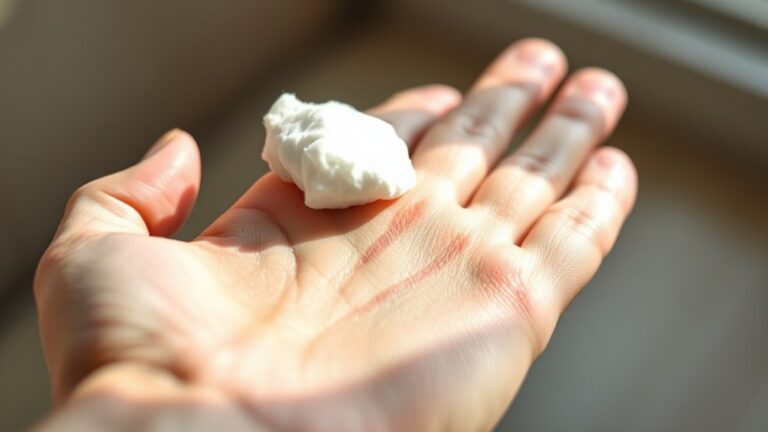
If rubbing alcohol doesn’t fully remove the ink, you can turn to a baking soda paste for those stubborn marks. Mix equal parts baking soda and water until you get a thick paste.
Apply this paste directly onto the ink stain using a soft cloth or your fingers. Gently rub the area in circular motions, which helps lift the ink without damaging the vinyl.
Let the paste sit on the stain for about 5 to 10 minutes to break down the ink further. Then, wipe away the paste with a clean, damp cloth.
You can repeat this process if necessary, but try not to scrub too hard to avoid scratching. Baking soda’s mild abrasiveness makes it great for tough stains while keeping your vinyl safe.
Rinse and Dry the Vinyl Surface
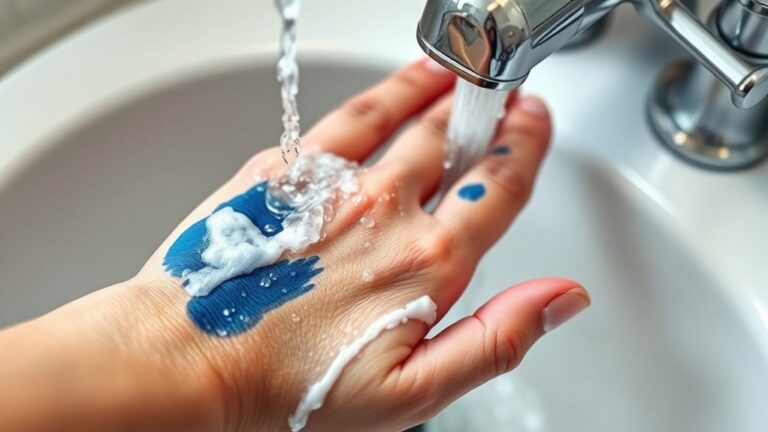
A thorough rinse is essential to remove any leftover baking soda paste or cleaning residues from the vinyl surface. You’ll want to use lukewarm water to gently wash away all traces without damaging the material.
After rinsing, dry the vinyl completely to prevent water spots or streaks.
To effectively rinse and dry the vinyl:
- Use a soft cloth or sponge to wipe off the baking soda paste under running water.
- Avoid harsh scrubbing that can scratch the vinyl’s smooth finish.
- Pat the surface dry with a microfiber towel to absorb moisture without leaving lint.
Frequently Asked Questions
Can Ink Stains Damage Vinyl Permanently?
Yes, ink stains can permanently damage vinyl if you don’t act quickly.
You’ll want to clean it right away because the longer the ink sits, the harder it’ll be to remove and might cause lasting discoloration.
Is It Safe to Use Nail Polish Remover on Vinyl?
You might think nail polish remover’s a miracle, but it’s actually risky on vinyl—it can cause discoloration or damage.
Instead, try gentler cleaners first; you don’t want your vinyl looking like a modern art disaster, right?
How Quickly Should I Treat a Fresh Ink Stain?
You should treat a fresh ink stain on vinyl as quickly as possible, ideally within minutes.
The sooner you act, the easier it is to prevent the ink from setting and causing a permanent mark.
Will Repeated Cleaning Affect Vinyl’s Color or Texture?
Yes, repeated cleaning can fade vinyl’s color or damage its texture. You should use gentle cleaners and avoid harsh scrubbing to protect the surface.
Always test a small area first to prevent damage. It’s a simple step that can save you from bigger problems down the line.
Can Ink Stains Be Removed From Textured or Patterned Vinyl?
Yes, you can remove ink stains from textured or patterned vinyl, but you’ll need to be extra gentle.
Use a soft cloth and mild cleaner to avoid damaging the surface or pattern while effectively lifting the ink.
Just take your time, and don’t rush the process. That way, you’ll keep the vinyl looking great without any harm.
Conclusion
Think of your vinyl like a calm lake, and the ink stains as ripples disturbing its peace. By carefully choosing your cleaning tools and testing them gently, you become the skilled gardener restoring balance.
With rubbing alcohol as your gentle rain and baking soda as your soothing sunlight, you’ll wash away those marks and bring back the lake’s smooth reflection. Keep rinsing and drying, and soon your vinyl will shine like new, free from any ink’s shadow.
Removing ink from vinyl takes patience and the right approach. Using rubbing alcohol helps break down the ink effectively, while baking soda adds a gentle abrasive to lift the stain without damaging the surface. Remember to always test a small area first to avoid any unwanted damage.
With these steps, your vinyl will look fresh and clean again. Whether it’s a favorite jacket, upholstery, or any vinyl item, following this method ensures your vinyl stays in great condition, free from stubborn ink stains.