How to Remove Ink Pen From Leather Step by Step
To remove ink pen from leather, start by gathering a few essential items: a soft cloth, cotton swabs, mild leather cleaner, and rubbing alcohol. It’s important to test your cleaner on a hidden spot first to avoid any damage to the leather.
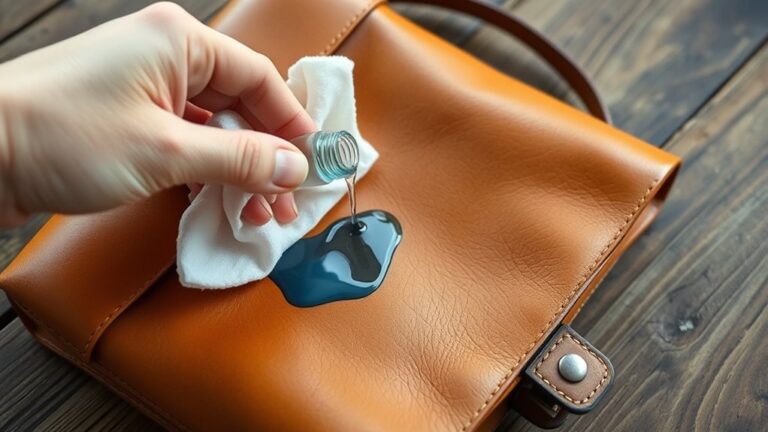
Next, gently blot the ink stain with a dry cloth—remember, don’t rub!
Then, apply mild soap with a damp cloth, using circular motions to lift the stain.
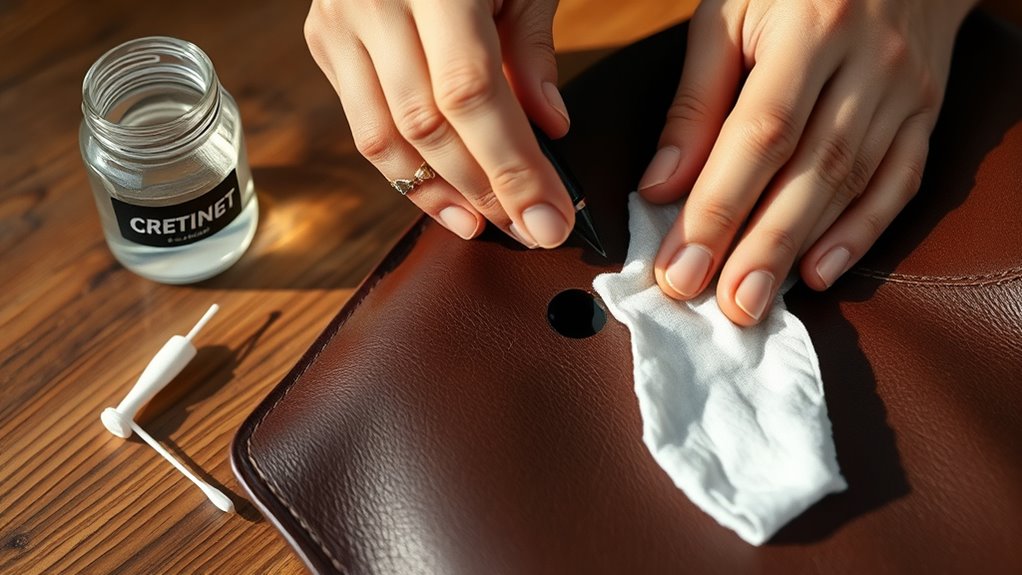
For tougher spots, use rubbing alcohol sparingly on a cotton swab to carefully lift the ink.
Finally, condition the leather to restore its moisture and keep it looking great.
Follow these steps carefully, and you’ll be surprised at how well your leather can recover.
If you want more tips on handling ink stains effectively or caring for leather, keep exploring!
Key Takeaways
- Test a small amount of leather cleaner or rubbing alcohol on an inconspicuous spot first. This helps to check for any adverse effects before you treat the ink stain.
- Gently blot the excess ink with a clean, dry cloth. Use light dabbing motions, and be careful not to rub or spread the stain.
- Apply a mild leather cleaner or diluted gentle soap with a damp cloth. Rub in circular motions to lift the ink without soaking the leather.
- Use a cotton swab dampened with rubbing alcohol or a leather-specific ink remover. Dab carefully on the ink stain in small sections.
- After the ink is removed, condition the leather with a leather conditioner. This restores moisture and flexibility. Then, buff gently for a smooth finish.
Gather Necessary Materials
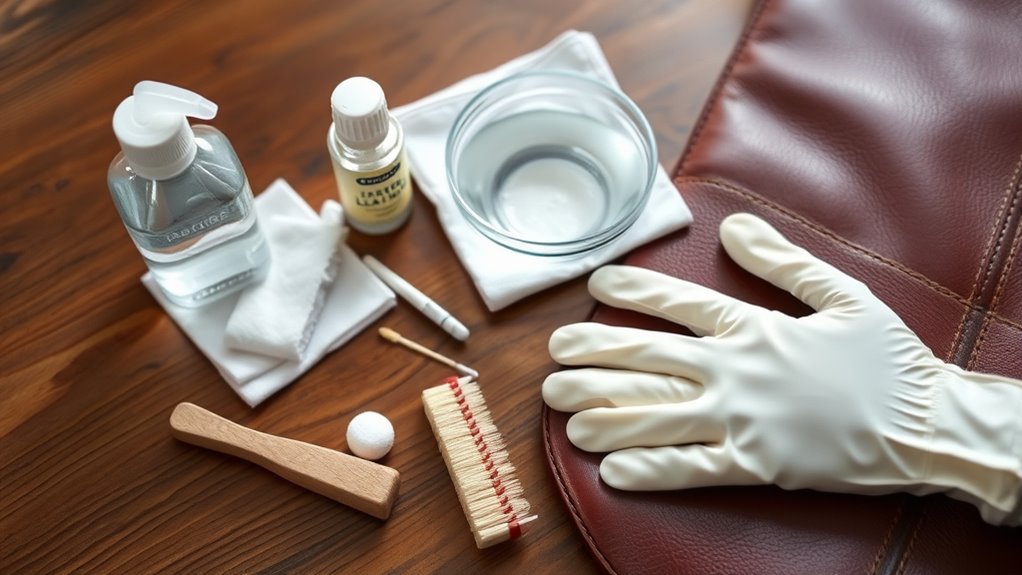
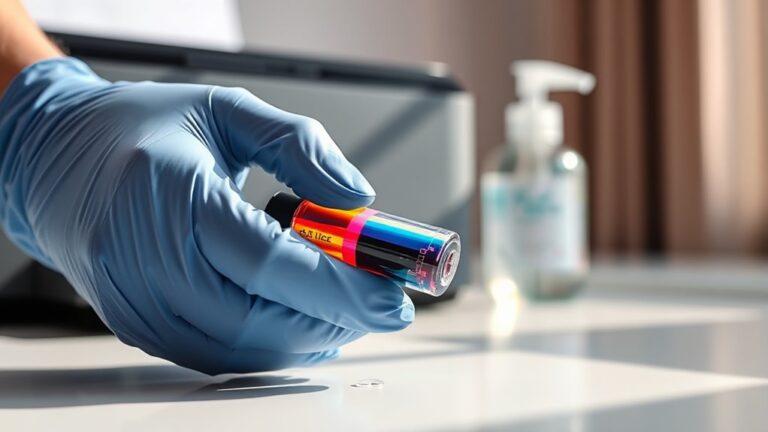
Before you begin removing ink from leather, gather all the necessary materials to guarantee the process goes smoothly. You’ll need a clean, soft cloth to avoid scratching the leather surface. Have some cotton swabs on hand for precise application.
Start by gathering a soft cloth and cotton swabs to carefully remove ink without damaging leather.
Grab a mild leather cleaner or a gentle soap diluted in water, as harsh chemicals can damage the leather. Keep some rubbing alcohol or an ink remover designed for leather nearby, but use them cautiously.
A small bowl of lukewarm water will help with rinsing. Ultimately, prepare a dry towel to blot excess moisture after cleaning. Having everything ready prevents interruptions and lets you focus on carefully removing the ink without harming your leather item.
Ready your workspace with good lighting for better control.
Test Cleaning Solution on a Hidden Area
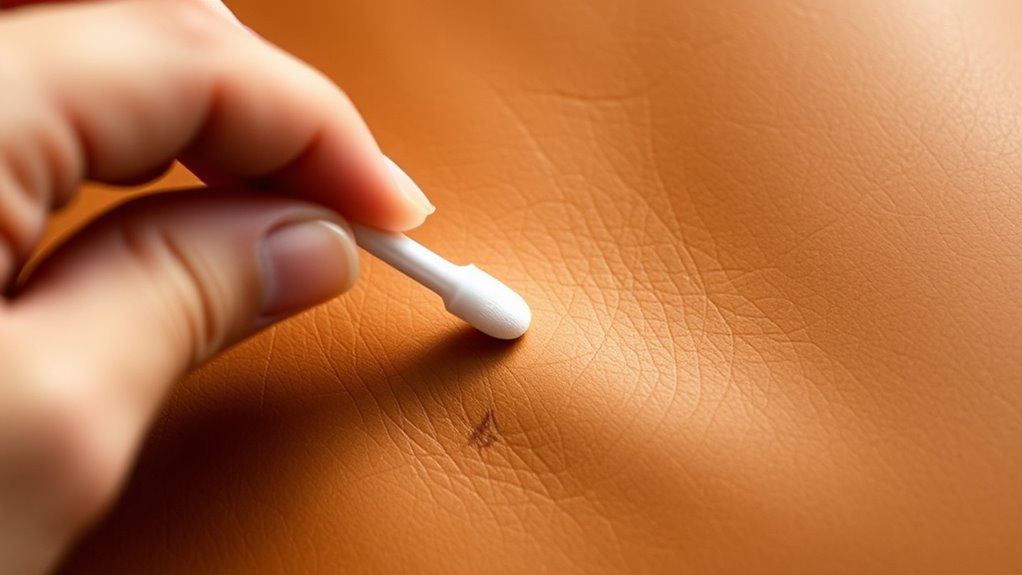
Although you might be enthusiastic to remove the ink, you should always test your cleaning solution on an inconspicuous spot first to make certain it won’t discolor or damage the leather. Choose a hidden area like the inside seam or underneath a flap.
Apply a small amount of the cleaner with a cotton swab or soft cloth. Wait a few minutes to observe any changes in color, texture, or finish.
If you notice fading, darkening, or roughness, avoid using that solution on the visible ink stain. Testing helps prevent irreversible damage and saves your leather item from costly repairs.
Only proceed with treatments that show no adverse effects during this trial. This simple precaution ensures your removal process is both safe and effective.
Blot the Ink Stain Gently
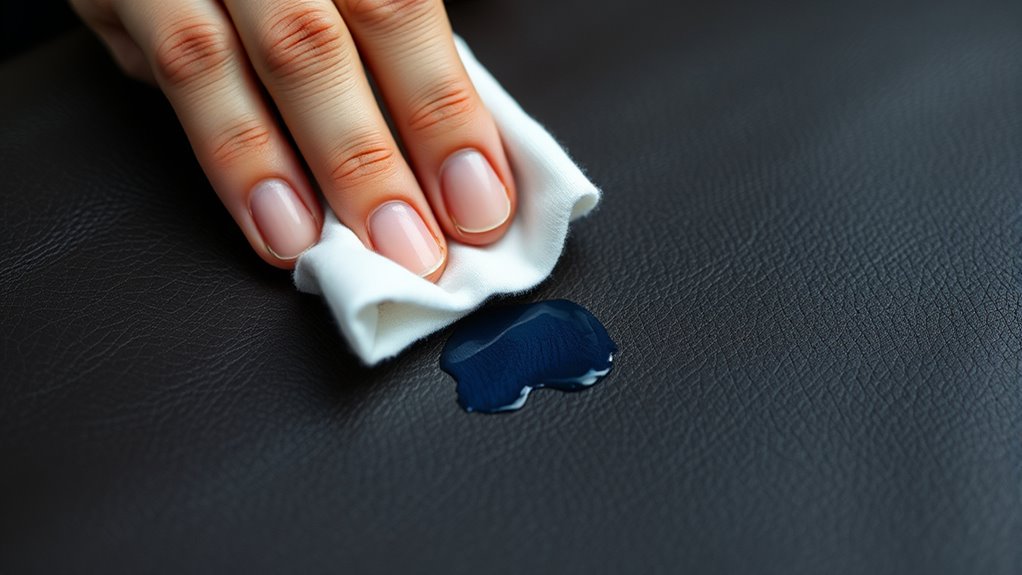
When you spot the ink stain, start by gently blotting it with a clean, dry cloth to lift as much ink as possible without spreading the mark. Avoid rubbing, as this can push the ink deeper into the leather fibers or enlarge the stain.
Use light, dabbing motions and frequently switch to a fresh area of the cloth to prevent reapplying the ink back onto the leather. Patience is key here; take your time to carefully absorb the excess ink.
Gently dab and switch cloth areas often to avoid spreading ink—patience helps absorb excess ink effectively.
If the cloth becomes saturated, replace it with a new one to maintain effectiveness. Remember, blotting only removes surface ink, so don’t expect the stain to vanish immediately.
This step prepares the leather for the next cleaning phase while minimizing damage.
Apply a Leather Cleaner or Mild Soap
Since blotting only lifts surface ink, you’ll need to apply a leather cleaner or mild soap to break down the stain further without harming the material.
Here’s how to do it effectively:
- Dampen a soft cloth with warm water and add a small amount of mild soap or leather cleaner.
- Gently rub the stained area in circular motions, avoiding harsh scrubbing.
- Continue until the ink begins to lift, but don’t saturate the leather.
- Wipe away any soap residue with a clean, damp cloth and allow the leather to air dry naturally.
This method helps to break down ink without damaging your leather’s finish. It also gets the surface ready if you need to try any additional treatments later on.
Use Rubbing Alcohol or Hairspray Carefully
If mild soap or leather cleaner doesn’t fully remove the ink, you can try rubbing alcohol or hairspray as a stronger solution. First, test a small, hidden area of the leather to make sure it won’t cause discoloration or damage.
Dampen a cotton swab or soft cloth with a small amount of rubbing alcohol or hairspray, then gently dab the ink stain. Avoid rubbing too hard, as this can spread the ink or harm the leather’s surface.
Work in small sections and check your progress frequently. Once the ink starts to lift, stop applying the liquid to prevent over-saturation.
Condition the Leather After Cleaning
Although cleaning removes the ink stain, it can also strip the leather of its natural oils, leaving it dry and prone to cracking. To restore softness and protect your leather, conditioning is essential.
Here’s how to do it right:
- Choose a leather conditioner suitable for your leather type.
- Apply a small amount of conditioner to a soft cloth.
- Gently rub the conditioner into the leather using circular motions.
Let it absorb for at least 30 minutes, then buff with a clean cloth to remove excess.
Conditioning replenishes moisture, maintains flexibility, and extends the life of your leather item. Don’t skip this step after cleaning to keep your leather looking fresh and durable.
Frequently Asked Questions
Can Ink Stains on Leather Be Completely Removed Every Time?
You can’t always remove ink stains from leather completely every time, but you can often minimize them considerably. Acting quickly and using the right products increases your chances of success without damaging the leather surface.
It’s all about timing and technique. The sooner you tackle that stain, the better your results will be. Plus, being gentle with the leather is key to keeping it looking great.
Is It Safe to Use Household Items Like Nail Polish Remover on Leather?
You wouldn’t dunk your leather couch in a vat of acid, right? So, no, using nail polish remover isn’t safe—it’s like sending your leather to a chemical spa from hell.
Stick to gentler, leather-friendly cleaners instead. They’ll clean your leather without causing damage. Trust me, your couch will thank you!
How Long Should I Wait Before Using the Leather After Cleaning?
You should wait at least 24 hours before using the leather after cleaning to guarantee it’s completely dry and the cleaner has settled.
This prevents damage and helps maintain the leather’s quality and appearance. Taking a little extra time really pays off in keeping your leather looking great!
What Types of Leather Are Most Vulnerable to Ink Stains?
Ink stains sneak into delicate leather like a thief in the night, especially on suede and nubuck. You’ll find these porous types soak up ink quickly, making them more vulnerable than smooth, sealed leather surfaces.
Because they’re so absorbent, once ink touches suede or nubuck, it’s tough to get out. On the other hand, smooth leather has a protective finish that helps repel ink, giving you a bit more time to clean it up before it sets.
Can Professional Leather Cleaning Services Remove Ink Stains Better?
Yes, professional leather cleaning services can remove ink stains better because they use specialized products and techniques.
You’ll get more effective, safer results, especially on delicate or high-value leather items that need expert care. It’s definitely worth considering if you want to keep your leather looking its best.
Conclusion
Removing ink from leather is like untangling a knot—patience and the right tools make all the difference. Just like when I once carefully freed a necklace from a stubborn tangle, you’ll find that testing solutions and gentle blotting work wonders.
Start by dabbing the ink with a clean cloth—don’t rub, or you might make it worse. Then, try a small amount of leather cleaner or a mild soap solution, but always test it on a hidden spot first.
Remember, treating your leather with care and conditioning it afterward keeps it looking fresh. It’s like giving your favorite shoes a good polish after a long day. With the right steps, removing ink pen from leather becomes manageable, and your leather can stay smooth and stain-free. You’ve got this!