How to Remove Pen Ink From Wood Step by Step
To remove pen ink from wood, first figure out what kind of ink and finish you’re dealing with. It’s important to know this so you can choose the right cleaning method without damaging your wood surface. Gather soft cloths, mild soap, water, and maybe rubbing alcohol.
Start by testing your cleaner on a hidden spot to avoid any damage. This little step can save your wood finish from unexpected harm. Begin gently blotting the stain with soapy water.
If the ink is stubborn, try using rubbing alcohol—but be sure to avoid harsh scrubbing.
Once the ink is gone, polish the wood to restore its shine and protect the surface. This final touch makes your wood look fresh and cared for. Keep reading to uncover detailed steps for the best results and get your wood looking great again!
Key Takeaways
- Identify the ink type and check if the wood finish is sealed or delicate before cleaning.
- Gather soft cloths, cotton swabs, mild soap, rubbing alcohol, and gloves for safe cleaning.
- Test any cleaning solution on a hidden spot to prevent damage or discoloration.
- Gently blot the ink stain with mild soapy water, then use rubbing alcohol for stubborn marks.
- After cleaning, apply wood polish or wax to restore shine and protect the surface.
Identify the Type of Ink and Wood Finish
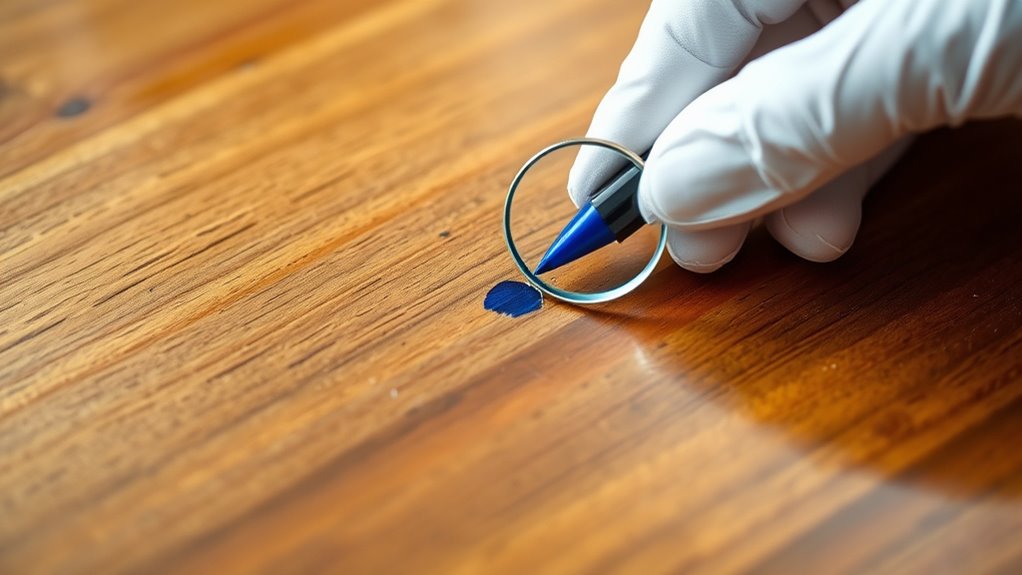
Before you start removing pen ink from wood, you need to identify the type of ink and the wood finish involved. Different inks—ballpoint, gel, or permanent marker—react differently to cleaning methods.
Identify the ink type and wood finish first, as different inks and surfaces require different cleaning methods.
Ballpoint ink is oil-based and might require gentle solvents, while gel ink is water-based and often easier to remove. Permanent marker ink is tougher and needs stronger treatments.
Next, check your wood’s finish. Is it sealed with varnish, polyurethane, or wax? Sealed surfaces resist liquids better, so you can use mild cleaners without damaging the wood.
Unsealed or waxed wood is more delicate, so you’ll want to avoid harsh chemicals that can cause discoloration or warping. Knowing these details helps you choose the safest, most effective cleaning approach without harming your wood.
Gather Necessary Cleaning Materials
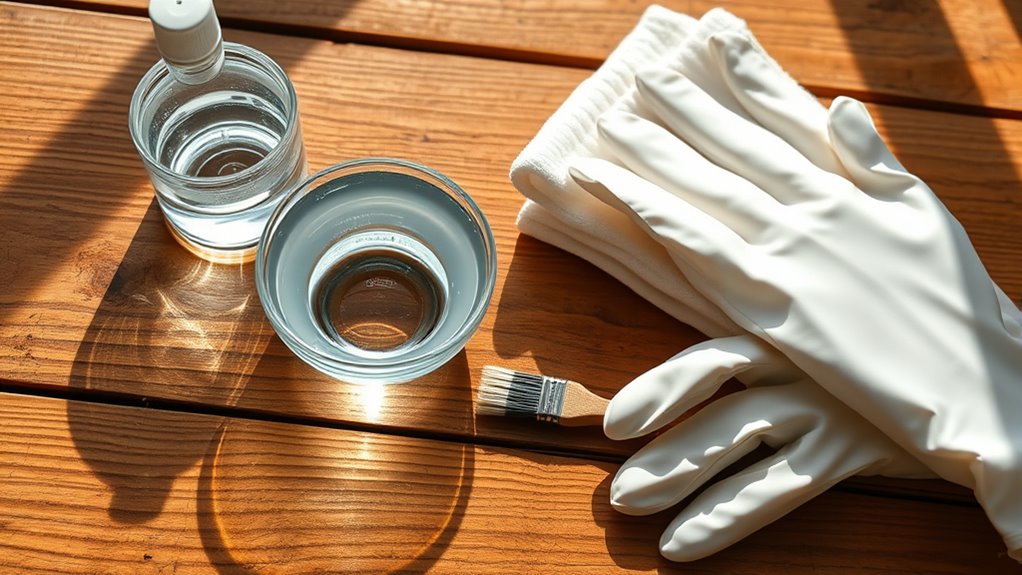
Before you start removing the ink, make sure you have the right cleaning supplies on hand. Choose products that are safe for your wood finish to avoid any damage.
Having everything ready will make the process smoother and more effective. It’s always better to be prepared before you dive in!
Essential Cleaning Supplies
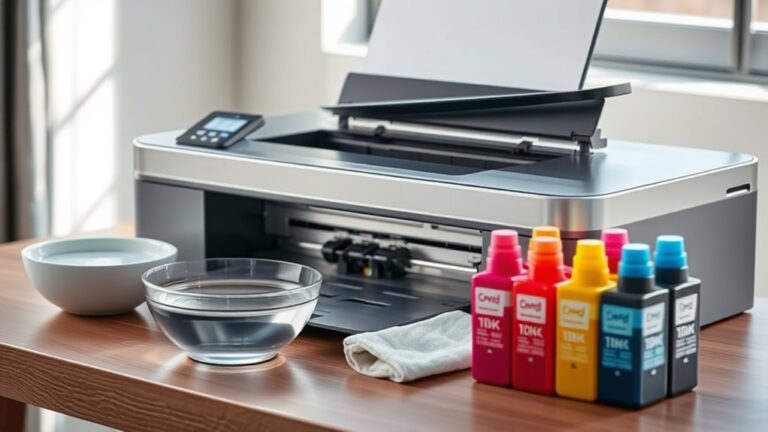
To effectively remove pen ink from wood, you’ll need a few essential cleaning supplies ready at hand. Start with a soft, clean cloth or microfiber towel to avoid scratching the wood surface.
Have cotton swabs or Q-tips available for precise application of cleaning solutions in tight spots. You’ll also want a small bowl for mixing any homemade cleaners if necessary.
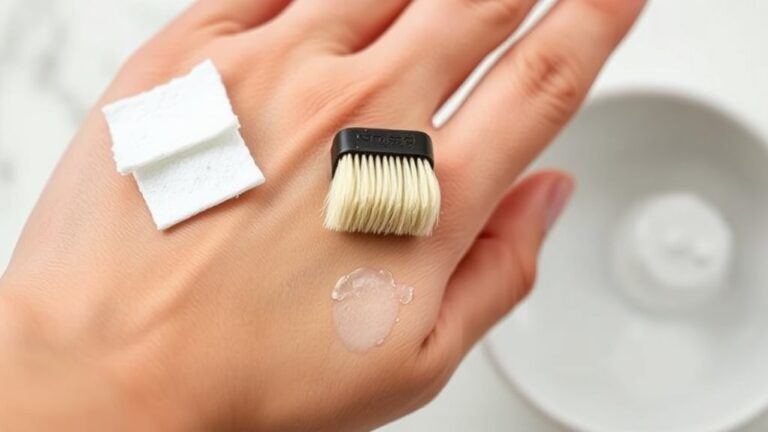
Keep a gentle scrub brush or an old toothbrush handy, especially for textured wood where ink might settle in grooves. Additionally, gather gloves to protect your hands and paper towels for quick blotting of excess liquid.
Having these supplies organized beforehand ensures you can act quickly and efficiently. This way, you minimize the risk of ink spreading or damaging the wood finish during the cleaning process.
Choosing Safe Products
When you choose cleaning products, make sure they’re gentle enough to protect your wood’s finish while still tackling the ink stain effectively. Avoid harsh chemicals like acetone or bleach, as they can damage the wood’s surface or strip its finish.
Instead, opt for mild options such as diluted dish soap, white vinegar mixed with water, or specialized wood cleaners. Test any product on a small, hidden area first to ensure it won’t discolor or harm the wood.
You can also use natural remedies like baking soda paste or lemon juice, but apply them cautiously. Having soft cloths, cotton swabs, and a soft-bristled brush on hand will help you apply these products precisely without scratching the wood.
Choosing safe products guarantees your wood stays beautiful while removing the ink. So, take your time and handle the cleaning gently!
Test Cleaning Solutions on a Hidden Area
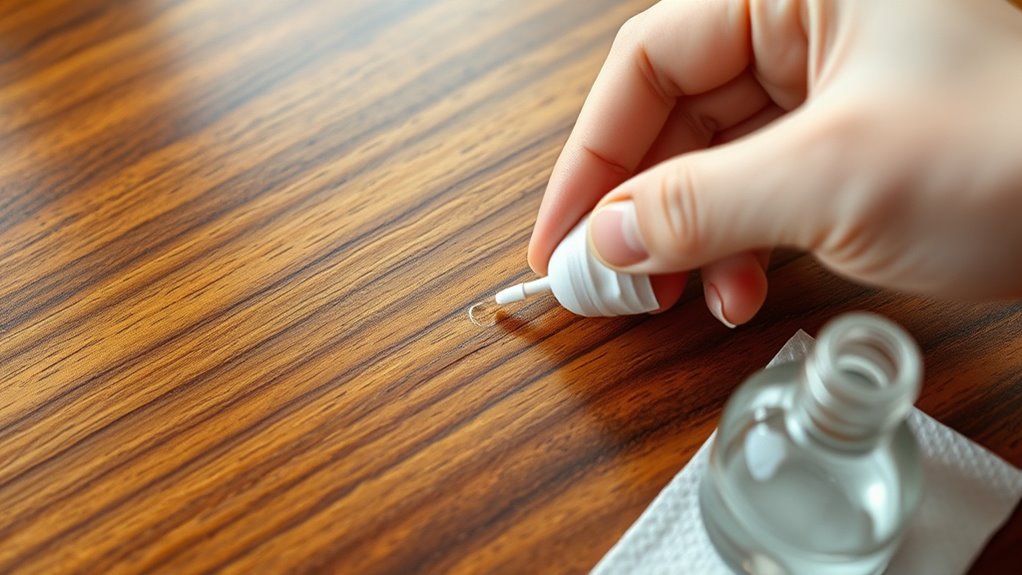
Before applying any cleaning solution, pick a hidden spot on the wood to test it. Apply a small amount and watch closely for any discoloration or damage.
This step helps you avoid ruining the visible surface. Better safe than sorry, right? Just a quick test can save you a lot of trouble later on.
Choose a Discreet Spot
Although it might seem tempting to apply cleaning solutions directly to the visible ink stain, you should always start by testing them on a hidden area of the wood. Choose a discreet spot, like the back of furniture or an underside surface, where any damage won’t be obvious.
This way, you can safely see how the wood reacts to the cleaner without risking visible harm. Apply a small amount of the solution and wait a few minutes to check for any adverse effects, such as discoloration or finish damage.
Testing in a concealed area helps you avoid surprises and ensures the cleaning method is safe before tackling the ink stain itself. Taking this cautious step saves you time and protects your wood’s appearance.
Observe for Discoloration
After applying the cleaning solution to a hidden spot, keep a close eye on the area for any signs of discoloration or damage. This step is vital to avoid ruining your wood’s finish.
Check every 5 minutes for at least 30 minutes, noting any color changes or surface texture shifts. If you notice discoloration, stop immediately and try a gentler alternative.
Below is a quick guide to help you observe and react properly:
| Time Checked | Discoloration Observed | Recommended Action |
|---|---|---|
| 5 minutes | No | Continue monitoring |
| 10 minutes | Slight | Assess before proceeding |
| 20 minutes | Moderate | Stop and try a different solution |
| 30 minutes | Severe | Avoid using that cleaner |
| Post-Test | None | Safe to proceed on main area |
Apply Mild Soap and Water Solution
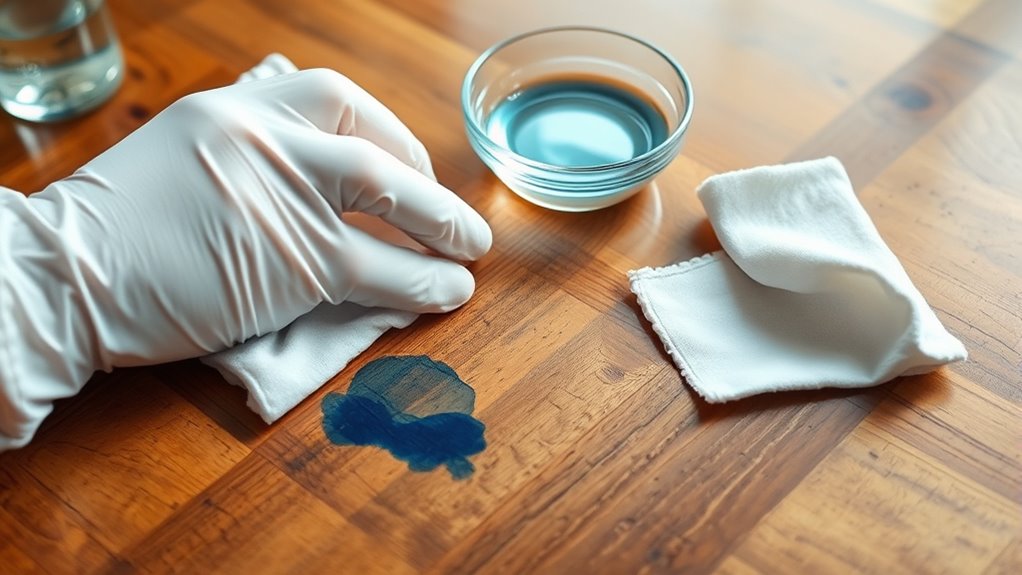
When you notice fresh pen ink on wood, you can start by applying a mild soap and water solution to gently lift the stain. Mix a few drops of mild dish soap with warm water in a bowl.
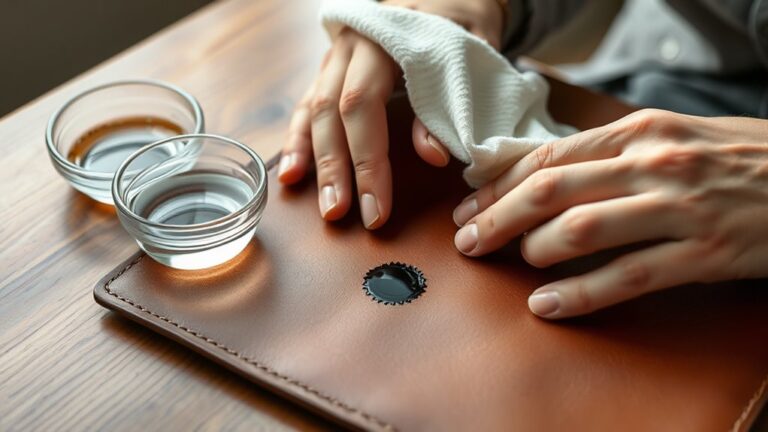
Dampen a soft cloth or sponge with the solution—don’t soak it—and gently blot the ink stain. Avoid rubbing harshly, as this might damage the wood’s finish.
Keep blotting until you see the ink start to fade. After that, use a clean, damp cloth to wipe away any soap residue.
Finally, dry the area thoroughly with a dry cloth to prevent moisture damage. This method works best on fresh ink stains and helps protect the wood’s surface while removing the ink effectively.
Use Rubbing Alcohol or Vinegar for Stubborn Ink
If mild soap and water don’t fully remove the ink, you can try using rubbing alcohol or vinegar to tackle stubborn stains. Dampen a clean cloth or cotton ball with rubbing alcohol and gently blot the ink stain.
Avoid rubbing harshly, as that could damage the wood’s finish. If you prefer vinegar, mix equal parts white vinegar and water, then apply it similarly with a cloth. Both substances break down ink pigments effectively but test a small, hidden area first to ensure they won’t discolor or harm your wood.
After treating the stain, wipe the area with a damp cloth to remove any residue. Repeat the process as needed, but always proceed carefully to protect your wood’s surface.
Polish and Protect the Wood Surface
Though removing the ink stain is essential, you’ll want to polish and protect the wood surface to restore its shine and prevent future damage. Start by wiping the area with a clean, damp cloth to remove any residue from cleaning agents.
Next, apply a small amount of wood polish or a high-quality furniture wax using a soft cloth. Rub it in gently with circular motions, enhancing the wood’s natural luster.
Apply wood polish or furniture wax with a soft cloth, rubbing gently to enhance the wood’s natural shine.
Allow the polish to dry, then buff the surface with a dry cloth to achieve a smooth finish. Finally, consider applying a protective sealant or finishing oil to shield the wood from moisture and stains.
This will keep your wood looking great and help prevent future ink marks.
Frequently Asked Questions
Can Pen Ink Damage the Wood Permanently?
Yes, pen ink can permanently damage wood if it seeps deeply or isn’t cleaned quickly. You should act fast to prevent staining.
Once the ink dries, it might penetrate the wood grain, making removal difficult or even impossible. So, the sooner you tackle it, the better!
How Long Should I Wait Before Treating Fresh Ink Stains?
When it comes to fresh ink stains, don’t wait too long—treat them within 10-15 minutes. You know what they say, strike while the iron’s hot.
Acting quickly prevents permanent damage to your wood. So, grab your cleaning supplies and get to it right away!
Are There Any Natural Alternatives to Rubbing Alcohol for Ink Removal?
Yes, you can use natural alternatives like lemon juice, baking soda paste, or white vinegar. They gently break down the ink without harsh chemicals.
Just make sure to test on a small area first. You don’t want to risk damaging the wood’s finish.
Can I Use a Hairdryer to Speed up the Drying Process?
You can use a hairdryer to speed up drying, but don’t blast the wood like a knight charging into battle. Keep it on low heat to avoid damage and guarantee the ink remover works effectively without warping the surface.
Is It Safe to Use Ink Removal Products on Antique Wood Furniture?
You shouldn’t use harsh ink removers on antique wood since they can damage the finish. Instead, test a mild cleaner on a hidden spot first.
Proceed cautiously to protect your furniture’s value and integrity. It’s always better to be safe than sorry when dealing with antiques!
Conclusion
Now that you’ve gently lifted the stubborn ink from your wood, imagine the smooth, untouched surface beneath your fingertips—warm and inviting as the morning sun.
With each careful polish, you bring back its natural glow, protecting it like a treasured memory. Remember, patience and the right touch turn a messy blot into a beautifully restored canvas.
Removing pen ink from wood takes time, but the results are worth every effort. You’ve done a great job bringing it back to life, letting your wood shine with the grace it deserves. Keep these steps in mind for any future ink mishaps, and your wood surfaces will stay looking fresh and beautiful.