

How Do You Get Ink Out of a Couch in 10 Effective Steps
First, identify your couch’s fabric and check its cleaning code to choose the right method. Knowing the material is key when trying to get ink out of a couch without causing damage.
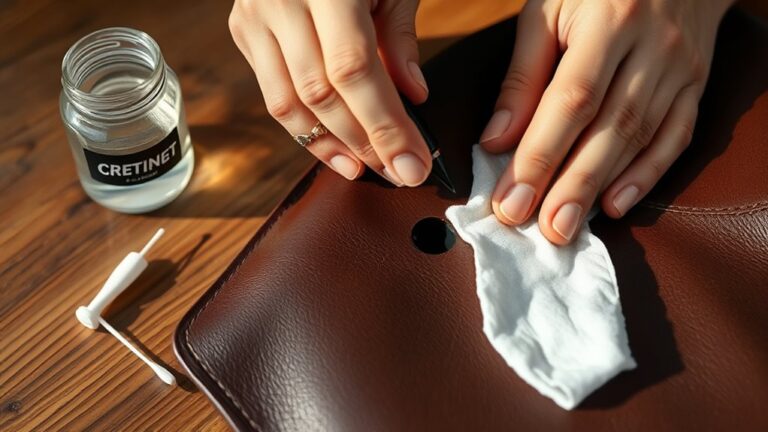
Blot the ink gently with a clean cloth—don’t rub to avoid spreading the stain further.
Next, test rubbing alcohol or a mild soap solution in a hidden spot to see how your fabric reacts.
If it looks good, use a soft brush to work the cleaner into the ink stain.
Then, rinse with a damp cloth and blot dry carefully.
Finally, apply a fabric protector to keep stains at bay in the future.
This simple step helps safeguard your couch and maintain its appearance.
Keep going to uncover tips for tackling tougher spots and safeguarding your couch further.
Key Takeaways
– Identify your couch fabric and cleaning code (W, S, WS, X) to choose the correct cleaning method and avoid damage.
This step is super important because using the wrong cleaner can make things worse.
– Blot fresh ink stains immediately with a clean white cloth without rubbing to prevent spreading.
Don’t rub! Just gently blot to soak up the ink.
– Test cleaning solutions on a hidden area before applying them to the stain to ensure no fabric damage.
Better safe than sorry, right? A quick test can save your couch.
– Use rubbing alcohol or mild dish soap with a soft brush in gentle circular motions to lift ink effectively.
Go slow and be gentle here. The circular motion helps break down the ink without hurting the fabric.
– Rinse the area with cool water, blot dry carefully, and allow it to air dry completely to prevent residue and fabric harm.
Patience pays off—let it dry naturally so your couch looks great again.
Identify the Couch Material

Before you begin removing ink, you need to identify the couch material. Different fabrics react differently to cleaning agents, so knowing what you’re dealing with helps prevent damage.
Check the manufacturer’s tag—often found under cushions or on the frame—for fabric type and cleaning codes like W, S, WS, or X. W means you can use water-based cleaners, S indicates you should stick to solvent-based products, WS allows both, and X means professional cleaning only.
If there’s no tag, test a hidden spot with a small amount of water to see if it soaks in or damages the fabric. Leather and microfiber require special care, so identifying these materials upfront ensures you choose the right method and avoid making the stain worse.
Blot the Ink Stain Immediately

Once you know your couch material, act quickly to stop the ink from spreading. Grab a clean, white cloth or paper towel and gently blot the stain.
Don’t rub—the friction will push the ink deeper into the fibers and make the stain worse. Instead, press lightly to absorb as much ink as possible.
Change to a fresh part of the cloth frequently to avoid redistributing the ink. Blot from the outside edges of the stain toward the center to prevent it from spreading.
The faster you act, the easier it’ll be to remove the ink later. Remember, patience and gentleness at this stage set the foundation for successful cleaning without damaging your couch fabric.
Test Cleaning Solutions on a Hidden Area
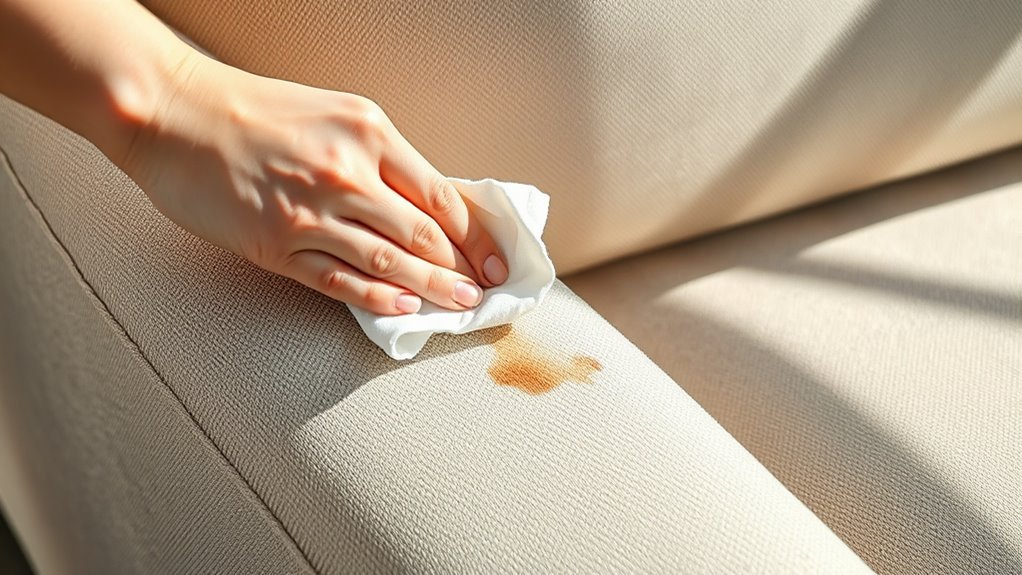
Even if a cleaning solution promises great results, you should test it on a hidden part of your couch first to avoid unexpected damage or discoloration. This step verifies the fabric’s color and texture stay intact.
Here’s how to do it right:
- Choose a discrete spot, like under a cushion or the couch’s back.
- Apply a small amount of the cleaning solution and wait 5-10 minutes.
- Check for any changes in color, texture, or fabric integrity.
If the area looks unaffected, it’s safe to proceed with treating the ink stain. But if you notice any damage, try another cleaning product or method.
Testing first prevents costly mistakes and keeps your couch looking fresh. So, it’s definitely worth taking a few extra minutes.
Use Rubbing Alcohol to Lift the Ink
Although it might seem harsh, rubbing alcohol effectively breaks down ink stains on fabric without causing damage when used properly. Start by dabbing a small amount of rubbing alcohol onto a clean white cloth or cotton ball.
Gently blot the ink stain—don’t rub—so the alcohol lifts the ink without spreading it further. You’ll notice the ink transferring to the cloth.
Keep rotating to a clean section of the cloth as the stain fades. Avoid saturating the fabric; a little goes a long way.
After lifting most of the ink, let the area air dry completely. If necessary, repeat the process carefully.
Using rubbing alcohol this way helps break down stubborn ink pigments, making it easier to remove the stain while keeping your couch’s fabric safe.
Apply a Mild Dish Soap Solution
You’ll want to pick a gentle dish soap that won’t damage your couch fabric. Mix a small amount of the soap with warm water to create a mild cleaning solution.
This mixture will help break down the ink without being too harsh. It’s a simple way to tackle stains without worrying about ruining your couch.
Choosing a Gentle Soap
A mild dish soap solution works best when tackling ink stains on your couch because it cleans effectively without damaging the fabric. When choosing a soap, you want to prioritize gentleness while still having the power to break down ink.
Here’s what to take into account:
- Avoid harsh detergents with strong chemicals that can discolor or weaken upholstery fibers.
- Pick a soap labeled “mild” or “gentle” to ensure it won’t irritate sensitive fabrics.
- Choose a fragrance-free option if you or your family members have allergies or sensitivities.
Preparing Soap Mixture
Before applying the soap solution, mix a small amount of mild dish soap with warm water to create an effective cleaning agent. Use about one teaspoon of dish soap in a cup of warm water. Stir gently until it forms suds.
Avoid using too much soap—excess can leave residue, making the stain harder to remove. Pour the mixture into a clean spray bottle or bowl for easy application.
Always test the solution on a hidden part of your couch first to guarantee it won’t damage the fabric or cause discoloration. Once you confirm it’s safe, you’re ready to proceed with cleaning.
This simple soap mixture will help break down the ink without harming your couch, making the stain easier to lift when you start scrubbing.
Try a Commercial Upholstery Cleaner
When home remedies don’t fully remove ink stains, commercial upholstery cleaners can offer a stronger solution. These products are specially formulated to break down tough stains without damaging your couch fabric.
Before you start, follow these steps: First, test the cleaner on a hidden area to check for colorfastness and fabric reaction. Then, apply the cleaner directly to the ink stain, following the manufacturer’s instructions for best results.
Always test cleaners on a hidden spot first to ensure fabric safety and colorfastness before treating stains.
Let the cleaner sit for the recommended time to penetrate and lift the ink before blotting with a clean cloth. Using a commercial cleaner can save time and effort, especially when dealing with stubborn ink marks.
Just remember to always read labels carefully and verify the product suits your couch’s material for safe and effective cleaning. It’s worth taking a little extra time here to protect your furniture!
Use a Soft Brush to Gently Scrub
Choose a soft brush with gentle bristles to avoid damaging your couch fabric. Use gentle circular motions to lift the ink without spreading it further.
Make sure you don’t press too hard, as excessive pressure can push the stain deeper into the fibers. Just take it slow and easy—that way, you’ll protect your couch while getting the stain out.
Choose Appropriate Brush Type
Although it might be tempting to use a stiff brush for quick results, you’ll want to pick a soft brush to gently scrub the ink stain. A hard brush can damage your couch fabric, making the stain worse or causing permanent marks.
When choosing the right brush, consider these points:
- Bristle softness: Opt for soft, natural bristles or a soft nylon brush to protect the fabric.
- Size: Select a small to medium-sized brush for better control over the scrubbing area.
- Handle comfort: Choose a brush with a comfortable grip to avoid hand fatigue during cleaning.
Apply Gentle Circular Motions
Since ink stains can spread easily, you’ll want to use gentle circular motions with your soft brush to lift the ink without pushing it deeper into the fabric. Dip your brush lightly into the cleaning solution, then softly work it into the stained area in small, controlled circles.
This technique helps break down the ink while preventing it from spreading. Avoid scrubbing back and forth or applying too much force, as that can damage the couch fibers or enlarge the stain.
Focus on the center of the stain and gradually move outward, allowing the ink to lift naturally. Remember to check your progress often and reapply the cleaning solution as needed, making sure you don’t oversaturate the fabric during this step.
Avoid Excessive Pressure
When you remove ink from your couch, pressing too hard can push the stain deeper into the fabric. To avoid this, use a soft brush to gently scrub the affected area. This approach helps lift the ink without damaging your couch.
Follow these steps:
- Choose a soft-bristled brush, like a toothbrush, to protect the fabric.
- Lightly dampen the brush with your cleaning solution.
- Use gentle, circular motions to loosen the ink without applying heavy pressure.
Rinse the Area With Clean Water
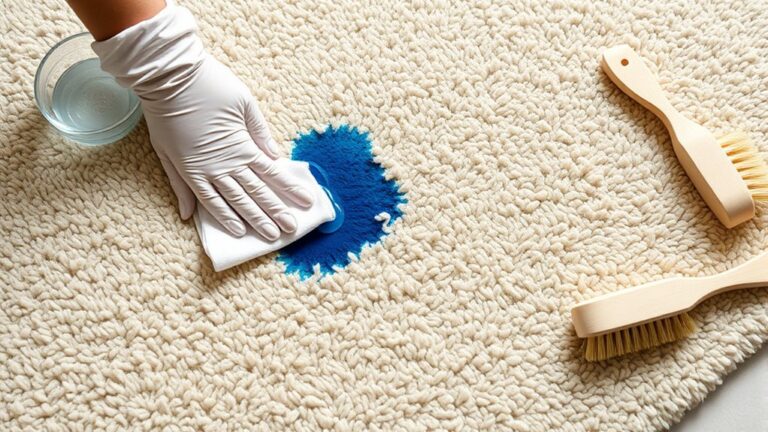
After applying your chosen cleaning solution, you’ll want to rinse the area with clean water to remove any remaining ink and detergent residue. Dampen a clean cloth or sponge with cool water—avoid soaking it—and gently wipe the treated spot.
This helps lift away loosened ink particles and prevents any leftover cleaning agents from attracting dirt later. Be careful not to oversaturate the fabric, as excess moisture can cause water stains or damage the couch’s padding.
Rinsing also guarantees no sticky residue remains, which could attract more dirt or cause discoloration. Take your time to thoroughly but gently rinse the area, using fresh water as needed until the fabric feels clean to the touch.
This step is vital before moving on to drying the spot properly.
Blot the Area Dry With a Clean Cloth
Although the area may still feel damp, you should gently blot it dry with a clean cloth to prevent moisture from seeping deeper into the couch. Avoid rubbing, as this can spread the ink or push it further into the fabric.
Instead, press lightly and lift the cloth repeatedly to absorb the moisture. To blot effectively, follow these steps:
- Use a white or colorfast cloth to avoid transferring dyes onto the couch.
- Apply gentle pressure and move to a dry section of the cloth frequently.
- Continue blotting until the fabric feels just slightly damp and no more ink transfers.
This method helps minimize damage and prepares the area for any additional cleaning steps without adding excess moisture. Just take it slow and steady to get the best results.
Apply a Fabric Protector to Prevent Future Stains
To keep your couch looking fresh and shield it from future ink stains, you’ll want to apply a fabric protector. Start by choosing a product specifically designed for your couch’s fabric type.
Before applying, test the protector on a small, hidden area to verify it doesn’t alter the color or texture. Once tested, spray or apply the protector evenly across the surface, following the manufacturer’s instructions closely.
This creates a barrier that repels liquids and makes cleaning spills easier. Allow the fabric protector to dry completely before using the couch to maximize its effectiveness.
Reapply the protector every few months or after cleaning to maintain protection. Taking this simple step helps keep your couch stain-resistant and looking great longer.
Frequently Asked Questions
Can Ink Stains Damage Leather Couches Permanently?
Yes, ink stains can permanently damage leather couches if you don’t act quickly.
You’ll want to clean the stain gently and use appropriate leather cleaners to avoid discoloration or drying out the leather. This helps preserve your couch’s appearance.
How Long Do I Have to Treat an Ink Stain?
You know what they say, “strike while the iron is hot.” You should treat an ink stain within 10-15 minutes to prevent it from setting.
Acting fast gives you the best chance to remove it completely. Don’t wait around too long! The sooner you tackle it, the better your results will be.
Are There Natural Alternatives to Rubbing Alcohol for Ink Removal?
Yes, you can use natural alternatives like lemon juice, white vinegar, or baking soda paste. They gently break down ink stains without harsh chemicals.
Just make sure to test on a hidden spot first. You don’t want to accidentally damage your couch fabric!
Can Professional Cleaning Remove Old Ink Stains Completely?
Yes, professional cleaning can often remove old ink stains completely, but results vary based on fabric type and stain age.
They’ll use specialized treatments you probably can’t replicate at home, increasing your chances of a spotless couch.
Is It Safe to Use Hair Spray on Ink Stains?
You might think hair spray’s a quick fix, like using duct tape on a leaky pipe—it seems effective but can cause damage.
It’s not always safe; test a hidden spot first to avoid ruining your couch fabric.
Conclusion
Getting ink out of your couch can feel like steering through a tricky maze, but with these steps, you’ll find your way to a spotless finish. By acting quickly, choosing the right cleaners, and treating your couch gently, you’ll restore its look without damage.
Think of your efforts as turning a messy canvas into a fresh masterpiece. Your couch will thank you for the care, looking clean and inviting once again.
Remember, tackling ink stains on upholstery is all about patience and the right approach. Using effective stain removers and gentle cleaning techniques will help preserve your couch’s fabric while removing the ink.
So, don’t stress if the stain looks tough at first. Follow these steps, and you’ll get ink out of a couch successfully, bringing back its original charm and keeping your living space fresh and welcoming.