How Ink Is Made Step by Step
You start making ink by gathering quality raw materials like pigments, solvents, and additives. These ingredients are essential for creating vibrant and durable ink that meets specific needs. Choosing the right materials sets the foundation for the entire process.
Next, you process pigments and dyes to achieve the right color and consistency, often grinding and stabilizing particles. This step is crucial because the texture and hue affect how the ink performs and looks on paper. It’s a bit like mixing paints to get just the shade you want.
Then, you mix these components with binders and solvents, ensuring smooth flow and proper drying. This blending helps the ink spread evenly and dry at the right speed. Without this balance, the ink could smudge or fade too quickly.
After that, you test for color accuracy and durability. Quality control ensures the ink won’t lose its punch over time or under different conditions. It’s kind of like a final check before the ink hits the shelves.
Finally, you package the ink securely for shipment. Proper packaging prevents leaks and protects the product during transport. There’s more to discover about each step’s details and techniques, but that’s the basic journey of making ink.
Key Takeaways
- Select and prepare high-quality raw materials, including pigments, solvents, and additives. Make sure they are pure and stable before starting production.
- Process pigments and dyes by grinding, mixing, and stabilizing them. This helps achieve consistent color and prevents clumping of particles.
- Formulate the ink by precisely mixing pigments, binders, solvents, and additives. Then homogenize the mixture to ensure a uniform texture and optimal performance.
- Conduct rigorous quality control tests on color, viscosity, drying time, and durability. This step is essential to maintain consistency and reliability in the ink.
- Finally, package the ink in airtight containers with proper labeling. Use protective shipping measures to preserve quality during storage and transport.
Gathering Raw Materials
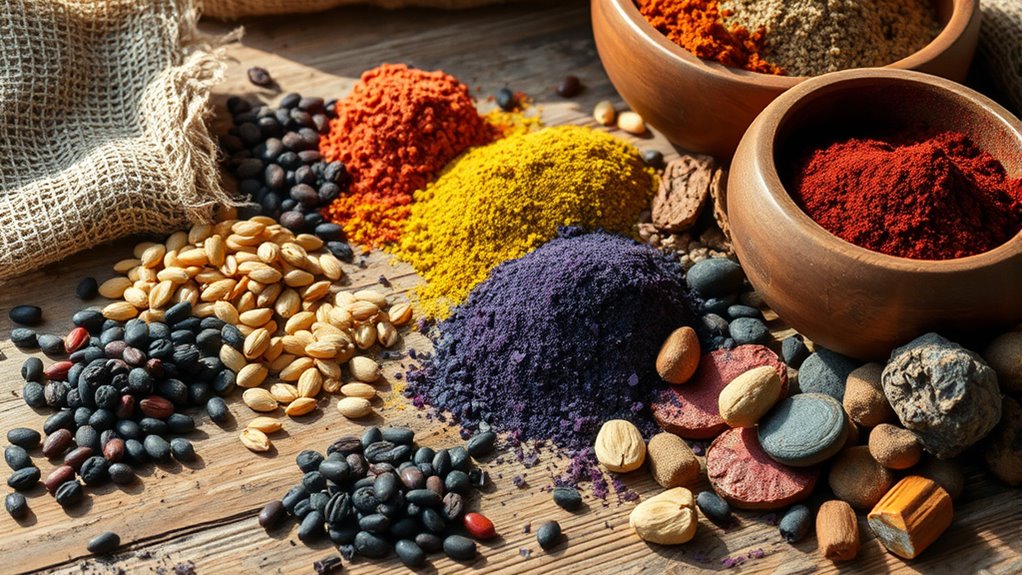
Before ink can be produced, manufacturers gather essential raw materials like pigments, solvents, and additives. You’ll find pigments provide color, solvents dissolve components, and additives enhance properties like drying time and flow.
These materials come from various sources—natural minerals, synthetic chemicals, and plant extracts. You need to ensure raw materials meet strict quality standards for consistency and safety.
Suppliers deliver these ingredients carefully packaged to prevent contamination. When you handle them, you must store everything properly to maintain stability.
Gathering raw materials lays the foundation for making reliable ink. Without this critical step, the entire process could suffer from poor quality or performance issues.
Preparing Pigments and Dyes
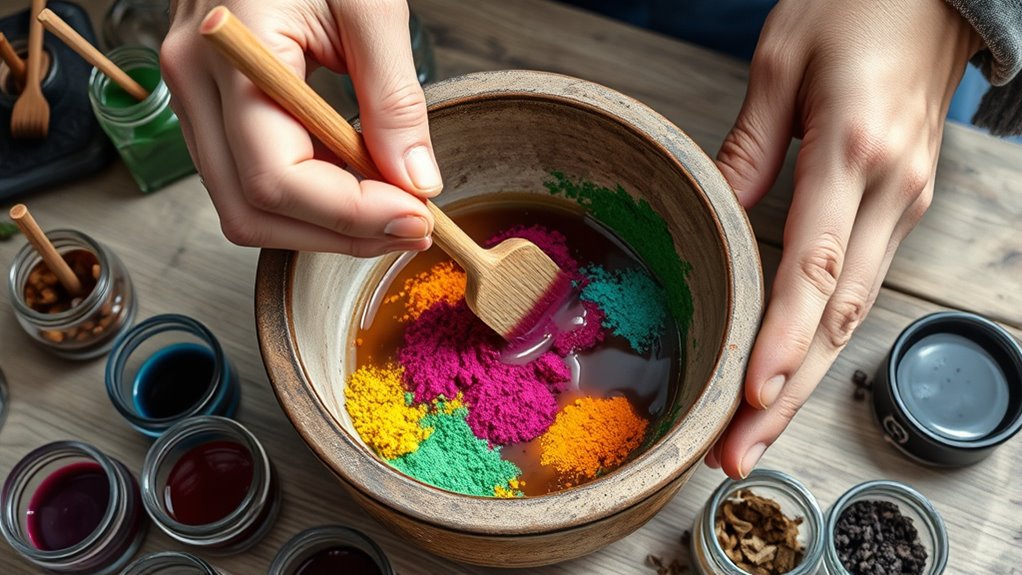
To make vibrant ink, you start by selecting the right color sources, whether natural or synthetic. Then, you grind and mix these pigments or dyes to achieve the perfect consistency.
Finally, you stabilize the pigment particles to guarantee the ink flows smoothly and lasts longer. It’s all about getting those colors just right and making sure they stay that way.
Selecting Color Sources
Although selecting the right color sources might seem straightforward, it plays a crucial role in determining the final quality of the ink. You need to contemplate whether to use pigments or dyes based on the ink’s intended use.
Pigments offer excellent lightfastness and opacity, making them ideal for durable prints, while dyes provide vibrant, transparent colors suited for applications needing bright hues. You’ll also evaluate color stability, toxicity, and compatibility with the ink’s base.
Natural sources like plant extracts or synthetic options are available, but synthetic pigments often provide more consistent results. By carefully choosing your color sources, you guarantee the ink achieves the desired shade, longevity, and performance without compromising safety or environmental standards.
This step sets the foundation before you move on to grinding and mixing. So, take your time here — getting the color source right makes all the difference.
Grinding and Mixing
Once you’ve selected your color sources, you’ll need to grind and mix the pigments or dyes to create a uniform, stable ink base. Start by breaking down solid pigments into fine particles using a grinder or ball mill. This process guarantees the pigment disperses evenly, preventing clumps or inconsistencies in the ink.
For dyes, you’ll dissolve them thoroughly in a solvent to achieve a consistent color. Next, combine your finely ground pigments or dissolved dyes with a liquid carrier, such as water or oil, depending on the ink type.
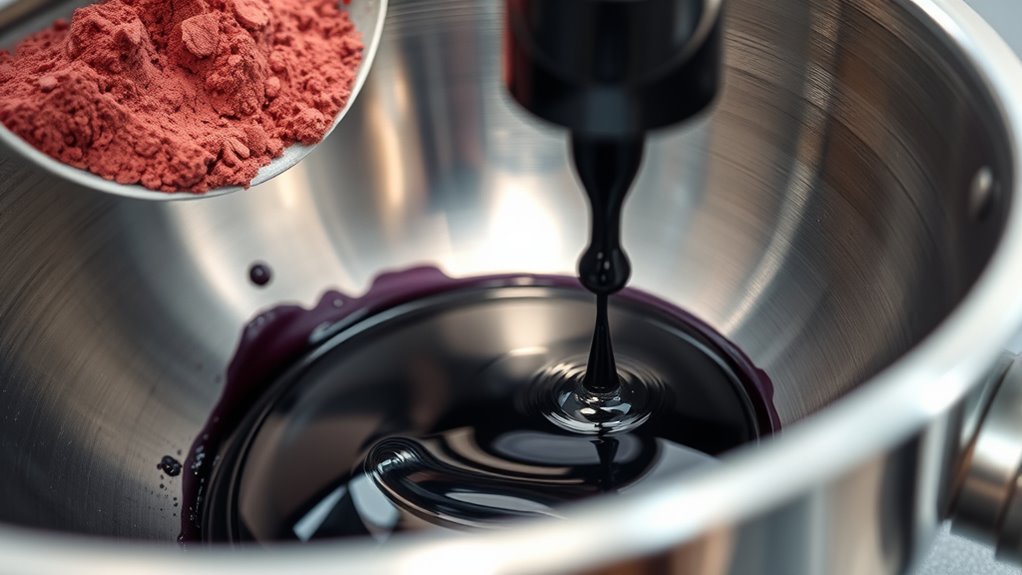
Mix these components thoroughly using high-speed mixers or agitators, ensuring every particle is evenly distributed. This step is vital since it directly affects the ink’s color intensity, smoothness, and overall quality, setting the foundation for the next production stages.
Stabilizing Pigment Particles
How do manufacturers keep pigment particles evenly suspended in ink instead of settling or clumping? They stabilize these particles by adding dispersants—special additives that coat each pigment particle and prevent them from sticking together.
You’ll find that these dispersants create a barrier, allowing pigments to stay evenly spread throughout the liquid. This process improves the ink’s consistency, color strength, and flow.
Without stabilization, pigments would settle at the bottom or form clumps, ruining print quality. You might also use ultrasonic treatments or high-speed mixers to break up any aggregates before adding dispersants.
Mixing and Milling the Ink Components
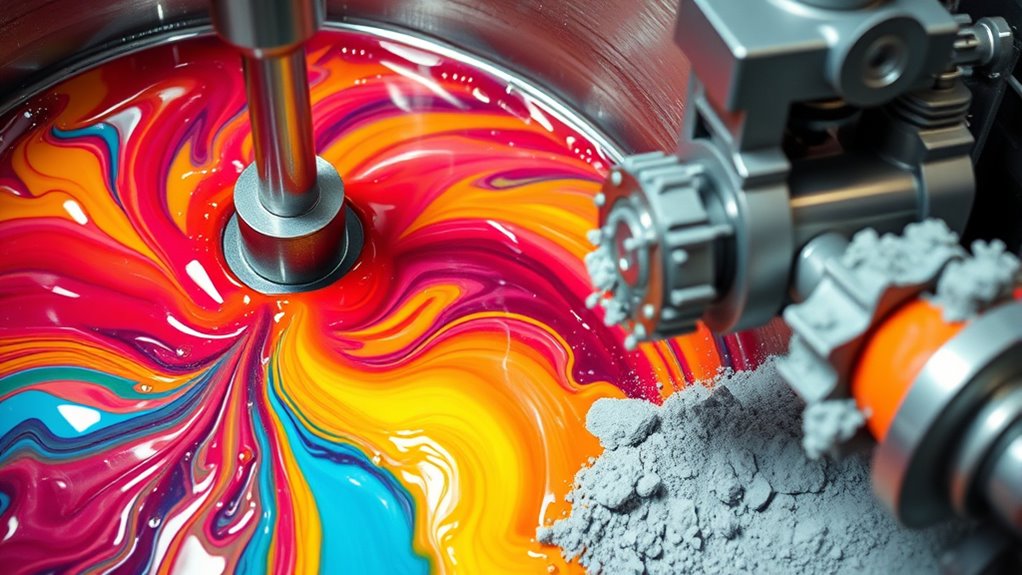
Now that you’ve prepared the pigments and dyes, it’s time to mix and mill the ink components carefully.
You’ll select the right ingredients and use grinding and dispersion techniques to break them down. This guarantees the pigments are evenly distributed for a smooth, consistent ink.
Ingredient Selection Process
Although selecting the right ingredients might seem straightforward, getting the perfect ink requires careful mixing and milling to guarantee consistency and color vibrancy. You start by choosing pigments or dyes based on the desired color and application.
Then, you pick binders that hold the pigment particles together and ensure adhesion to surfaces. Solvents are next; they control the ink’s flow and drying time.
Additives like surfactants and stabilizers improve texture and shelf life. When you combine these, you must measure precisely—too much solvent or binder can ruin the balance.
After gathering ingredients, you mix them thoroughly to form a uniform base before milling. This preparation ensures each batch matches standards and performs reliably in printing or writing tasks.
Grinding and Dispersion Techniques
Before you can achieve a smooth, consistent ink, you need to grind and disperse the pigment particles thoroughly. You start by combining pigments with a liquid vehicle, then use a mill or grinder to break down the particles into fine, uniform sizes.
This process reduces clumps and guarantees better color strength. Common equipment includes ball mills, roller mills, or high-speed dispersers, which apply mechanical forces to separate and evenly spread pigments throughout the liquid.
You’ll monitor the milling time carefully—too short, and particles remain coarse; too long, and you risk damaging pigment quality. Proper grinding also influences the ink’s flow and drying properties, so it’s vital to get this step right before moving on to final blending and testing.
Achieving Uniform Pigment Distribution
Achieving uniform pigment distribution requires carefully mixing and milling the ink components to guarantee every particle is evenly suspended. You’ll start by combining pigments with solvents and additives, then use high-speed mixers or milling machines to break down pigment agglomerates.
This process ensures consistent color and prevents settling. Monitoring parameters like time, speed, and temperature is vital for ideal results.
| Step | Tool | Purpose |
|---|---|---|
| Mixing | High-speed mixer | Blend components evenly |
| Milling | Ball mill | Break pigment clumps |
| Quality Check | Spectrophotometer | Verify color uniformity |
Adding Binders and Solvents
When inks take shape, you’ll find that binders and solvents play crucial roles in their performance. You add binders to hold pigment particles together and help the ink adhere smoothly to surfaces. Without binders, the pigment would flake off or smudge easily.
Solvents, on the other hand, control the ink’s consistency and drying time. By adjusting solvent levels, you can make the ink flow better or dry faster, depending on its intended use.
As you mix these components, you carefully balance their proportions to achieve the right texture and stability. This step guarantees the ink spreads evenly and resists cracking or fading.
Ultimately, adding binders and solvents transforms raw pigment into a functional, reliable ink ready for printing or writing. It’s all about getting the perfect mix so your ink performs just right.
Quality Control and Testing
How do manufacturers guarantee ink meets high standards every time? They rely on rigorous quality control and testing throughout the production process. You’ll see samples taken regularly to check consistency in color, viscosity, and drying time.
Precise instruments measure particle size and pigment dispersion, ensuring smooth application and vibrant results. You’ll also find tests for adhesion and resistance to water or fading, confirming the ink performs well under various conditions.
If any batch doesn’t meet the criteria, adjustments are made immediately, preventing subpar ink from reaching customers. This careful scrutiny helps maintain reliability and customer satisfaction.
Packaging and Distribution
After guaranteeing the ink meets strict quality standards, manufacturers package it carefully to protect its integrity during shipping and storage. You’ll see inks sealed in airtight containers, labeled with batch information, and sometimes encased in protective boxes.
Proper packaging prevents contamination and leaks, ensuring the ink arrives ready for use. Distribution involves coordinating shipments to printing companies, retailers, or directly to consumers, often using temperature-controlled vehicles to maintain quality.
Here’s a quick look at packaging and distribution details:
| Packaging Step | Purpose |
|---|---|
| Airtight sealing | Prevents drying and spills |
| Labeling | Tracks batch and type |
| Protective outer box | Shields from physical damage |
| Temperature control | Maintains ink stability |
| Timely shipping | Ensures fresh delivery |
Frequently Asked Questions
What Are the Environmental Impacts of Ink Production?
You’ll find ink production releases harmful chemicals and heavy metals, which can pollute water and soil. It also consumes energy and generates waste.
How Long Does Ink Typically Last Before Drying Out?
Ink typically lasts several months to a couple of years before drying out, depending on storage conditions.
If you keep it sealed tightly and stored in a cool, dark place, you can extend its lifespan considerably. So, it really pays off to store it right!
Can Ink Cause Allergic Reactions or Skin Irritation?
Yes, ink can cause allergic reactions or skin irritation, but don’t worry—most people handle it fine.
If you have sensitive skin, try gloves or hypoallergenic ink to keep your hands safe and enjoy your writing.
What Are the Differences Between Ink Types for Various Printers?
You’ll find that inkjet printers use liquid ink for vibrant colors, while laser printers rely on toner powder for sharp text.
Each ink type suits different printing needs, ensuring quality and efficiency for your projects. It really depends on what you’re aiming to print!
How Is Digital Ink Different From Traditional Ink?
Think of digital ink as a chameleon—it adapts instantly, drying fast and being water-resistant.
Unlike traditional ink, which’s like a slow painter, digital ink’s made for speed and precision on your screen and prints.
Conclusion
Now that you’ve seen how ink is made step by step, doesn’t it amaze you how many careful processes go into something we use every day?
From gathering raw materials to quality testing and packaging, each stage guarantees the ink performs perfectly. The next time you write or print, you’ll appreciate the blend of science and craft behind those vibrant colors.
Isn’t it incredible how such a simple tool has such a complex creation story? Understanding how ink is made helps us value the intricate steps involved in producing the perfect ink formula. Whether it’s for writing, printing, or art, the detailed process ensures consistent quality and vivid results every time you use ink.