Does Ink Freeze and How to Tell
Yes, ink does freeze, especially in cold temperatures below 32°F (0°C), though the exact freezing point depends on its composition. Different types of ink, like water-based or pigment-based, react differently to cold.
When ink freezes, it can change in texture and performance. You’ll notice frozen ink by thick clumps, separation of pigment and liquid, or uneven color when you apply it. Frozen ink may flow poorly or dry unevenly.
These issues can affect your writing or printing quality quite a bit. If you want to keep your ink working smoothly and avoid damage, there are simple steps you can take. You can also learn how to restore ink after it freezes.
Taking care of your ink properly helps keep your writing and printing flawless every time.
Key Takeaways
- Ink can freeze at low temperatures, especially below 32°F (0°C), depending on its solvent and additive composition.
- When ink freezes, it often thickens and clumps. You might also notice pigment separation, discoloration, or lumps once it thaws.
- If you see uneven flow, streaky lines, or dull, clouded color when testing the ink on paper, it’s a sign that it might have frozen.
- To fix this, try warming the ink gradually and gently shaking it to restore its consistency before use.
- But if the flow remains poor after that, it’s best to just discard the ink.
- To prevent ink from freezing in the first place, store it at stable, moderate temperatures.
- Also, avoid exposing it to cold or drafts whenever possible.
Understanding the Composition of Ink

Although ink comes in many varieties, its composition generally includes pigments or dyes suspended in a liquid solvent. When you look at a bottle or cartridge, the liquid solvent acts as a carrier, helping the pigments or dyes spread evenly on paper or other surfaces.
You’ll find that the exact mix varies depending on the ink’s purpose—for example, printer ink, fountain pen ink, and tattoo ink all have different formulas. The pigments provide color and opacity, while dyes offer vibrant hues that can dissolve fully in the solvent.
Besides these, ink often contains additives like binders, stabilizers, and preservatives to improve flow, drying time, and shelf life. Understanding what’s in ink helps you grasp why it behaves differently under various conditions.
At What Temperature Does Ink Freeze?
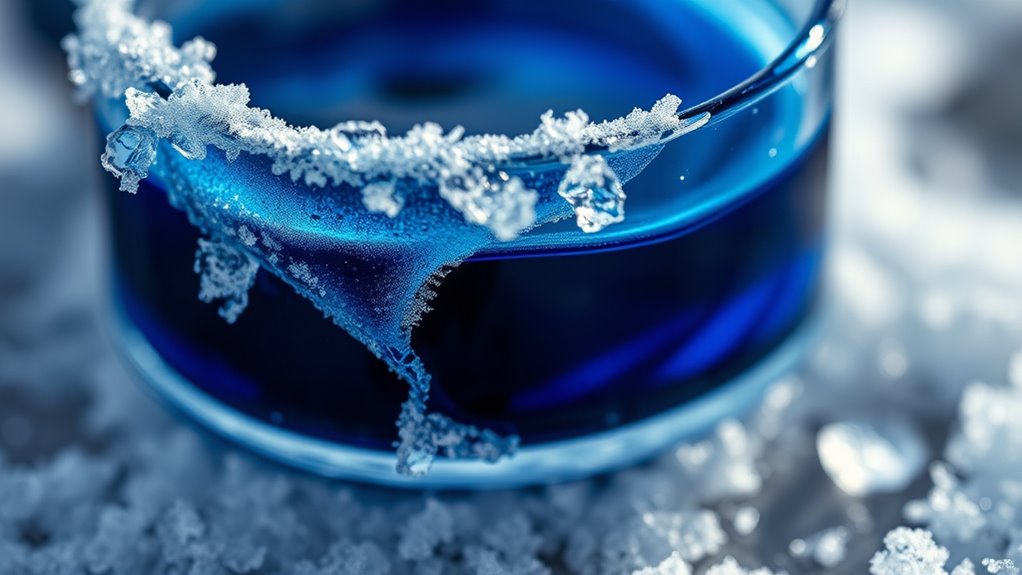
You might wonder at what temperature ink actually freezes. The freezing point varies depending on the ink’s ingredients and additives.
Let’s explore how these factors influence when ink turns solid. It’s pretty interesting how a little change in the formula can shift the freezing point quite a bit.
Ink Freezing Point
When temperatures drop below freezing, ink can solidify, but the exact freezing point depends on its composition. Typically, standard water-based inks freeze around 32°F (0°C), just like water.
However, inks with added solvents or dyes often have lower freezing points, sometimes dropping to 20°F (-6°C) or even lower. This happens because the solvents act like antifreeze, preventing the ink from freezing as quickly.
If you’re storing or using ink in cold conditions, keep this in mind to avoid solidification that can clog pens or printers. Knowing the freezing point helps you protect your ink and maintain smooth writing or printing performance.
This is especially important in chilly environments where freezing can cause damage and disrupt your work. So, it’s a good idea to be mindful of the temperature when handling ink to keep everything flowing nicely.
Factors Affecting Freeze
Understanding why ink freezes at certain temperatures involves looking closely at its ingredients and environmental conditions. You’ll notice that ink doesn’t have a single freezing point because several factors come into play.
Here are four key ones affecting when your ink freezes:
- Ink Composition – Water-based inks freeze near 0°C, while solvent-based inks freeze at much lower temperatures.
- Additives – Antifreeze agents or humectants can lower the freezing point markedly.
- Ink Concentration – Thicker inks with more solids tend to freeze at lower temperatures than diluted ones.
- Storage Conditions – Exposure to drafts or extreme cold can cause localized freezing even if the ink’s freezing point is lower.
Common Signs That Ink Has Frozen
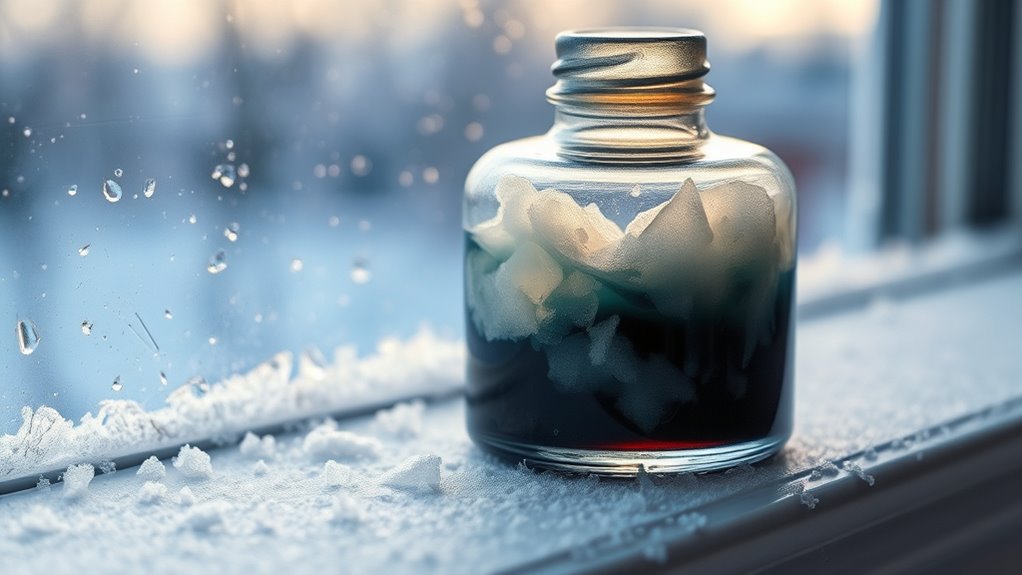
You’ll notice ink changes consistency when it freezes, becoming thicker or clumpy. Colors might look dull or uneven, signaling a problem.
Plus, your ink might dry slower or flow poorly when frozen. It’s kind of like the ink just isn’t behaving the way it normally does.
Ink Consistency Changes
If ink has frozen, you’ll notice its texture changes noticeably. This shift can affect how your pen or printer performs.
Here are four key signs to look out for:
- Thickening: The ink becomes denser and harder to flow smoothly.
- Clumping: You might see small lumps or particles forming within the ink.
- Separation: The liquid and pigment can split, leaving a watery layer on top.
- Dryness: Once thawed, the ink may dry out faster or feel gritty.
If you spot these changes, your ink has likely frozen and thawed poorly. So, avoid using it right away to prevent clogging or uneven application.
Instead, try gently warming the ink and stirring it thoroughly before testing it again. That way, you can save your ink and keep things flowing smoothly.
Color Alterations Noticed
Changes in ink consistency often come hand in hand with noticeable shifts in color. When ink freezes, you might see the color darken, lighten, or develop uneven patches. These alterations can signal that the ink’s chemical balance has been disrupted by freezing temperatures.
You’ll notice the ink appearing dull or blotchy instead of smooth and vibrant as before.
Here’s a quick reference table for common color changes caused by freezing:
| Color Change | Description | Cause |
|---|---|---|
| Darkening | Ink appears deeper or murky | Pigment concentration shifts |
| Lightening | Ink looks faded or washed out | Separation of components |
| Patchiness | Uneven color spots or streaks | Crystal formation on pigments |
Keep an eye out for these signs to catch frozen ink early.
Drying and Flow Issues
Although ink freezing primarily affects color, it also causes noticeable drying and flow problems. When ink freezes, its consistency changes, leading to clogged nozzles and uneven application.
You might notice slower drying times due to altered chemical properties. Ink flow can become inconsistent, causing streaks or blotches.
It might be harder to achieve smooth lines because the ink may skip or sputter. Plus, there can be increased smudging since the ink doesn’t set properly on paper.
These signs usually mean your ink has frozen and thawed improperly. To avoid these issues, store ink in stable temperatures and test it before use.
If you notice any of these problems, replacing the ink might be the best solution to keep your prints or writing crisp and clear.
Effects of Freezing on Ink Quality and Performance
When ink freezes, its chemical composition can alter, affecting both quality and performance. You may notice clogged nozzles, uneven color, or even permanent damage to cartridges.
The ink’s pigments can separate, causing blotchy prints and dull colors. Once thawed, ink might not flow smoothly, leading to frustrating printing errors.
| Effect | Cause | Impact on You |
|---|---|---|
| Clogged nozzles | Frozen particles | Printing stops abruptly |
| Color separation | Pigment settling | Prints look blotchy |
| Thickened consistency | Loss of fluidity | Ink won’t flow properly |
| Faded colors | Chemical breakdown | Prints lose vibrancy |
| Cartridge damage | Expansion of frozen ink | Costly replacements |
Knowing these effects helps you act quickly before your ink becomes unusable. So, you can avoid wasting time and money.
How to Prevent Ink From Freezing in Cold Weather
To keep your ink from freezing in cold weather, you need to control the environment where you store and use your ink cartridges. Here’s how you can prevent freezing effectively:
- Store Indoors: Keep ink cartridges in a warm room. Avoid drafty windows or unheated areas like garages.
- Use Insulated Containers: If you must transport ink in cold weather, place cartridges in insulated bags or boxes. This helps maintain the temperature better.
- Keep Devices Warm: Make sure your printer or pen stays in a temperature-controlled space during use and storage. Keeping them warm is key.
- Avoid Sudden Temperature Changes: Let ink cartridges acclimate slowly if you move them between cold and warm environments. This prevents condensation and freezing.
Following these steps helps maintain your ink’s performance. Plus, it prevents costly damage caused by freezing.
Steps to Restore Ink After It Has Frozen
Even with careful precautions, ink can sometimes freeze, especially in extreme cold. If this happens, don’t panic.
First, bring the ink to room temperature slowly—avoid direct heat. Next, gently shake the container to mix any separated components.
If the ink’s consistency remains off, test it on paper before refilling your pen or printer cartridge. Here’s a quick guide:
| Step | Action | Tip |
|---|---|---|
| 1 | Warm gradually | Use room temperature |
| 2 | Shake gently | Avoid vigorous shaking |
| 3 | Check consistency | Look for lumps or separation |
| 4 | Test on paper | Ensure smooth flow |
| 5 | Refill or discard | Discard if unusable |
Following these steps helps restore frozen ink safely.
Frequently Asked Questions
Can Frozen Ink Damage My Printer Permanently?
Yes, frozen ink can permanently damage your printer by clogging nozzles or causing cartridge leaks.
To avoid this, don’t use frozen ink. Also, store cartridges in a temperature-controlled environment to keep your printer safe.
Is Freezing Ink Different for Various Ink Types?
Yes, freezing ink varies by type; dye-based inks usually handle freezing better, while pigment-based inks can separate or clump.
You’ll want to check your ink’s specifications to avoid damage or poor print quality after freezing. It’s always good to be cautious with pigment inks since they’re a bit more sensitive.
How Long Does Frozen Ink Take to Thaw Completely?
Frozen ink usually takes a few hours to thaw completely at room temperature.
Don’t rush it by heating; let it thaw naturally to avoid damaging the ink’s consistency or affecting its quality when you use it again.
Patience is key here. Just give it some time, and it’ll be good to go!
Can Frozen Ink Be Used Safely for Art Projects?
You can use frozen ink safely for art projects, but it’s a mixed bag.
Once thawed, check its consistency and color. If it’s lumpy or faded, it’s best to toss it and grab fresh ink.
Does Freezing Ink Affect Its Color Vibrancy?
Freezing ink can dull its color vibrancy because ice crystals may alter pigment particles. You’ll notice muted or uneven hues after thawing.
To keep colors bright, avoid freezing and store ink at room temperature instead. It’s really the best way to make sure your ink stays vivid and consistent.
Conclusion
You might think ink freezing is no big deal—until you notice your pen skipping or colors fading. But what really happens when ink freezes? Does it recover or ruin your work forever?
Now that you know the signs and how to prevent freezing, you’re one step ahead. Still, the real question remains: can you truly restore your ink once it’s frozen, or is it lost for good?
Ink freezing can sometimes cause pigment separation or clumping, which might affect quality. But with careful thawing and gentle mixing, many inks can bounce back. So, while frozen ink isn’t always ruined, it’s best to avoid freezing to keep your colors vibrant and your pens flowing smoothly.
Understanding how to tell if ink is frozen and how to handle it can save your supplies and your projects. Remember, prevention and proper care are key to maintaining your ink’s performance over time.