How You Can Get Ink Off Leather Step by Step
To get ink off leather, it’s important to first identify the type of ink and the kind of leather you’re dealing with. This way, you can choose the right cleaning method that won’t harm your leather.
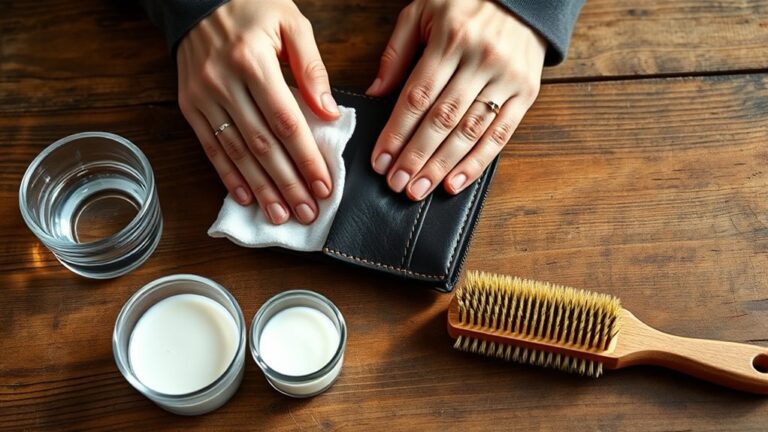
You’ll want to gather some soft cloths, mild soap, and rubbing alcohol, just in case you need it.
Before you start, always test your cleaner on a hidden spot to make sure it won’t damage the leather.
When you find the stain, gently blot it—you don’t want to rub and spread the ink around.
Then, carefully clean the area with a damp cloth and a little mild soap.
Once you’re done, apply a leather conditioner to keep the material soft and supple.
If you’re dealing with tougher stains or want more detailed tips, there are plenty of step-by-step guides you can check out to help you out.
Key Takeaways
- Identify the ink type and leather material to choose a safe and effective cleaning method.
- Gather soft cloths, mild soap, rubbing alcohol, and leather conditioner before starting.
- Test your cleaning solution on a hidden leather spot to check for discoloration or damage.
- Gently blot the ink stain with a dry cloth, then clean with mild soap and water, avoiding rubbing.
- After cleaning, apply leather conditioner to restore softness and prevent cracking.
Identify the Type of Ink and Leather
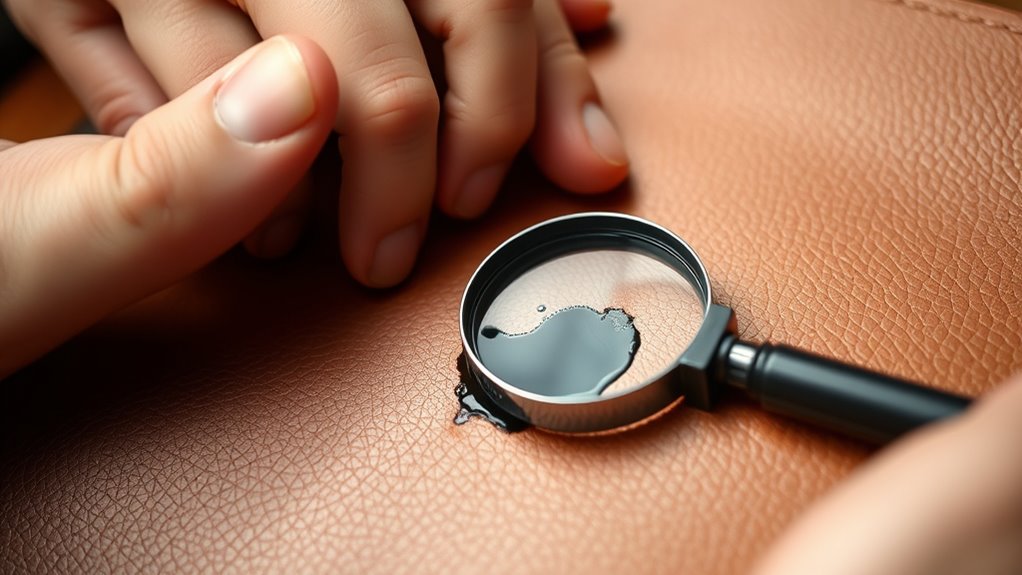
How can you effectively remove ink from leather? First, identify the type of ink you’re dealing with—ballpoint, gel, or permanent marker all react differently to cleaning methods.
Next, check the leather type. Is it smooth, suede, or nubuck? Smooth leather handles cleaning better, while suede and nubuck are more delicate and require gentler treatments.
Understanding the ink’s composition helps you choose the right remover without damaging the leather. For example, alcohol-based solutions may work on ballpoint ink but can harm suede.
You should also test any cleaning method on a hidden spot first to avoid discoloration. By identifying both the ink type and leather kind, you set yourself up for a successful, damage-free cleaning process.
Gather Necessary Cleaning Supplies
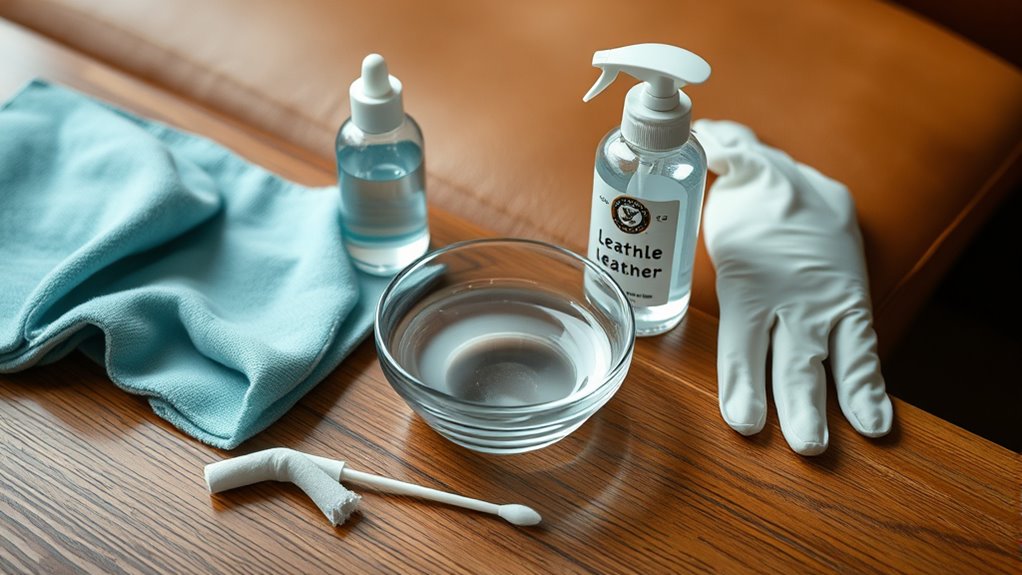
Now that you know what kind of ink and leather you’re dealing with, gathering the right cleaning supplies will make the removal process smoother. Having everything ready guarantees you can act quickly and effectively without causing damage.
You’ll want to collect gentle but effective tools that won’t harm the leather’s finish.
Here are the essentials you’ll need:
- Soft white cloths or microfiber towels for blotting and cleaning
- Leather cleaner or mild soap diluted in water to safely break down ink
- Rubbing alcohol or non-acetone nail polish remover for stubborn stains
Make sure you avoid harsh chemicals or abrasive materials, as they can damage the leather. With these supplies in hand, you’re ready to move on to the next step confidently.
Test Cleaning Solution on a Hidden Area
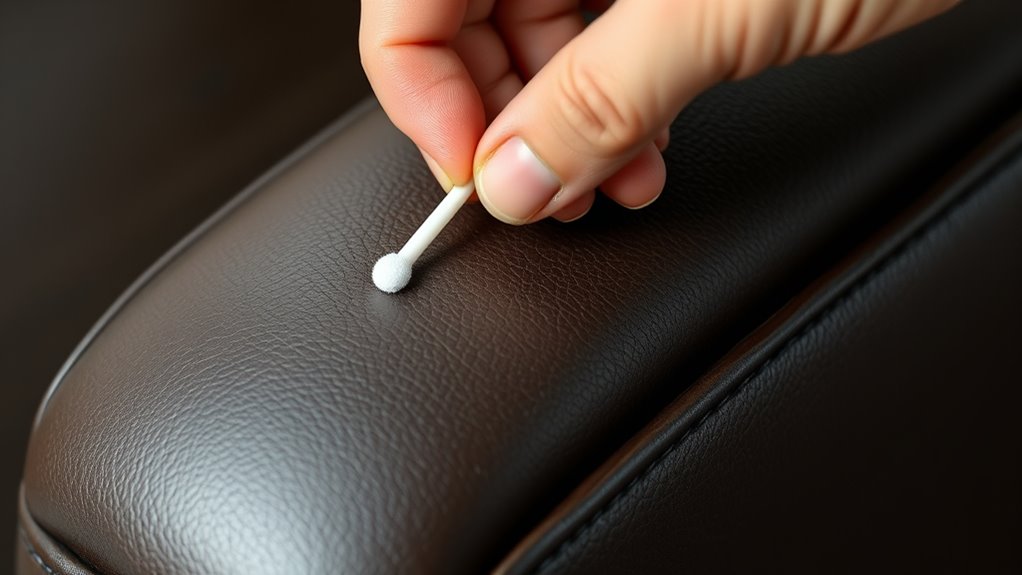
Before applying any cleaning solution, pick a hidden spot on your leather item to test it first. Apply a small amount and wait a few minutes to see how the leather reacts.
This step helps you avoid damage or discoloration during the cleaning process. Better safe than sorry, right?
Choose Inconspicuous Spot
Although it might be tempting to apply your cleaning solution directly, you should first test it on a hidden area of the leather. This step helps guarantee the solution won’t damage or discolor the surface.
Choosing the right spot is essential for a safe test. Look for areas that are covered by clothing, like the underside of a jacket sleeve.
You can also check inside seams or folds where ink stains are less visible. Another good spot is the back or underside of a leather item, such as a bag’s flap.
Observe Reaction Time
How quickly does the cleaning solution react with the leather? After applying a small amount to the hidden spot you chose, watch closely for any immediate changes.
Pay attention to discoloration, texture shifts, or any damage that may appear within the first few minutes. Some solutions may cause leather to darken or dry out quickly, while others might show no effects right away.
Give it at least 10 to 15 minutes to fully assess the impact. If the leather remains unchanged and feels normal, it’s safe to proceed on the ink-stained area.
But if you notice any negative reactions, stop immediately and try a different cleaner. Observing reaction time guarantees you protect your leather’s look and texture throughout the cleaning process.
Gently Blot and Clean the Ink Stain
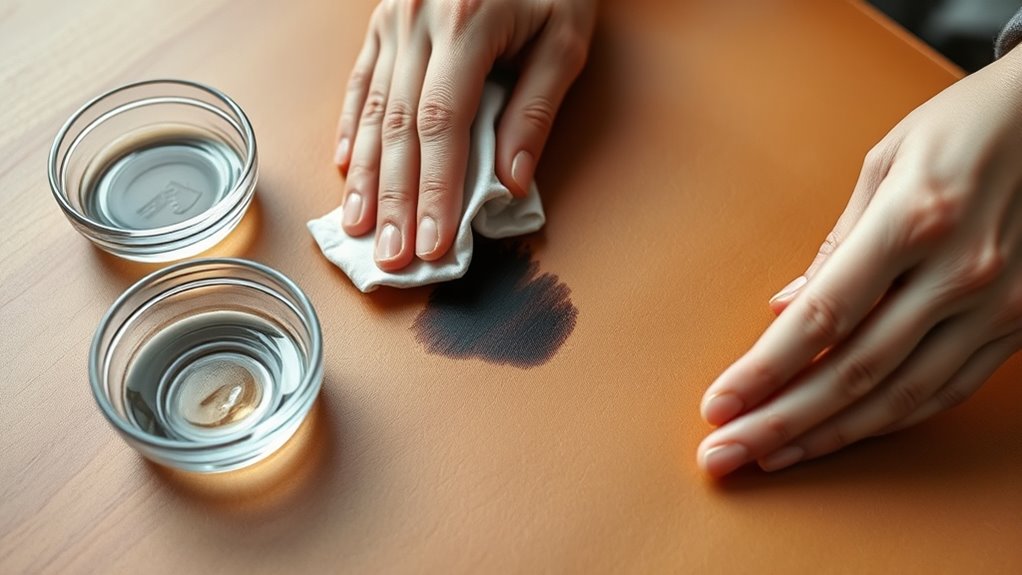
When you notice the ink stain, start by gently blotting it with a clean, dry cloth to lift as much ink as possible without spreading it further. Avoid rubbing, as this can push the ink deeper into the leather fibers.
Instead, press lightly and change to a fresh section of the cloth as it absorbs the ink. After blotting, dampen a soft cloth with a small amount of water mixed with mild soap and carefully wipe the stained area.
Keep these tips in mind: use minimal moisture to prevent leather damage. Also, work from the outside of the stain toward the center.
And don’t forget to test any cleaning solution on an inconspicuous spot first. This gentle approach helps remove ink without harming your leather’s finish.
Use Leather Conditioner to Restore Softness
After cleaning the ink stain, you’ll want to apply a leather conditioner to replenish moisture and keep the leather soft. Leather can dry out after cleaning, so conditioning prevents cracking and maintains its natural texture.
Use a small amount of conditioner on a soft cloth and gently rub it into the leather in circular motions. Let it absorb for a few minutes, then buff with a dry cloth.
| Step | Action |
|---|---|
| 1 | Choose a suitable conditioner |
| 2 | Apply a small amount to cloth |
| 3 | Rub gently in circular motions |
| 4 | Let leather absorb conditioner |
| 5 | Buff with a dry cloth |
This simple step restores softness and extends your leather’s life. It’s a quick and easy way to keep your leather looking great for longer.
Prevent Future Ink Stains on Leather
Conditioning your leather helps keep it healthy, but preventing ink stains in the first place saves you time and effort. To protect your leather items, you need to be proactive and mindful of potential ink sources.
Always keep pens capped and away from leather surfaces, and avoid placing leather near open ink bottles or markers. You can also apply a leather protector spray that creates a barrier against stains.
Additionally, regular cleaning removes dirt and oils that can attract ink. Here are three simple tips to prevent future ink stains:
- Store pens and markers separately from leather items.
- Use a leather protector spray to create a stain-resistant surface.
- Clean your leather regularly with a soft cloth to remove contaminants.
Frequently Asked Questions
Can I Use Nail Polish Remover to Clean Ink off Leather?
You shouldn’t use nail polish remover on leather because it can damage the surface. Instead, try a leather cleaner or rubbing alcohol on a cotton swab.
Just make sure to test a small area first to avoid ruining your leather. That way, you can be sure it’s safe before going all in.
How Long Should I Wait Before Cleaning Fresh Ink Stains?
You shouldn’t wait an eternity—act within 10 to 15 minutes!
Fresh ink’s like a sneaky ninja, ready to disappear forever.
The sooner you tackle it, the better your chances of saving that leather masterpiece.
Are Ink Stains on Suede Leather Removable?
Yes, ink stains on suede leather are removable, but you’ll need to act carefully. Use a suede eraser or a small amount of white vinegar, then brush gently.
Avoid harsh chemicals to prevent damage. They can really mess up the delicate suede texture. So, take your time and be gentle!
Can Professional Leather Cleaning Services Remove Ink Stains?
Yes, professional leather cleaning services can remove ink stains effectively. They have specialized products and techniques that won’t damage your leather.
You can trust them to restore your leather without risking further harm or discoloration. It’s always best to leave it to the pros!
Will Ink Stains Fade Naturally Over Time on Leather?
You might hope ink stains on leather fade naturally, but they usually don’t. Instead, they often set deeper over time.
If you want to save your leather, you’ll need to act carefully and quickly. It’s best not to wait around!
Conclusion
So, you’ve heroically battled that rebellious ink stain on your leather like a modern-day stain slayer—congratulations! Remember, leather isn’t a magician’s hat; it won’t just make ink vanish without a little TLC.
Next time, maybe keep the pen away or just accept your leather’s new “abstract art” look. But hey, with a bit of patience and some leather conditioner, you’ll keep your prized possession looking less like a crime scene and more like a masterpiece.
When it comes to getting ink off leather, the key is gentle care and the right cleaning steps. Using leather conditioner after removing the ink helps restore moisture and keeps the leather supple. So, don’t stress if the stain doesn’t disappear immediately—persistence and proper treatment will do wonders.
In short, with careful cleaning and consistent leather care, you can effectively get ink off leather and maintain its beauty for years to come.