How to Refill a Self-Inking Stamp in 10 Easy Steps
To refill your self-inking stamp, first gather essential materials like ink, a cloth, and gloves. These will help keep the process clean and safe. Removing the stamp from its housing carefully is the next step, so you don’t damage any parts.
Then, locate and take out the ink pad carefully. Choosing the right ink is super important—make sure it matches your stamp’s type. Apply drops evenly to the pad to avoid blotches. Let it absorb fully before reinserting the pad properly.
Once done, test the stamp on scrap paper to ensure clear, crisp impressions. If you see any excess ink, clean it up with a cloth. Finally, store your stamp well to keep it in good shape.
Keep following for detailed tips and care advice that will help your self-inking stamp last longer and perform better!
Key Takeaways
- Remove the stamp unit from its housing carefully and locate the ink pad for removal.
- Select the appropriate ink type recommended by the manufacturer, usually water-based or dye-based.
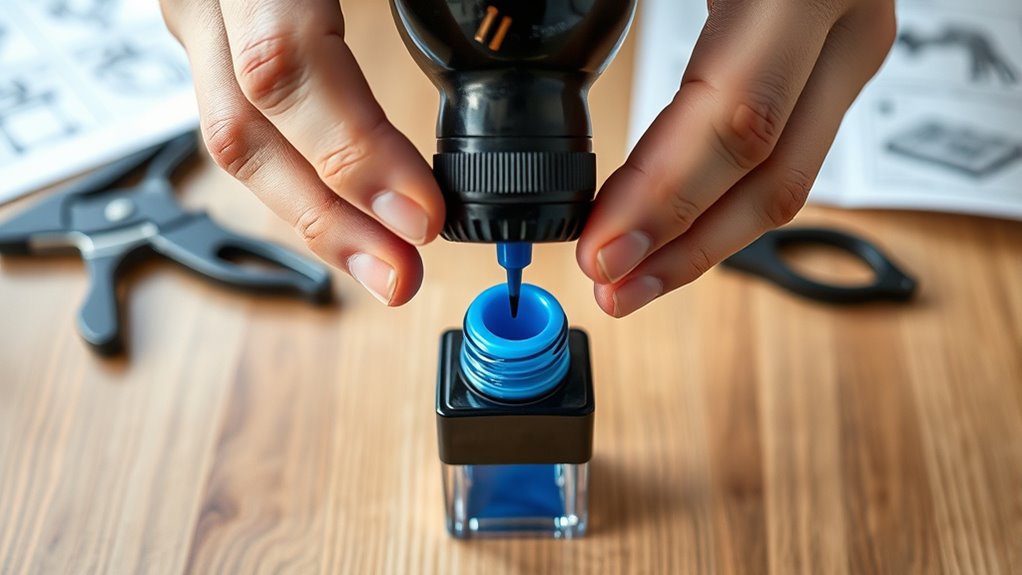
- Apply ink drops evenly on the ink pad using a dropper, avoiding over-saturation or pooling.
- Reinsert the ink pad correctly into the stamp unit, ensuring proper alignment and full seating.
- Test the stamp on scrap paper for clear impressions, cleaning excess ink and storing properly after use.
Gather Your Materials
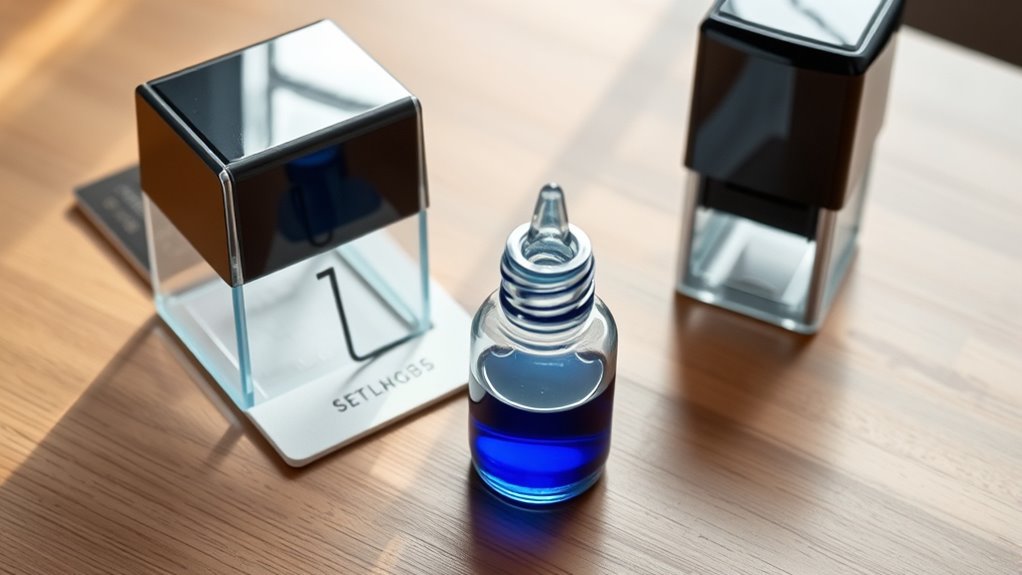
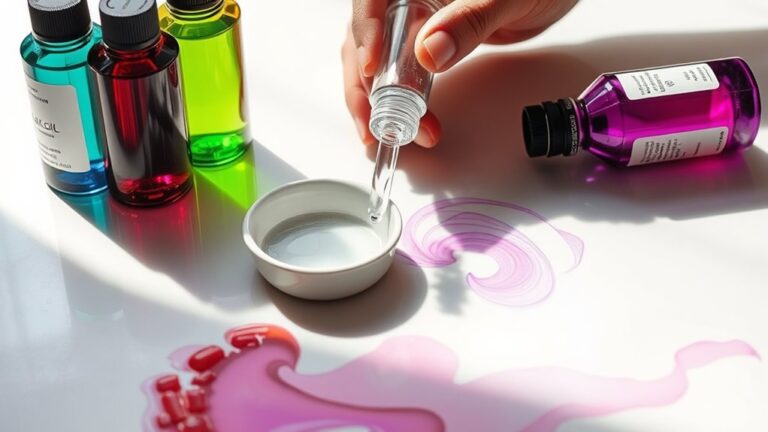
Before you begin refilling your self-inking stamp, gather all the necessary materials to guarantee a smooth process. You’ll need the correct ink refill for your stamp—check the label or manufacturer’s instructions to ensure compatibility.
Gather the right ink refill and materials first to ensure a smooth, mess-free self-inking stamp refill.
Grab a clean cloth or paper towel to wipe any excess ink and protect your work surface. Have gloves handy if you want to avoid staining your fingers.
A small dropper or pipette can help you apply the ink precisely, preventing spills. Finally, keep a flat surface nearby for stability while you work.
Having these materials ready will save you time and prevent mistakes, making the refilling process quick and efficient without any hassle or mess.
Remove the Stamp From Its Housing

Once you have your materials ready, carefully press the stamp mechanism to secure it in the extended position. This makes it easier to access and remove the stamp from its housing.
Next, hold the housing firmly and gently pull the stamp unit out. Avoid using excessive force to prevent damaging the mechanism. If your stamp has a release button or latch, press or slide it to release the stamp.
Keep these tips in mind when removing the stamp:
- Work on a clean, flat surface
- Handle the stamp gently
- Avoid touching the ink pad directly
Also, keep parts organized to avoid losing any. Be sure to check for any clips or locks before pulling.
Following these steps guarantees a smooth removal process for refilling. It’s pretty straightforward once you get the hang of it.
Locate the Ink Pad
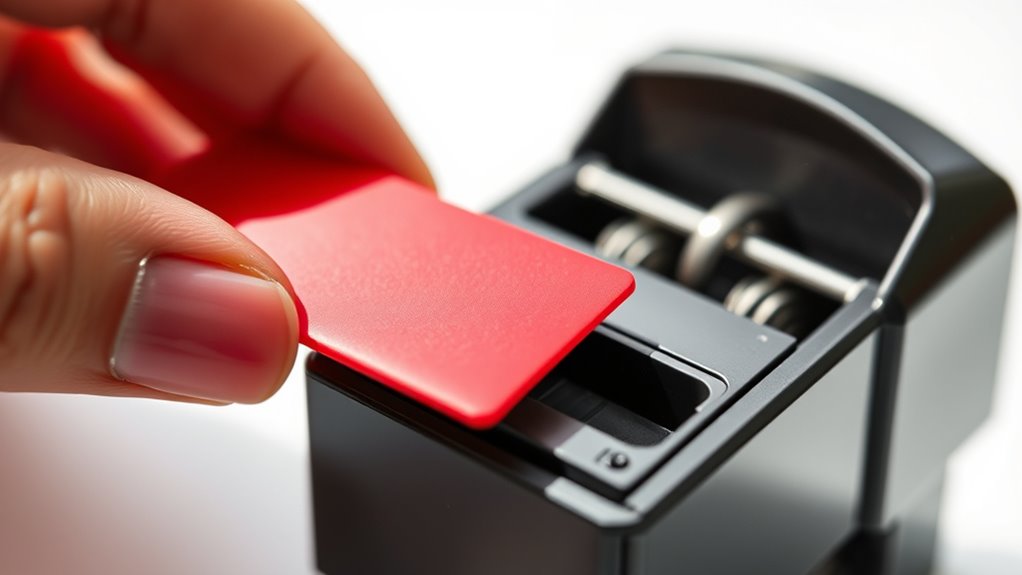
Two key components make up the stamp unit, and one of them is the ink pad. Once you’ve removed the stamp from its housing, look closely at the base of the stamp mechanism.
The ink pad usually sits right there, attached to a sliding or removable tray. It’s often rectangular or oval-shaped and coated with ink. Depending on your model, the ink pad might be visible immediately or partially hidden under a small cover.
Some stamps have a small tab or button to help you identify the pad’s location. Make sure you’re inspecting the stamp carefully but gently, so you don’t accidentally dislodge any parts.
Finding the ink pad is essential—it’s where you’ll add ink to keep your stamp working smoothly.
Take Out the Ink Pad Carefully
After locating the ink pad, you’ll need to remove it carefully to avoid spilling ink or damaging the stamp. Gently press the stamp frame to release the pad, then pull it out slowly.
Don’t rush this step; a hasty move might cause ink to leak or the pad to tear. Just take your time, and you’ll be fine.
Keep these tips in mind:
- Work over a protected surface to catch any drips.
- Avoid squeezing the pad too hard.
- Hold the pad by its edges, not the inked area.
- Keep your hands clean to prevent smudges.
- Set the pad aside on a disposable cloth or paper towel.
Choose the Right Ink for Your Stamp
You’ll want to pick an ink that’s compatible with your self-inking stamp to avoid damage and guarantee smooth use. Consider the color options that fit your needs, whether you prefer classic black or vibrant hues.
Also, focus on ink quality to get crisp, long-lasting impressions every time. Choosing the right ink really makes a difference!
Ink Types Compatibility
How do you know which ink works best for your self-inking stamp? Choosing compatible ink guarantees clear, long-lasting impressions without damaging your stamp’s mechanism.
Most self-inking stamps require water-based ink, as solvent or oil-based inks can clog or deteriorate the internal parts. Before refilling, check your stamp’s manufacturer guidelines for recommended ink types.
Here are key ink compatibility tips:
- Use only water-based or dye-based inks unless specified otherwise.
- Avoid pigment inks; they’re thicker and may clog.
- Don’t use permanent or solvent-based inks unless designed for your stamp.
- Confirm ink viscosity matches your stamp’s pad absorption.
- Test a small amount first to ensure smooth operation.
Following these tips ensures your stamp performs well and lasts longer. It’s definitely worth taking a little extra time to get it right!
Color Options Available
While choosing the right ink for your self-inking stamp, color plays a crucial role in both visibility and professionalism. Black is the most common choice, offering clear, crisp impressions suitable for official documents.
Blue stands out while maintaining a professional look, ideal for signatures or business use. Red is perfect for warnings or urgent messages but can appear aggressive if overused.
Green and purple add a unique touch for creative projects or personal branding but might not suit formal settings. Keep in mind that some colors may fade faster, especially on certain paper types.
Choose the color that complements your purpose and guarantees your stamped message is easily noticed and appropriate for the context. This way, your stamp will always make the right impression.
Ink Quality Considerations
Choosing the right ink color sets the tone, but the quality of that ink determines how well your stamp performs over time.
Using poor-quality ink can cause smudging, fading, or even damage your stamp’s mechanism. To keep your self-inking stamp working smoothly, select ink that matches your stamp type and meets your usage needs.
Here’s what to *think about*:
- Use ink specifically designed for self-inking stamps.
- Choose fade-resistant ink for documents needing longevity.
- Opt for quick-drying ink to prevent smears.
- Avoid inks with harsh chemicals that can degrade stamp pads.
- Test ink on scrap paper to ensure clear, consistent impressions.
Apply Ink Evenly to the Pad
When should you stop adding ink to the pad? You should stop once the pad is evenly saturated but not dripping wet. Over-inking can cause smudges or blurry stamps.
To apply ink evenly, add a few drops at a time and spread it gently across the pad’s surface. Avoid pouring all the ink at once.
Here’s a quick guide:
| Step | Tip |
|---|---|
| 1. Add ink gradually | Use small drops |
| 2. Spread gently | Use a cotton swab or finger pad |
| 3. Check saturation | Pad should look moist, not soaked |
| 4. Avoid pooling | Prevent ink from pooling in corners |
This method ensures your stamp prints clear and sharp every time. Easy, right? Just take it slow and steady!
Let the Ink Absorb Fully
After adding ink to the pad, let it absorb fully before using your stamp again. This step guarantees your stamp produces clear, consistent impressions without smudging or fading.
Rushing to use the stamp can cause uneven ink distribution, leading to poor print quality. So, it’s best to be patient and let the ink do its thing.
To allow proper absorption: keep the ink pad flat and undisturbed. Avoid pressing or touching the pad immediately.
Allow at least 10-15 minutes for absorption. Working in a well-ventilated area can help speed up drying a bit.
Before stamping, check the ink saturation visually. This little step saves you from frustrating reapplications.
Once the ink has soaked in evenly, your stamp will be ready to deliver crisp and professional markings every time. You’ll see the difference!
Reinsert the Ink Pad Into the Stamp
Once the ink pad has fully absorbed the ink, you’ll want to carefully slide it back into your self-inking stamp. Make sure it fits snugly and aligns correctly with the internal mechanism for smooth stamping.
Hold the stamp frame steady and gently insert the ink pad into its designated slot. Be sure the pad’s surface faces the stamping plate.
Don’t force it; if it doesn’t slide in easily, double-check the orientation. Once in place, press lightly until you hear or feel a click, signaling it’s secured.
Proper alignment is essential to avoid uneven ink distribution or damage. After reinsertion, your stamp is almost ready for use, with the ink pad properly positioned to deliver crisp, clear impressions every time.
Test the Stamp on Scrap Paper
With the ink pad securely in place, you can now test your stamp to guarantee it produces clear, even impressions. Grab a piece of scrap paper and press your stamp down firmly but evenly.
Check the print quality carefully. If the image looks faint or blotchy, you might need to add a few more drops of ink or reposition the pad. Keep testing until you get a crisp, consistent result.
Remember these points:
- Use scrap paper to avoid wasting good sheets.
- Press firmly to ensure full contact.
- Avoid rocking the stamp to prevent smudges.
- Inspect for any uneven or missing ink spots.
- Allow the ink to dry fully before the next test.
This quick check helps you avoid issues during actual use. It’s a simple step, but it really makes a difference!
Clean Up and Store Your Stamp Properly
Although your stamp is ready to use, cleaning up properly will extend its life and keep it working smoothly. Wipe off any excess ink with a damp cloth and avoid using harsh chemicals that may damage the stamp.
Store your stamp in a cool, dry place away from direct sunlight to prevent ink from drying out. Keep the stamp covered or in its case to protect the pad and mechanism.
| Task | Why It Matters | Tips |
|---|---|---|
| Clean | Prevents ink buildup | Use a damp cloth only |
| Store | Maintains ink moisture | Avoid sunlight |
| Cover | Protects stamp mechanism | Use original case |
Following these steps helps your stamp perform well longer and ensures crisp impressions every time. Just a little care goes a long way!
Frequently Asked Questions
How Often Should I Refill My Self-Inking Stamp?
You should refill your self-inking stamp whenever the impressions start to fade or look uneven.
Typically, this happens after a few hundred uses, but it really depends on your stamp’s ink quality and how often you use it.
If you notice the print getting lighter, it’s definitely time to add more ink. Just keep an eye on it, and your stamp will stay sharp!
Can I Use Permanent Ink in a Self-Inking Stamp?
You can’t pour permanent ink into your self-inking stamp’s heart; it’s like forcing a river to flow uphill.
Permanent ink’s too thick and can clog the mechanism, so stick to recommended stamp inks for smooth stamping.
What if the Stamp Image Becomes Blurry After Refilling?
If your stamp image becomes blurry after refilling, you should clean the stamp pad and stamp surface thoroughly.
Also, avoid over-inking to prevent smudging. Let the ink dry completely before using the stamp again.
This way, your stamp will stay clear and sharp every time you use it!
Is It Safe to Refill a Self-Inking Stamp With Any Ink Brand?
You shouldn’t use just any ink brand; always choose ink designed for self-inking stamps. Using the wrong ink can clog or damage the stamp.
How Do I Dispose of Old or Excess Stamp Ink Safely?
Don’t just toss that old ink! You should soak excess ink in absorbent material like paper towels, then seal it in a plastic bag.
Dispose of it with hazardous waste to keep the environment safe—you’ll feel better doing it right. It’s a simple step that makes a big difference.
Conclusion
Now that you’ve given your stamp a fresh splash of life, it’s ready to leave its mark once again. With a little care and patience, you’ve breathed new color into its heart, ensuring every impression tells your story clearly.
Keep your workspace tidy and your stamp rested, so it stays vibrant and ready for the next time you need to make your message stick. Your trusty stamp is now happily refreshed and enthusiastic to work!
Refilling a self-inking stamp is a simple process that can save you money and reduce waste. By following these easy steps, you ensure your stamp remains clear and sharp for every use. So go ahead, enjoy your freshly refilled stamp and make your mark boldly every time!