How to Remove Ink From Wood in 3 Easy Steps
Start by gathering soft cloths, mild soap, warm water, and gloves to protect your hands. Removing ink from wood can be tricky, but with the right materials and a gentle touch, you can get great results without damaging the surface.
Dip the cloth in soapy water, wring it well, then gently dab the ink stain from the edges toward the center to avoid spreading. This careful approach helps to lift the ink without making the stain worse.
After loosening the ink, wipe the area with a damp cloth and dry it thoroughly.
Finally, restore the wood’s finish by lightly sanding and applying a matching finish to keep it looking good.
You can find more tips to perfect the process ahead.
Key Takeaways
- Mix mild soap with warm water and gently dab the ink stain from the edges toward the center using a soft cloth.
- Use a plastic scraper or old credit card to carefully lift dried ink without scratching the wood surface.
- Wipe the area with a damp cloth to remove residue and dry thoroughly to prevent moisture damage.
- Lightly sand the stained area with fine-grit sandpaper and apply matching wood finish to restore appearance.
- Always perform cleaning gently, ensure complete drying, and protect wood surfaces to avoid future ink stains.
Gather Your Cleaning Supplies
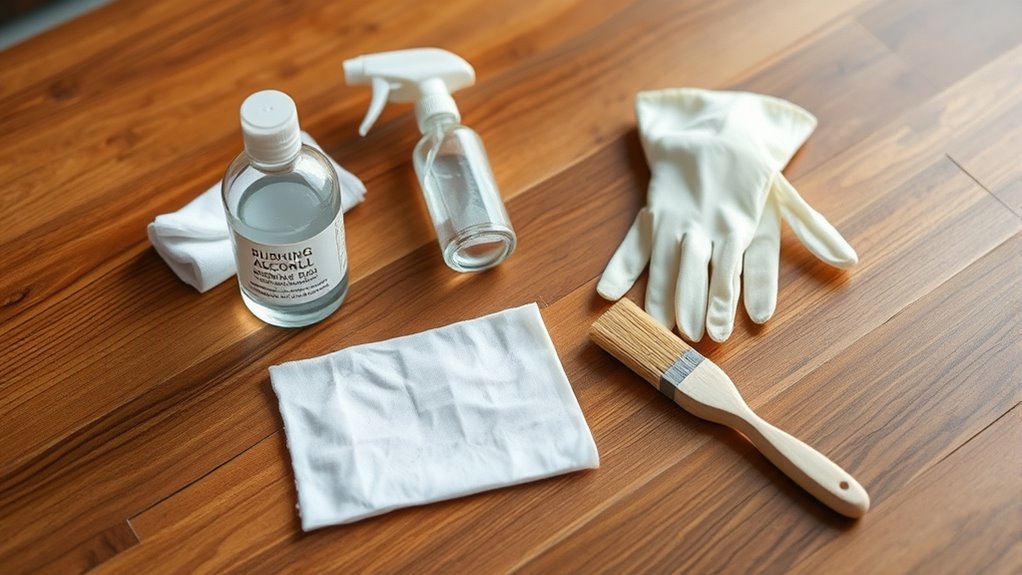
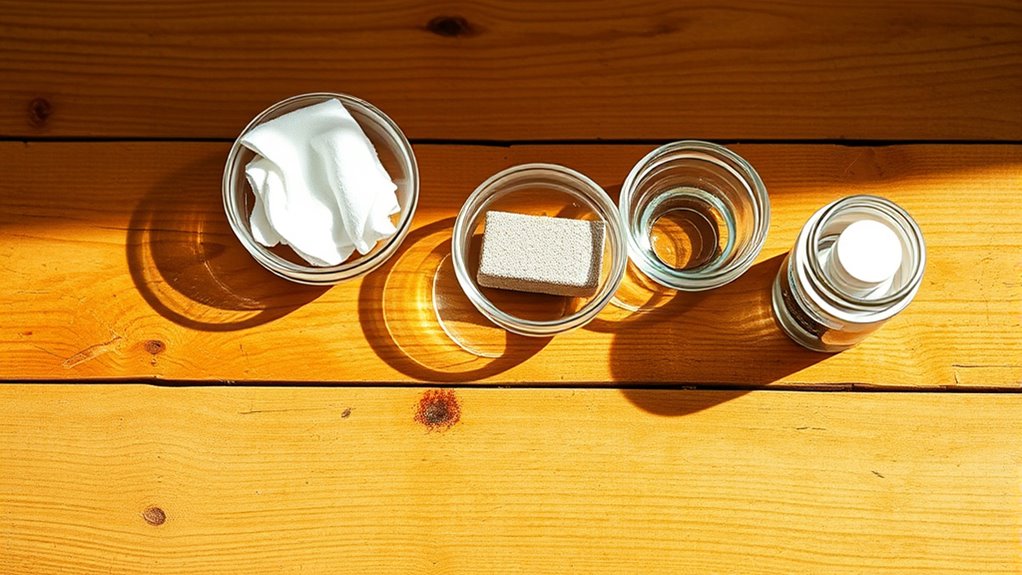
Before you begin removing ink from wood, gather all the necessary cleaning supplies to make the process efficient and effective. You’ll need a soft cloth or sponge to avoid scratching the wood surface.
Have some cotton balls or swabs on hand for precise application. Keep a small bowl nearby for mixing any cleaning agents later.
Gloves are essential to protect your hands from chemicals. Also, prepare paper towels or an old towel for blotting excess liquid.
A plastic scraper or an old credit card can help gently lift dried ink without damaging the wood. Make sure you have good lighting to spot all ink stains clearly.
Apply a Gentle Cleaning Solution
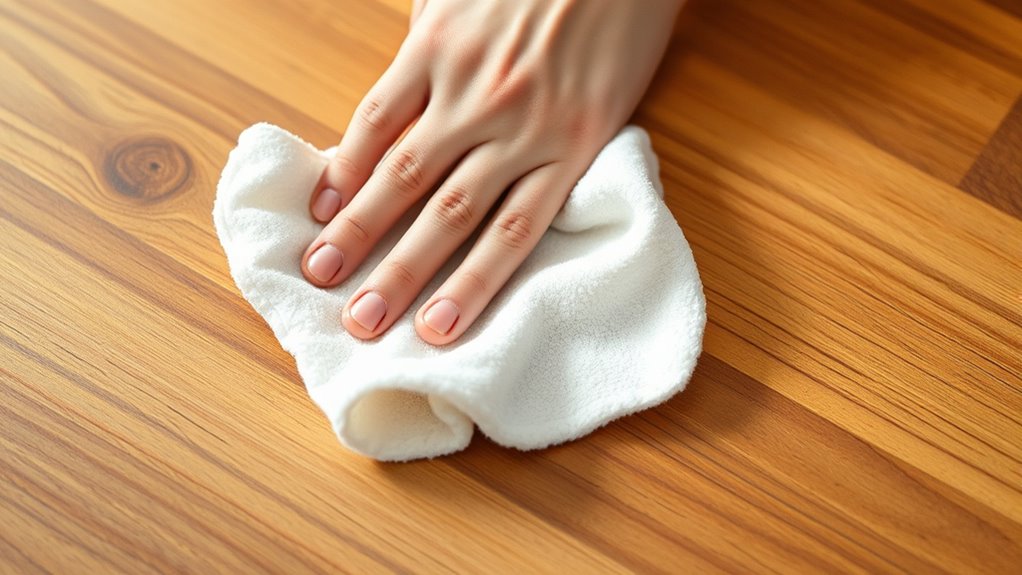
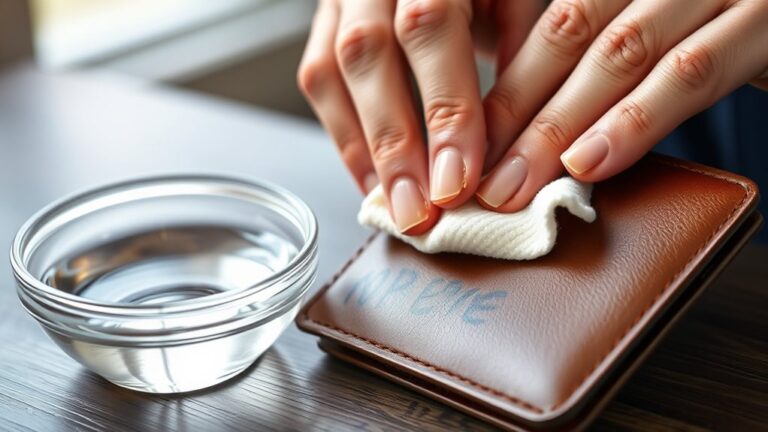
When you’re ready, mix a gentle cleaning solution using mild soap and warm water to avoid damaging the wood’s finish. Dip a soft cloth or sponge into the solution, then wring it out well so it’s damp, not soaked.
Gently dab the ink stain, working from the outer edges toward the center to prevent spreading. Avoid scrubbing aggressively, as this can harm the wood’s surface. Allow the solution to sit on the stain for a minute or two to loosen the ink.
Afterward, wipe the area with a clean, damp cloth to remove soap residue. Finally, dry the spot thoroughly with a soft towel. This careful approach helps lift ink gently without compromising the wood’s integrity.
Restore the Wood’s Finish
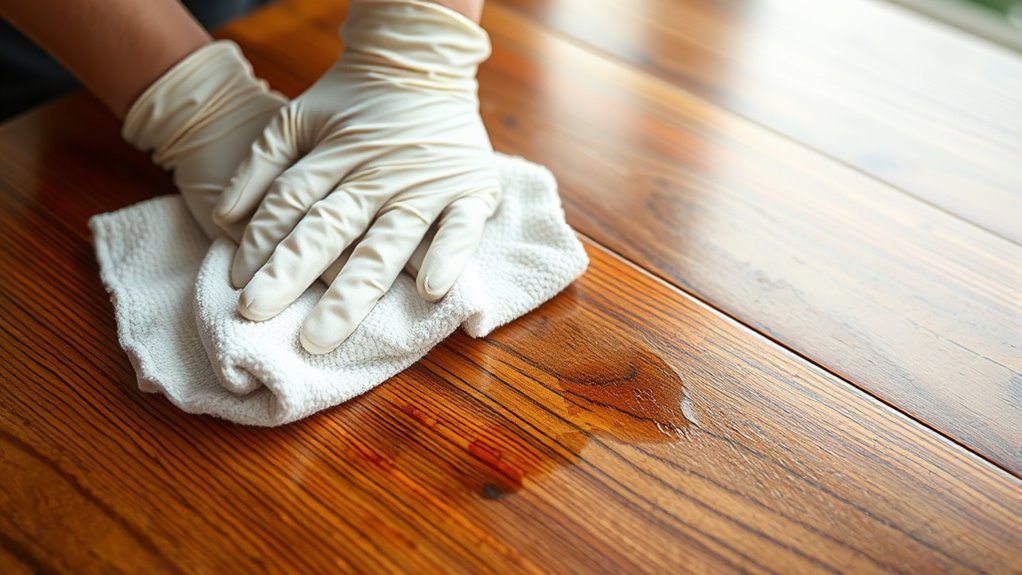
Although you’ve removed the ink stain, the wood’s finish may look dull or uneven. To bring back its natural beauty, start by gently sanding the affected area with fine-grit sandpaper. This smooths out any rough patches and prepares the surface for refinishing.
Next, apply a wood conditioner if the wood is porous. This helps the finish absorb evenly. Then, choose a finish that matches the original—such as varnish, polyurethane, or wax—and apply it in thin, even coats.
Allow each coat to dry completely before applying the next one. Finally, buff the surface with a soft cloth to restore its shine. By carefully restoring the finish, you’ll protect the wood and keep it looking great for years to come.
Frequently Asked Questions
Can Ink Stains Cause Permanent Damage to Wood Surfaces?
Yes, ink stains can cause permanent damage if they soak deeply into the wood.
You should act quickly to clean them because once the ink sets, it’s much harder to remove without affecting the wood’s finish.
Is It Safe to Use Bleach on Wooden Furniture?
You shouldn’t use bleach on wooden furniture since it can damage the finish and wood fibers. Instead, try gentler cleaners.
If you must use bleach, dilute it heavily and test on a hidden spot first to avoid harm. Better safe than sorry, right?
How Long Should I Wait to Reapply a Cleaning Solution?
You should wait about 10 to 15 minutes before reapplying a cleaning solution. This gives the wood time to absorb and prevents damage.
Always test a small area first and avoid over-saturating the surface. It’s better to be cautious with wood to keep it looking great.
Can Ink Removal Products Harm Wood Finishes?
About 60% of wood finishes can get damaged by harsh ink removers. You shouldn’t use strong chemicals without testing first because they can strip or dull the finish.
Always try a small hidden spot before applying widely. It’s better to be safe than sorry when dealing with wood surfaces.
What Should I Do if Ink Penetrates Deep Into Wood Grain?
If ink penetrates deep into wood grain, you should gently sand the area with fine-grit sandpaper. Then, apply a wood cleaner or bleach carefully.
Always test first on a small area to make sure it won’t damage the wood. After cleaning, don’t forget to reapply finish to protect the wood afterward. It helps keep everything looking good and lasting longer.
Conclusion
Now that you know how to remove ink from wood in just three easy steps, you’ll save time and protect your furniture’s finish. Did you know that 85% of people attempt DIY cleaning before calling a professional?
By using gentle solutions and restoring the wood’s finish, you can confidently tackle ink stains yourself. Just follow these simple tips, and you’ll keep your wood looking flawless without any hassle or costly repairs.
Removing ink from wood doesn’t have to be a headache. With the right approach, you can maintain your furniture’s beauty and avoid damage. So next time you spot an ink stain, remember these easy steps and get your wood surfaces looking pristine again!