How to Get Ink Off Paper in 10 Simple Steps
To get ink off paper, first identify the type of ink and paper you’re working with. This helps you choose the best removal method without causing damage. Then, gather supplies like cotton swabs, rubbing alcohol, mild soap, and a soft eraser to get started.
Before you dive in, test your chosen ink removal technique on a hidden spot. This little trick helps you avoid any surprises like smudging or tearing the paper. Once you’re ready, gently use the eraser or dab rubbing alcohol with a cotton swab, blotting carefully to lift the ink.
If the ink is stubborn, try a mild soap solution or use nail polish remover very sparingly. Just be careful not to soak the paper too much.
Finally, let the paper dry flat before handling it again. With these basics, you can explore more detailed techniques for ink removal and get your paper looking clean again.
Key Takeaways
- Identify the ink type and paper quality to choose a safe removal method without damaging the paper.
- Test your chosen cleaning solution on a small, hidden paper area before full application.
- Use gentle erasing or light dabbing with rubbing alcohol or mild dish soap to lift ink stains carefully.
- Avoid scrubbing or soaking the paper to prevent warping, tearing, or spreading the ink.
- Let the paper dry flat completely away from heat or sunlight before handling to preserve its condition.
Assess the Type of Ink and Paper
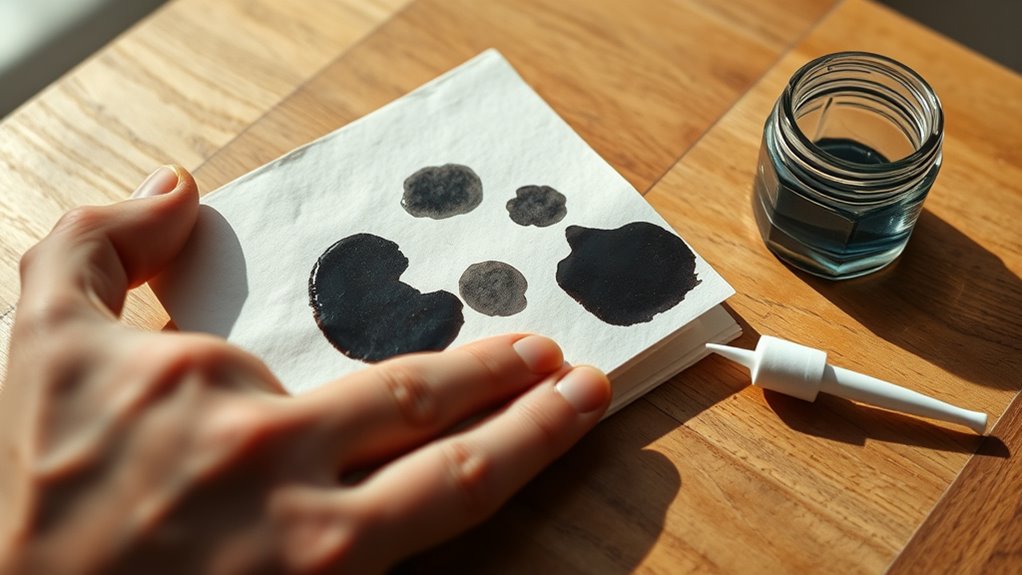
Before you begin removing ink, you need to identify the type of ink and paper you’re dealing with. Different inks react differently to removal methods. For instance, ballpoint ink is oil-based and tends to soak into paper fibers, while gel or fountain pen ink is water-based and may smudge more easily.
Also, consider the paper type—thin or delicate paper can tear or warp if treated harshly, while thicker cardstock might handle stronger methods. Look closely at the ink’s appearance and texture; is it glossy or matte? Does it sit on the surface or soak in?
Recognizing these characteristics helps you choose the safest and most effective ink removal method, preventing damage to your paper and ensuring better results. Taking this step saves you frustration later on.
Gather Necessary Supplies
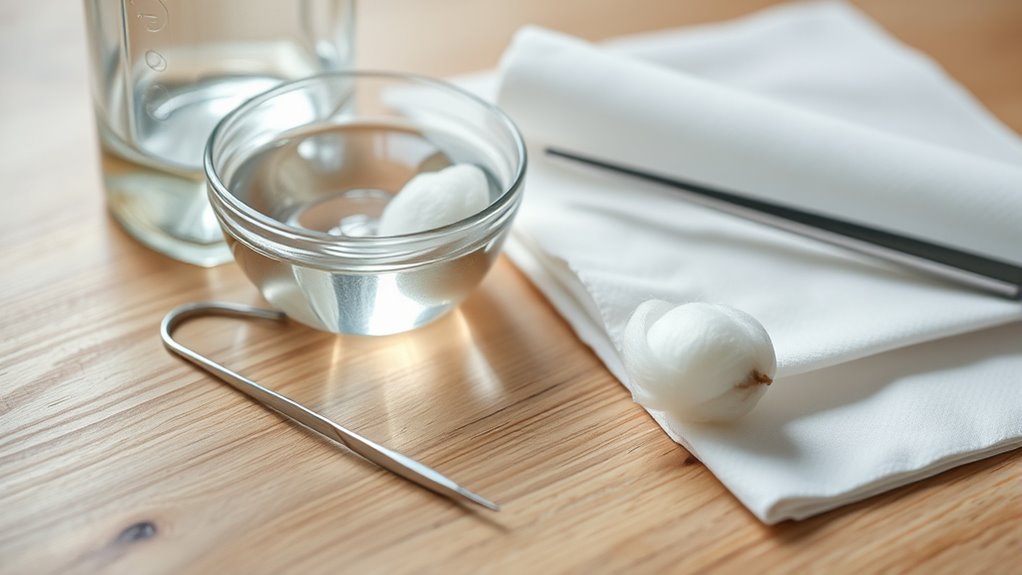
What tools do you need to effectively remove ink from paper? Start by gathering basic supplies: cotton swabs or a soft cloth, rubbing alcohol or an ink remover pen, and a clean paper towel.
You might also want a small bowl of water and mild dish soap for gentle cleaning. If you’re dealing with stubborn ink, try using an eraser specifically designed for ink removal.
Have a flat surface ready to work on, and consider wearing gloves to protect your hands. Avoid using too many liquids at once to prevent the paper from warping.
Having these supplies on hand ensures you’re prepared to tackle ink stains carefully and efficiently without damaging your document.
Test Ink Removal Method on a Small Area
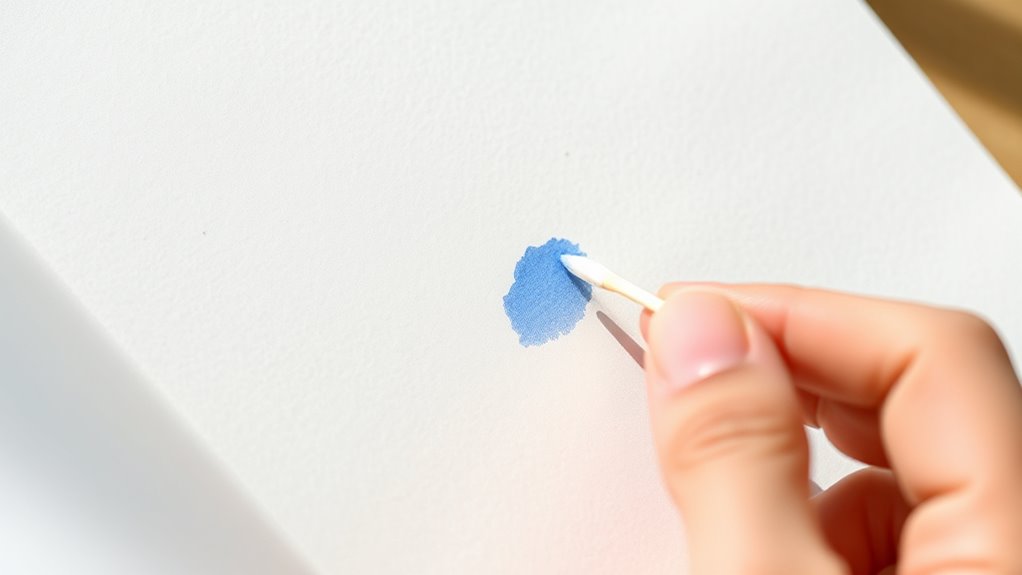
Although it might be tempting to apply your chosen ink removal method directly to the entire stain, you should always test it on a small, inconspicuous area first. This helps you see how the paper reacts and guarantees the ink removal won’t cause damage, like tearing, discoloration, or smudging.
Choose a spot on the paper’s edge or a corner that won’t be noticed if the test doesn’t go well. Apply a tiny amount of the cleaning solution or technique you plan to use. Wait a few moments to observe any changes.
If the paper holds up and the ink lightens without harm, you can confidently proceed on the main stain. Testing first saves your paper from unintended damage and improves your chances of success.
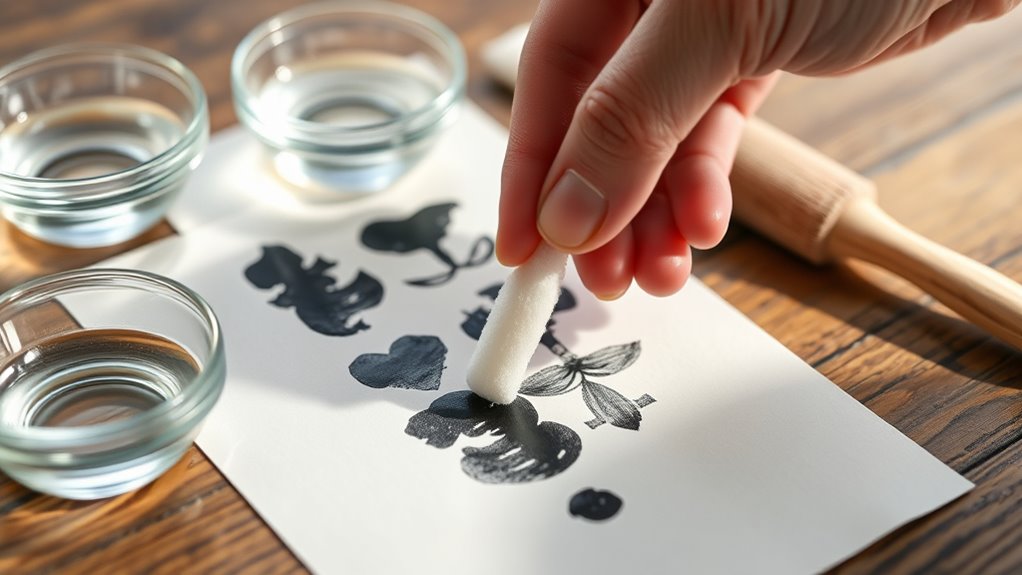
Use a Soft Eraser to Gently Rub Ink
You’ll want to pick a soft eraser to avoid damaging the paper while removing ink. Gently rub the inked area with light, circular motions to lift the ink without tearing.
Remember to work slowly and check your progress often to prevent over-erasing. Taking your time here really makes a difference!
Choosing the Right Eraser
When you need to remove ink from paper, selecting the right eraser can make all the difference. Choosing an eraser that’s too harsh might damage the paper, while one that’s too soft may not effectively lift the ink.
Here’s what to take into account:
- Rubber Erasers: Opt for a soft, white rubber eraser. It gently lifts ink without tearing your paper.
- Vinyl Erasers: These are slightly firmer but still safe for most paper types. They work well on stubborn ink marks.
- Kneaded Erasers: Moldable and gentle, these are great for delicate papers and light ink removal.
Just pick the eraser best suited for your paper’s texture and the ink’s intensity to guarantee a clean, damage-free result. Easy, right?
Erasing Techniques and Tips
Since ink can easily smudge or damage paper, you should always use a soft eraser and rub gently to lift the ink without tearing the surface. Start by testing the eraser on a small, inconspicuous area to guarantee it won’t harm your paper.
Use light, circular motions rather than harsh back-and-forth strokes to avoid abrasion. If the ink doesn’t come off easily, don’t press harder; instead, try moistening the eraser slightly to increase its effectiveness.
Keep your hand steady and avoid rushing—the gentler you are, the better your results. After erasing, brush away eraser crumbs softly to prevent further smudging.
Apply Rubbing Alcohol With a Cotton Swab
Although ink can be stubborn, applying rubbing alcohol with a cotton swab can effectively lift it from paper without causing damage. You just need to act carefully to avoid smudging or tearing the paper.
Here’s how you can do it:
- Dip a cotton swab lightly into rubbing alcohol—don’t soak it to prevent paper warping.
- Gently dab the ink stain, working from the outside toward the center to avoid spreading.
- Blot the area with a dry tissue to absorb the ink and alcohol, repeating if necessary until the stain fades.
This method works best on fresh ink stains and delicate paper.
Always test on a small hidden area first to ensure the paper’s texture and color remain intact.
Try Using Lemon Juice for Ink Stains
You can use lemon juice as a natural way to remove ink stains from paper. Just apply it carefully with a cotton swab to avoid soaking the paper too much.
Remember to test a small area first to prevent any damage. It’s always better to be safe than sorry, right? Give it a try and see how it works for you!
Natural Ink Remover
When ink stains mar your paper, lemon juice offers a natural and effective solution. You’ll find it’s gentle yet powerful enough to lift ink without harsh chemicals.
To use lemon juice as a natural ink remover, follow these simple steps:
- Dab a small amount of fresh lemon juice onto the ink stain using a cotton swab.
- Let it sit for 1-2 minutes to break down the ink pigments.
- Gently blot the area with a clean, dry cloth to absorb the loosened ink.
This method works best on fresh stains and delicate papers. Lemon juice’s natural acidity helps dissolve ink, making it an eco-friendly choice.
Give this natural ink remover a try next time you need to restore your paper. It’s pretty easy and saves you from using harsh chemicals!
Application Tips and Precautions
Lemon juice can effectively lift ink stains, but applying it carefully guarantees the best results and protects your paper. First, test a small, hidden area to verify the paper won’t discolor or weaken.
Use a cotton swab dipped in lemon juice, dabbing gently on the stain—avoid rubbing, which can spread the ink or tear the paper. Work slowly, applying minimal liquid to prevent warping.
After treatment, blot excess moisture with a clean cloth and let the paper dry flat. Keep in mind lemon juice is acidic, so don’t soak the paper or leave it wet for too long.
If the stain persists, repeat cautiously. By following these tips, you’ll safely reduce ink marks without damaging your precious documents.
Blot Ink With a Damp Cloth Carefully
Although ink stains can seem stubborn, gently blotting with a damp cloth can lift much of the excess without spreading the ink further. You want to act quickly but carefully to avoid damaging the paper or making the stain worse.
Follow these steps to blot effectively:
- Lightly moisten a clean, white cloth with water—avoid soaking it to prevent paper warping.
- Press the cloth gently on the ink stain, lifting ink away without rubbing or smearing.
- Use a fresh spot on the cloth each time you blot to avoid reapplying ink to the paper.
Use a Cotton Swab and Dish Soap Solution
Start by mixing a small amount of dish soap with water to create a gentle cleaning solution.
Dip a cotton swab into the mixture, then carefully apply it to the ink stain on your paper. Use light, circular motions to lift the ink without damaging the surface.
It’s a simple trick, but it really helps to keep your paper safe while cleaning. Just take it slow and steady!
Preparing Soap Solution
To prepare an effective soap solution for removing ink from paper, you’ll need a small bowl of warm water and a few drops of mild dish soap. This gentle mixture helps break down the ink without damaging the paper.
Follow these steps to get your solution ready:
- Pour about half a cup of warm water into a clean bowl.
- Add 2–3 drops of mild dish soap to the water.
- Stir gently until the soap fully dissolves, creating a light soapy solution.
Make sure the water isn’t too hot, as this can warp the paper. You want it just warm enough to help the soap work its magic.
With your soap solution ready, you’re set for the next step of carefully treating the ink stains. And hey, remember to mix up a fresh batch each time you use it—that way, it works best!
Applying With Cotton Swab
Once your soap solution is ready, grab a clean cotton swab to gently apply it to the ink stain. Dip the swab lightly into the solution, making sure it’s damp but not dripping.
Carefully dab the stained area without pressing too hard to avoid damaging the paper. Change swabs as needed to prevent spreading the ink further.
| Step | Action | Tip |
|---|---|---|
| 1 | Dip swab in solution | Avoid soaking the swab |
| 2 | Lightly apply to stain | Use gentle dabbing motions |
| 3 | Replace swab often | Prevent ink spread |
| 4 | Wait before next step | Let solution soak briefly |
This method guarantees targeted cleaning with minimal risk. It’s pretty straightforward and works well if you take your time.
Gently Removing Ink
Although removing ink from paper can be tricky, you can gently lift the stain by using a cotton swab dipped in a mild dish soap solution. This method softens the ink without damaging the paper fibers, making it effective for small spots.
Here’s how to do it:
- Mix a few drops of dish soap with warm water in a small bowl.
- Dip a cotton swab into the solution, then gently blot the ink stain—avoid rubbing to prevent spreading.
- Use a dry cotton swab to absorb excess moisture and ink residue, repeating the process as needed until the stain lightens.
Try Using Nail Polish Remover Sparingly
When you need to remove ink from paper, nail polish remover can be effective but requires careful use. You should only apply it sparingly because excessive amounts can damage the paper or cause the ink to spread.
Dab a small amount onto a cotton swab or soft cloth and gently blot the ink stain. Avoid rubbing, as this might tear the paper or smudge the ink further.
Test the remover on a hidden area first to ensure it doesn’t discolor or warp the paper. Work slowly and patiently, applying more remover only if needed.
Allow the Paper to Dry Completely Before Handling
If you want to prevent further damage, let the paper dry completely before you handle it. Wet or damp paper is fragile and prone to tearing or smudging, especially after applying any ink removal method. Patience here is key to preserving your document’s integrity.
To guarantee proper drying:
- Lay the paper flat on a clean, dry surface away from direct sunlight or heat sources to avoid warping.
- Allow at least 30 minutes to an hour, depending on the amount of moisture and paper thickness.
- Avoid touching or flipping the paper until it feels completely dry to the touch.
Frequently Asked Questions
Can Ink Stains Be Completely Removed Without Damaging Valuable Documents?
You usually can’t completely remove ink stains without risking damage, especially on valuable documents.
Instead, you should carefully minimize stains using gentle methods. It’s a good idea to consult a professional conservator to preserve the paper’s integrity and value.
What Should I Do if the Ink Is Permanent Marker?
If you think permanent marker’s ink will vanish like magic, think again! You should gently dab with rubbing alcohol on a cotton swab, but don’t expect perfect results—permanent ink’s stubborn and might damage the paper.
It’s tricky stuff, for sure. So, go slow and be gentle to avoid tearing or ruining your paper.
Are There Any Household Items to Avoid When Removing Ink?
You should avoid using bleach, nail polish remover, or harsh chemicals on paper—they can damage it. Stick to gentle options like milk or rubbing alcohol.
And hey, always test on a small area first to prevent ruining your document. It’s better to be safe than sorry!
How Long Should I Wait Before Attempting Ink Removal on Old Stains?
You should wait at least 24 hours before attempting ink removal on old stains to prevent spreading. Patience helps the ink settle, making removal more effective without damaging the paper.
Don’t rush the process. Giving it some time really makes a difference!
Can Ink Removal Methods Affect Printed Text on the Paper?
Yes, ink removal methods can affect printed text on paper. You’ll want to test a small area first because some solvents might smudge, fade, or damage the print.
Conclusion
By following these steps, you can often rescue important documents or cherished notes from unwanted ink stains. For example, imagine you accidentally spilled ink on a handwritten letter from a loved one.
Testing a small area first and gently applying rubbing alcohol can lift the stain without damaging the paper. Just remember to be patient and let the paper dry fully before handling it again.
With care, you can restore your paper and preserve those memories. Removing ink from paper might seem tricky, but with the right approach, it’s definitely doable. So, if you’re looking to get ink off paper, these simple steps will help you save your precious documents without causing harm. Take your time, follow the process carefully, and you’ll be surprised how well your paper recovers.