How Do You Remove Ink From Leather Without Damaging Leather
To remove ink from leather without damaging it, start by identifying your leather type. This helps you pick the gentlest and safest cleaning method.
Always test any cleaner on a hidden spot first to avoid discoloration or texture changes. Use a soft cloth with mild soap or a leather-safe ink remover, applying gently and patiently.
After cleaning, don’t forget to condition the leather to keep it soft and supple.
Interested in discovering specific tips for different leather finishes and more safe techniques? Let’s dive deeper!
Key Takeaways
- Identify your leather type to choose an appropriate and safe ink removal method that prevents damage or texture loss.
- Test any cleaning product on a hidden leather area first. This helps check for discoloration or any adverse reactions before you apply it fully.
- Use a soft cloth with diluted mild soap or a specialized leather cleaner. Gently dab the ink stain instead of rubbing harshly to avoid making it worse.
- If the ink is stubborn, try applying isopropyl alcohol sparingly with a cotton ball. Keep a close eye on it to avoid drying out or discoloring the leather.
- After cleaning, be sure to condition the leather. This restores moisture and keeps it soft, preventing stiffness or cracking over time.
Understanding Different Types of Leather
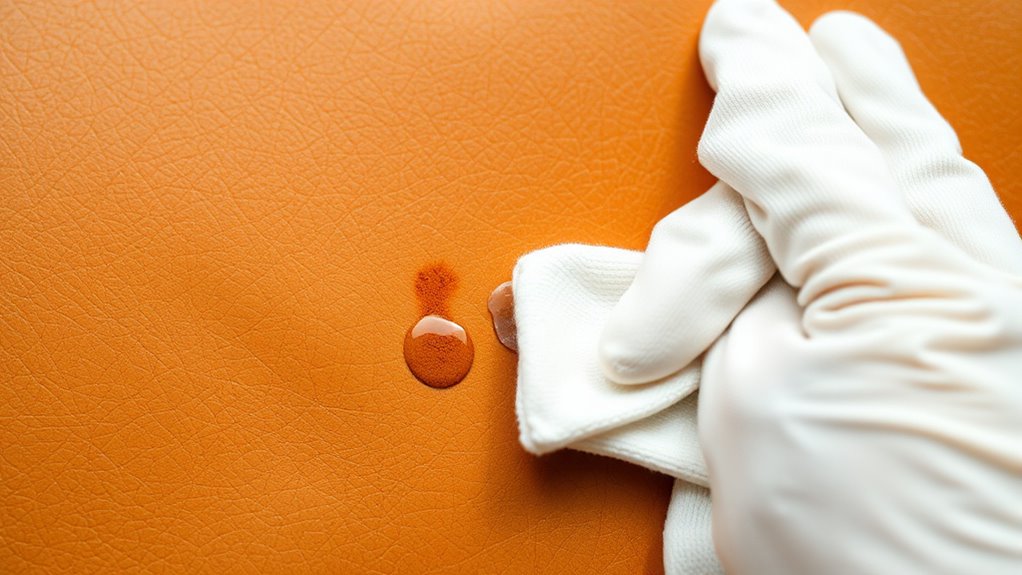
How you remove ink from leather depends largely on the type of leather you’re dealing with. You’ll find that full-grain leather, which is the most durable and natural, can handle gentle cleaning methods but still requires care to avoid damage.
Top-grain leather has a smoother finish, so ink might sit on the surface more, making it easier to treat but also more prone to visible marks if you’re too harsh.
Suede and nubuck have a fuzzy texture, which means ink can soak in deeply, and you’ll need specialized techniques to avoid ruining the nap.
Correctly identifying your leather type helps you choose the safest approach, preventing discoloration or texture loss. Always test any cleaning method on a hidden spot first to see how your leather reacts.
Essential Tools and Materials for Ink Removal
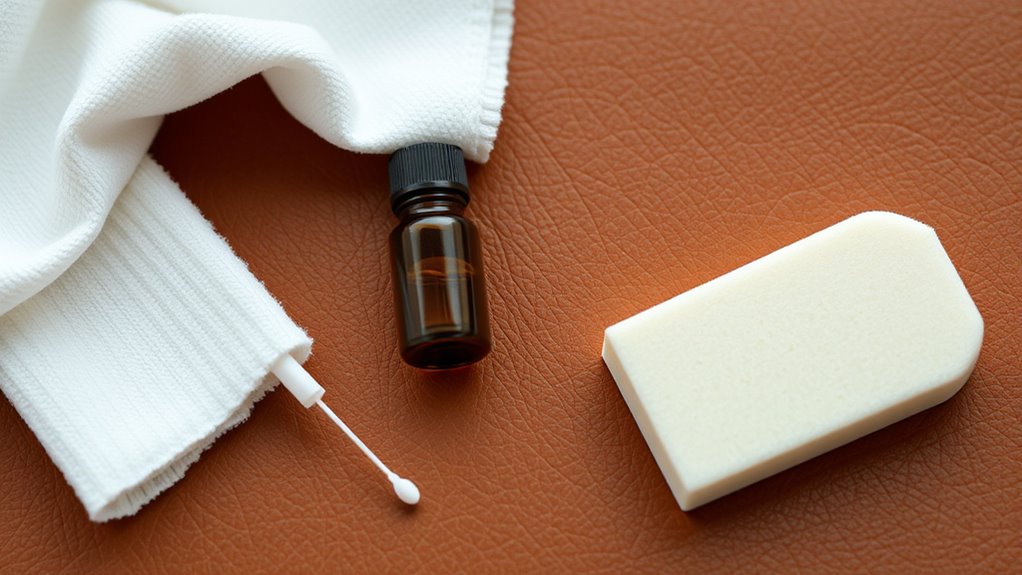
Before you start removing ink from leather, gather the right tools and materials to make the process effective and safe. You’ll need soft, clean cloths or cotton balls to apply cleaning solutions gently without scratching the leather.
Start by gathering soft cloths or cotton balls to gently apply cleaning solutions without damaging your leather.
Have a small bowl of lukewarm water ready for diluting cleaning agents or wiping down surfaces. Mild soap or specialized leather cleaner is essential for treating stains without damaging the material.
For tougher ink marks, isopropyl alcohol or a leather-safe ink remover can work, but use them sparingly. Keep a soft-bristled toothbrush handy for gently working on textured leather.
Ultimately, have leather conditioner on hand to restore moisture and softness after cleaning. With these tools and materials, you’ll be prepared to tackle ink stains carefully and effectively.
Testing Cleaning Methods on Hidden Areas
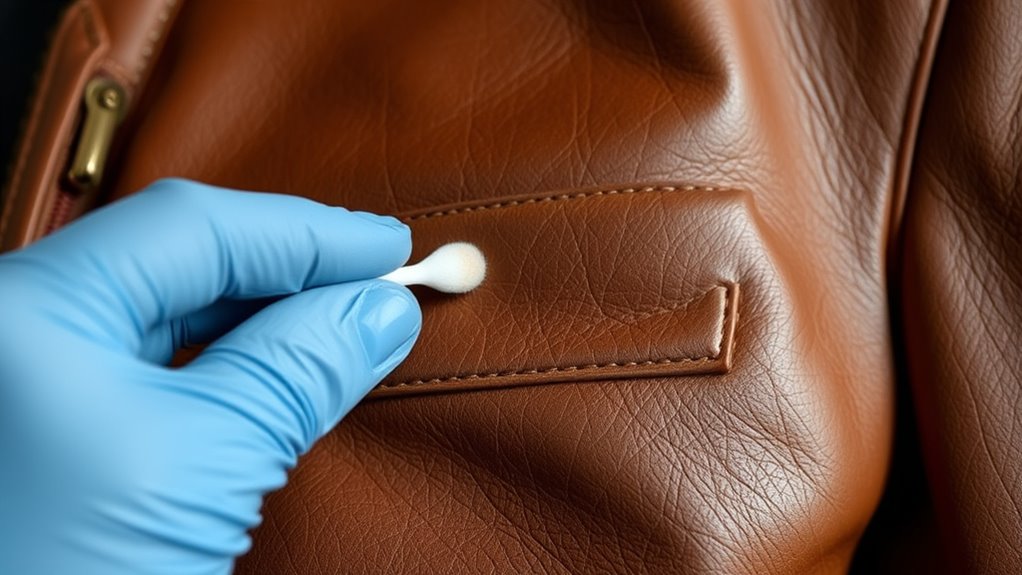
Before applying any cleaning solution, pick a hidden spot on your leather to test it out. Watch closely for any changes in color or texture to guarantee the leather reacts well.
If you notice damage, adjust your method before treating the visible ink stain. It’s better to be safe than sorry with leather!
Select Discreet Spots
Since different cleaning methods can react unpredictably with leather, you should always test them on a hidden or less visible spot first. Look for discreet areas like the inside flap, underside, or a seam where any damage won’t be obvious.
Applying your chosen cleaner to these spots helps you see if it causes discoloration, dryness, or texture changes. Use a cotton swab or soft cloth to apply just a small amount. Wait a few minutes to observe the effects before proceeding.
This careful step prevents ruining the entire piece by catching any adverse reactions early. Selecting the right spot ensures you protect your leather while effectively removing ink stains without compromising its look or feel.
Monitor Leather Reaction
How can you tell if a cleaning method is safe for your leather? Start by applying the product to a hidden or inconspicuous area you previously selected. Watch closely for any immediate changes like discoloration, darkening, or texture alteration.
Leather can react differently depending on its type and finish, so this step is vital. Allow the area to dry completely, as some reactions only appear after drying.
If you notice any damage or unwanted changes, do not proceed with that method on visible parts. Instead, try a different product or approach.
Monitoring how your leather responds ensures you protect its appearance and integrity during cleaning. Taking this cautious step prevents costly mistakes and keeps your leather looking its best.
Adjust Method Accordingly
If you spot any negative reactions during your initial test, it’s important to tweak your cleaning approach. Start by reducing the cleaning solution’s strength or switching to a gentler product.
If the leather shows discoloration, swelling, or stiffness, stop immediately and try a different method. You might need to dilute the cleaner further or opt for a specialized leather cleaner designed for sensitive surfaces.
Always retest in another hidden spot to ensure the new method is safer. Remember, patience is key—rushing can worsen damage.
Adjusting your technique based on these small trials helps protect your leather while effectively removing ink. This careful, step-by-step approach guarantees you don’t harm the leather’s finish or texture during the cleaning process.
Gentle Techniques for Removing Ink Stains
Although ink stains on leather can be stubborn, you can often remove them using gentle techniques that protect the material’s surface. Start by acting quickly to prevent the ink from setting.
Here’s how you can tackle the stain carefully:
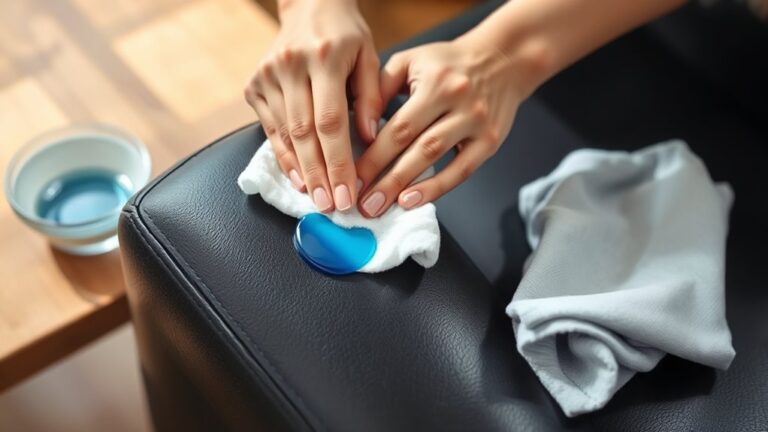
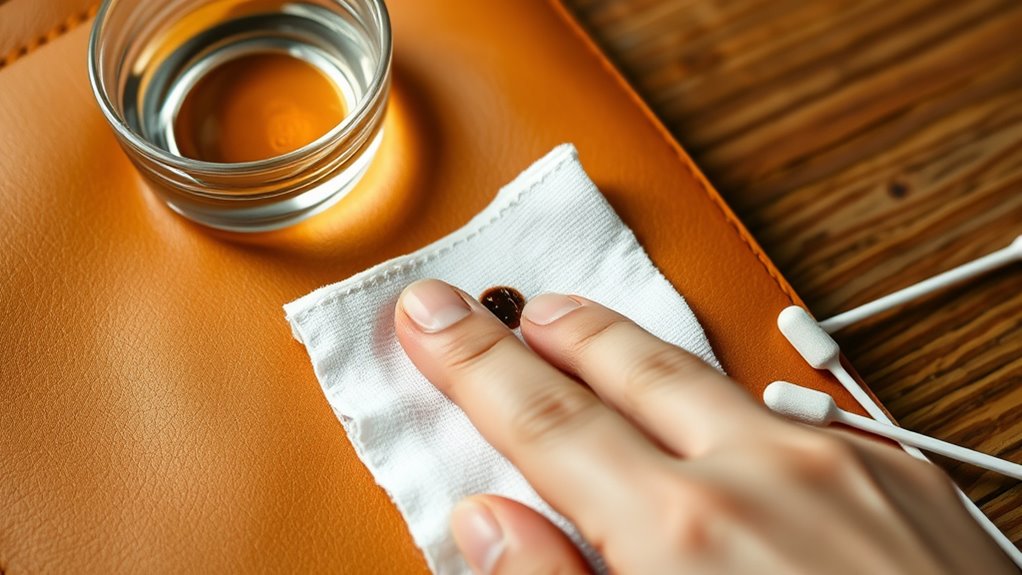
- Dab the stain with a soft cloth slightly dampened with water—avoid rubbing to prevent spreading.
- Apply a small amount of mild soap mixed with water using a cotton swab, then gently blot the stain.
- Use a leather conditioner afterward to maintain softness and prevent drying.
- Test any method on an inconspicuous area first to ensure it won’t discolor or damage your leather.
Just remember, taking it slow and steady really helps keep your leather looking great!
Using Commercial Leather Cleaners Safely
When you choose to use commercial leather cleaners, you’ll want to follow the instructions carefully to protect your leather from damage. Always test the cleaner on a hidden area first to check for colorfastness or adverse reactions.
Apply the cleaner sparingly using a soft cloth, avoiding soaking the leather. Gently rub the stained area in circular motions, never scrubbing aggressively.
After treatment, wipe away any residue with a clean, damp cloth and allow the leather to air dry naturally. Avoid using harsh chemicals or cleaners not specifically designed for leather, as they can cause discoloration or drying.
Preventing Ink Stains and Maintaining Leather Quality
To keep your leather looking its best, you should take proactive steps to prevent ink stains before they happen. Protecting your leather starts with awareness and care. That way, you don’t have to deal with tough stains later on.
Here are four essential tips to help you maintain your leather’s quality:
- Keep pens and markers away from leather surfaces to avoid accidental ink contact.
- Apply a leather protector regularly to create a barrier against spills and stains.
- Clean spills immediately using a soft cloth to prevent ink from setting.
- Store leather items properly, avoiding crowded spaces where ink pens might leak or rub against them.
Frequently Asked Questions
Can Ink Stains on Leather Be Removed Using Household Items?
Yes, you can try using household items like rubbing alcohol or milk, but be careful.
Test a small area first, gently dab the stain, and avoid rubbing too hard to prevent damaging your leather.
How Long Does It Take for Ink Stains to Set on Leather?
Ink stains can start setting on leather within minutes, so you should act quickly.
The longer you wait, the harder it gets to remove. Plus, the ink might permanently damage the leather’s surface if left too long.
Is It Safe to Use Alcohol-Based Products on Leather Ink Stains?
You might worry alcohol will ruin your leather, but using it sparingly and diluted can safely lift ink stains. Always test on a hidden spot first, then gently dab to avoid damage or discoloration.
It’s pretty simple, really. Just take it slow and be gentle with the leather, and you should be fine.
Can Professional Leather Cleaning Services Guarantee Ink Stain Removal?
Professional leather cleaning services can’t always guarantee ink stain removal because results depend on the stain’s age and leather type.
However, they use specialized techniques that greatly increase your chances of successful, damage-free cleaning.
What Are the Risks of Ignoring Ink Stains on Leather?
Ignoring ink stains lets 70% of leather owners face permanent damage. You risk discoloration, weakening, and reduced lifespan.
Acting quickly preserves your leather’s look and durability, so don’t delay treating those ink marks. It’s better to tackle the problem early than regret it later!
Conclusion
So, you’ve bravely decided to erase that ink stain from your leather treasure. Remember, leather isn’t a magic eraser or your personal canvas for ink experiments.
If you treat it like a delicate diva—testing first, using gentle cleaners, and avoiding harsh scrubbing—you might just keep it happy and ink-free. Otherwise, enjoy your new abstract leather art piece.
Removing ink from leather without damaging leather takes patience and the right approach. Always start with a spot test on a hidden area before applying any cleaner. Use mild solutions like leather cleaner or a mixture of water and mild soap. Avoid harsh chemicals and scrubbing too hard, as they can ruin the leather’s texture and color.
With careful care, you can successfully remove ink from leather without causing harm, keeping your leather looking great and ink-free for years to come.