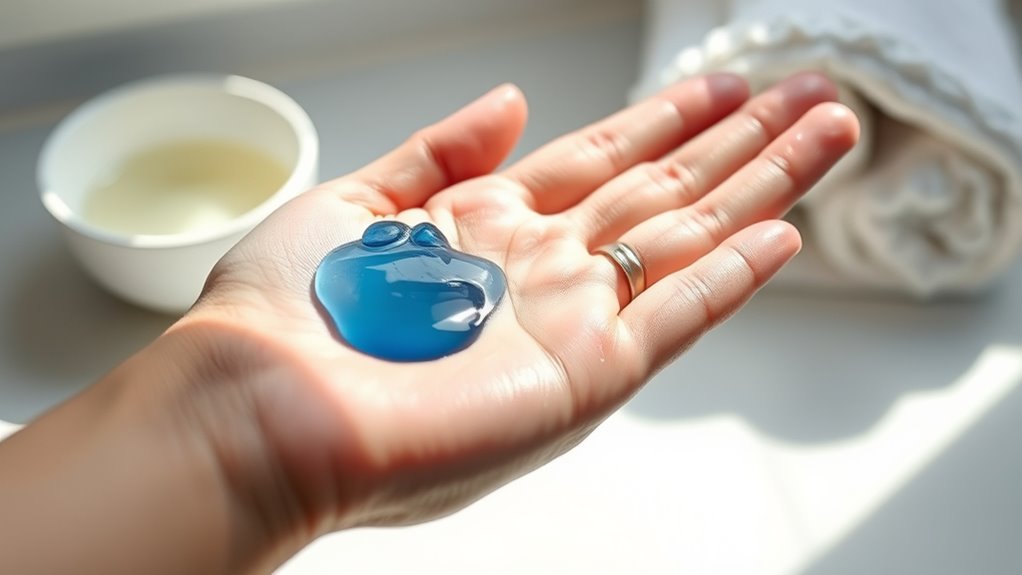
How to Remove Ink From Your Hand Quickly and Easily
To remove ink from your hand quickly and easily, start by applying a small amount of rubbing alcohol or hand sanitizer directly on the stain. Gently rub in circles until the ink begins to fade.
After that, rinse your hand with warm water and soap to wash away any residue.
If you prefer a natural approach, you can make a paste using baking soda and water. Apply it to the ink stain and rub gently.
Lemon juice or baby oil also works well to break down the ink naturally without harsh chemicals.
Just remember to avoid strong scrubbing or using harsh chemicals, as they can damage your skin.
Keep reading for even safer and more effective tips to get rid of ink stains quickly!
Key Takeaways
– Dab rubbing alcohol or hand sanitizer on the ink stain and gently rub in circular motions to break down the ink quickly.
This method works pretty fast, so you’ll see the ink starting to lift right away.
– Use a baking soda and water paste, apply it on the stain, rub gently, then rinse to lift ink safely.
It’s a gentle option if you’re worried about harsh chemicals.
– Apply lemon juice or baby/olive oil on the ink, rub gently, then wash with warm water and mild soap for quick removal.
These natural ingredients can be surprisingly effective and easy on your skin.
– Avoid harsh chemicals like acetone or bleach to prevent skin irritation and chemical burns.
Trust me, your skin will thank you for steering clear of those.
– Always moisturize your skin after cleaning to soothe and prevent dryness from ink removal methods.
Keeping your skin hydrated helps it recover faster and stay healthy.
Using Rubbing Alcohol to Lift Ink Stains
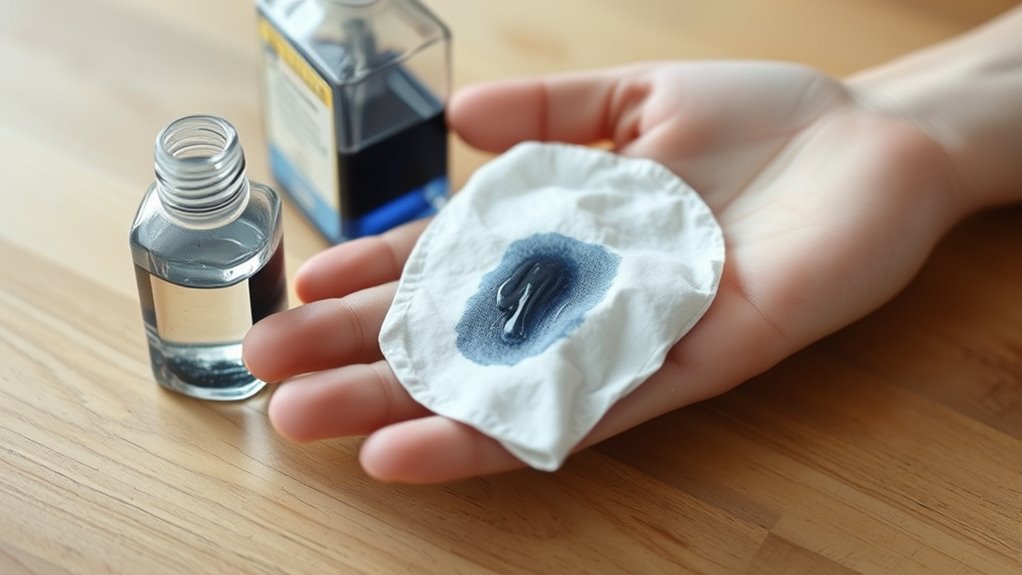
Although ink stains can be stubborn, you can use rubbing alcohol to break them down effectively. First, pour a small amount of rubbing alcohol onto a cotton ball or clean cloth.
Gently dab the stained area on your hand—don’t rub aggressively, as this might irritate your skin. The alcohol works by dissolving the ink, making it easier to lift away.
Keep dabbing until the ink starts to fade. Once you see the stain lightening, rinse your hand with warm water and mild soap to remove any remaining alcohol and ink residue.
Continue dabbing until the ink fades, then rinse with warm water and mild soap to clean thoroughly.
If some ink remains, just repeat the process carefully. Remember to moisturize afterward since rubbing alcohol can dry out your skin.
This simple method quickly tackles ink stains without harsh scrubbing. Easy, right?
Applying Hand Sanitizer for Quick Ink Removal
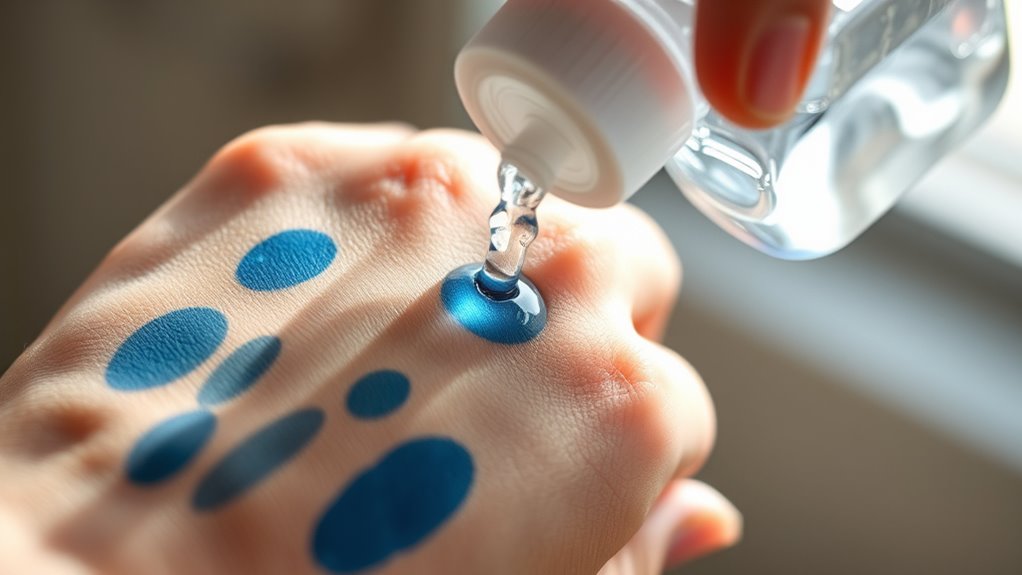
If you need a fast and convenient way to remove ink from your hand, hand sanitizer can do the trick. Apply a small amount directly onto the ink stain.
Use your fingers to gently rub the sanitizer into the skin in circular motions. The alcohol content in the sanitizer breaks down the ink, making it easier to wipe away.
After a minute or so, rinse your hand with warm water or wipe it off with a clean cloth. If some ink remains, just repeat the process until your skin is clean.
Hand sanitizer is especially handy when you’re on the go and don’t have access to rubbing alcohol or soap. Just remember to moisturize afterward, since frequent use can dry out your skin.
The Effectiveness of Baking Soda and Water Paste
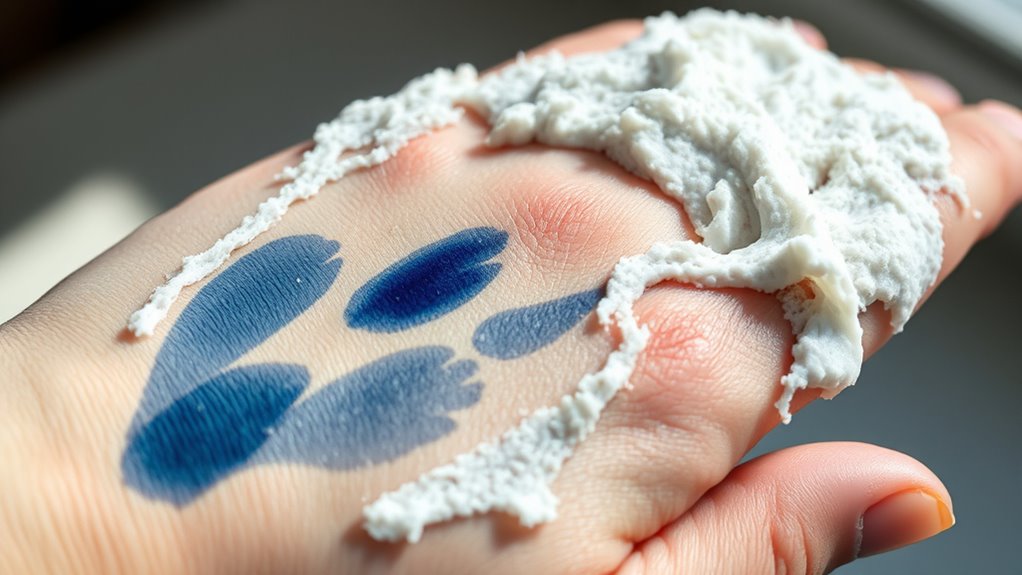
You’ll want to mix baking soda and water into a thick paste using the right ratio for the best results.
Apply it gently to your skin, avoiding harsh scrubbing to prevent irritation.
Remember to rinse thoroughly and moisturize afterward to keep your skin safe.
Mixing Ratio Tips
How much baking soda should you mix with water to create an effective paste for removing ink? The key is to balance texture and potency.
Too much water makes the paste runny and less abrasive, while too little water makes it hard to spread. Aim for a consistency like thick yogurt. Start with a 2:1 baking soda to water ratio and adjust as needed.
Here’s a quick guide to mixing ratios:
| Baking Soda (tbsp) | Water (tbsp) | Consistency |
|---|---|---|
| 2 | 1 | Thick and spreadable |
| 3 | 1.5 | Slightly thinner |
| 1 | 0.5 | Very thick |
| 2 | 2 | Too watery |
Play around with the ratios a bit until you find the best paste to remove ink effectively. It’s all about getting that perfect balance!
Application Techniques
Although baking soda and water paste is simple to make, applying it correctly boosts its ink-removing power considerably. You’ll want to spread a thick, even layer over the ink stain, ensuring full coverage.
Next, gently rub the paste in circular motions to break down the ink particles without irritating your skin. Let the paste sit for about 5 minutes to allow it to work effectively.
Finally, rinse thoroughly with warm water and pat dry.
- A creamy white paste coats your fingers
- Circular rubbing loosens stubborn ink stains
- Tiny granules gently exfoliate the skin’s surface
- Warm water washes away residue, revealing cleaner skin
This technique maximizes the paste’s cleaning ability for faster, better results.
Skin Safety Precautions
While applying the baking soda and water paste can effectively remove ink from your skin, it’s important to think about how it might affect your skin’s health. Baking soda is mildly abrasive and alkaline, which helps break down ink but can also irritate or dry out your skin if used too often or left on too long.
To protect your skin, apply the paste gently and avoid scrubbing aggressively. Limit the application to a few minutes, then rinse thoroughly with lukewarm water.
If you notice redness, itching, or dryness, stop using it and moisturize your skin immediately. Always test a small patch first to ensure you don’t have a reaction.
Taking these precautions helps you safely enjoy the paste’s ink-removing benefits without harming your skin.
How Lemon Juice Can Help Remove Ink
Because lemon juice contains natural acids, it effectively breaks down ink stains on your skin. When you apply lemon juice, it works to dissolve the pigments, making it easier to wipe away the ink.
Lemon juice’s natural acids break down ink pigments, making stains easier to remove from your skin.
To use it, squeeze fresh lemon juice onto a cotton ball or directly on the stain. Then, gently rub the area in circular motions, allowing the juice to penetrate the ink.
Imagine bright yellow juice dripping onto your hand. The fresh citrus scent filling the air. Soft cotton pressing against ink marks, and the ink fading as you softly scrub.
Remember to rinse your skin with water afterward and moisturize to prevent dryness. Lemon juice is a simple, natural way to tackle ink stains quickly and effectively.
Using Baby Oil or Olive Oil to Break Down Ink
If you want a gentle yet effective way to remove ink from your skin, baby oil or olive oil can do the trick. Both oils break down the ink’s oily pigments, making it easier to wipe away.
Start by applying a small amount of oil to the stained area. Then, gently rub the ink in circular motions with your fingertips or a soft cloth. You’ll notice the ink loosening and lifting off your skin.
After a minute or two, wash your hand with warm water and soap to remove any oily residue. This method is especially great if you have sensitive skin or want to avoid harsh chemicals.
Plus, both oils moisturize your skin as they clean, so your hand won’t feel dry afterward. It’s a simple and skin-friendly solution you might want to keep in mind!
Tips to Prevent Ink Stains From Setting on Skin
To stop ink stains from setting on your skin, act quickly and clean the spot immediately. You can also protect your hands with gloves or barrier creams when handling ink.
Avoid harsh chemicals that might irritate your skin while trying to remove the stain. It’s better to be gentle and patient with the cleaning process. That way, you keep your skin safe and ink-free!
Immediate Ink Removal
Act quickly when you get ink on your skin to prevent stains from setting. The faster you act, the easier it is to remove the ink before it dries and seeps deeper into your pores.
Start by rinsing the area with cool water to wash away as much ink as possible. Then, gently blot the spot with a clean cloth—don’t rub, or you’ll spread the stain.
Try these immediate removal tips:
- Dab a cotton ball soaked in rubbing alcohol on the ink spot.
- Use a gentle hand soap and warm water to lather and rinse.
- Apply a small amount of makeup remover with a cotton pad.
- Sprinkle baking soda on a damp cloth and gently rub the stain.
Acting fast keeps your skin ink-free!
Use Protective Barriers
Getting ink off your skin quickly is helpful, but preventing stains from setting in the first place saves you time and effort.
You can protect your skin by using barriers like gloves or applying a thin layer of petroleum jelly before handling ink. These methods create a shield that stops ink from soaking in, making cleanup easier.
Here’s a quick guide:
| Barrier Type | Best Use Case |
|---|---|
| Disposable Gloves | Writing, crafting |
| Petroleum Jelly | Quick ink handling |
| Barrier Creams | Frequent ink contact |
Avoid Harsh Chemicals
Although you might be tempted to reach for strong solvents, avoid harsh chemicals when removing ink from your skin. They can cause irritation or damage. Instead, opt for gentle methods to protect your skin’s natural barrier.
Harsh chemicals like acetone, bleach, or industrial cleaners can dry out your skin, lead to redness, or even cause burns. To prevent these issues, try safer alternatives.
Here are some gentle options to remove ink:
- Rubbing alcohol diluted with water
- Hand sanitizer with moisturizing ingredients
- Mild soap and warm water
- Coconut oil or olive oil to break down ink
Frequently Asked Questions
Can Ink Stains Cause Allergic Reactions on the Skin?
Yes, ink stains can cause allergic reactions on your skin, especially if you’re sensitive to certain chemicals.
If you notice redness, itching, or swelling, you should wash the area promptly and avoid further contact with the ink.
It’s always better to be cautious and take care of your skin!
Are There Any Natural Remedies Safe for Sensitive Skin?
You’re in luck—gentle nature offers mild helpers like coconut oil or aloe vera gel that soothe without fuss.
These tender touch remedies won’t ruffle your sensitive skin while easing ink’s unwelcome marks effectively and kindly.
How Long Does It Take for Ink to Fade on Its Own?
Ink usually takes several days to fade on its own, depending on the type and amount.
You can speed this up by washing gently and moisturizing. If you don’t act, it might last up to a week or more.
Can Ink Stains From Permanent Markers Be Removed?
Yes, you can remove permanent marker ink stains from your hand using rubbing alcohol, hand sanitizer, or a mixture of baking soda and water.
Just apply, rub gently, and rinse—repeat if necessary until the stain fades.
It’s pretty straightforward, and usually, the stain will come off after a few tries. Just be gentle so you don’t irritate your skin!
Is It Safe to Use Nail Polish Remover on Skin Ink Stains?
You can use nail polish remover on skin ink stains, but don’t overdo it. It contains acetone, which might irritate your skin.
Always test a small area first and moisturize afterward to prevent dryness or redness. Just be gentle with it!
Conclusion
Now that you’ve got these easy tricks up your sleeve, removing ink from your hand won’t feel like chasing shadows. Whether you reach for rubbing alcohol, hand sanitizer, or a natural remedy like lemon juice or baking soda, you’ll wipe away those stubborn stains quickly.
Remember, acting fast is key—don’t let ink set like a stubborn stain on your day. With these tips, clean hands are just a few moments away.
So next time you find ink on your skin, don’t stress. Using simple household items can make ink removal quick and easy. Keep these methods in mind, and you’ll be able to remove ink from your hand effortlessly. Clean hands are closer than you think!