
How to Use Acrylic Ink Step by Step
To use acrylic ink step by step, start by gathering quality inks, brushes, water, and paper towels. Having good materials makes a big difference in your results. Set up a clean, well-lit workspace where your surface is secured and ready to go.
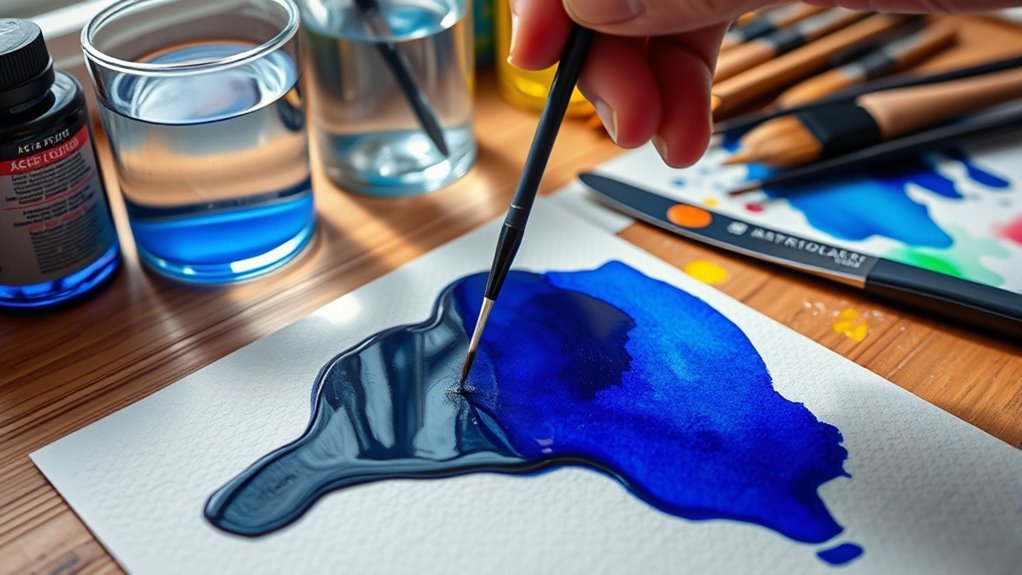
Begin applying the ink with fine brushes or droppers, and remember to let each layer dry before adding more. This helps build depth and prevents colors from blending unintentionally.
Mixing colors on a palette is a great way to create unique shades that bring your artwork to life.
Don’t be afraid to experiment with textures using different tools or mediums. It adds interesting effects and variety to your pieces.
Also, keep your brushes clean throughout your process to avoid muddy colors and keep your work crisp.
If you want to refine your technique and explore advanced effects, there’s plenty more to uncover. Acrylic ink is versatile and rewarding once you get the hang of it!
Key Takeaways
- Prepare your workspace with good lighting and protective covering. Arrange your acrylic inks and brushes within easy reach to keep everything handy.
- Apply acrylic ink using brushes, droppers, or airbrushes. You can adapt these techniques depending on the effects you want and control drying times accordingly.
- Layer colors starting with light shades. Make sure each layer dries fully before adding darker or additional layers.
- Mix inks on a palette or surface to create custom colors. Remember to clean your brushes between colors to avoid muddying your work.
- Create textures by varying the ink’s thickness and using mediums. Tools like sponges or palette knives can add depth and interesting effects to your piece.
Essential Materials for Working With Acrylic Ink
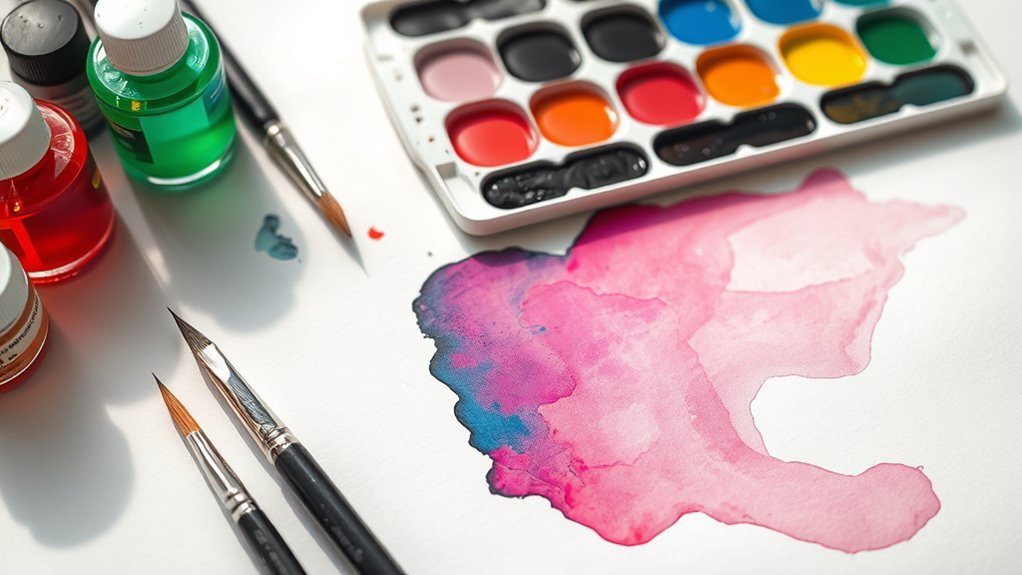
Before you begin working with acrylic ink, you’ll need to gather a few essential materials to make sure your project goes smoothly. Start with high-quality acrylic inks in the colors you want. You’ll also need a few different brushes—fine-tipped for details and broader ones for washes.
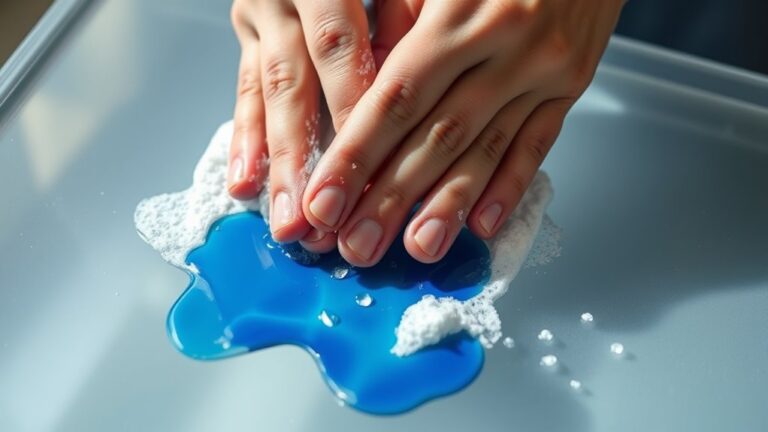
Don’t forget a palette or mixing tray to blend colors easily. Have some clean water on hand for thinning the ink and rinsing brushes. Paper towels or rags are great for blotting and cleaning up spills.
If you plan to layer or add effects, consider having masking tape and a spray bottle filled with water. Finally, use appropriate paper or surfaces designed to handle acrylic ink. This helps prevent warping and ensures vibrant results.
Preparing Your Workspace and Surface
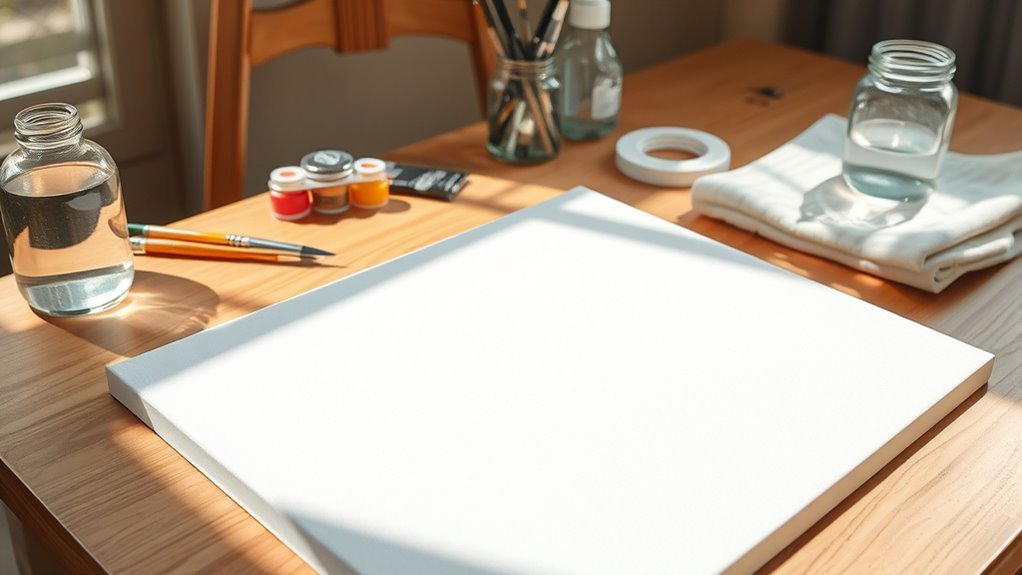
Gathering the right materials sets the stage, but creating a comfortable and organized workspace makes your acrylic ink project flow smoothly. Begin by selecting a flat, stable surface with good lighting. Cover it with a protective layer, like a plastic sheet or old newspapers, to catch spills.
Arrange your inks, brushes, and containers within easy reach to avoid unnecessary movement. Make sure you have paper towels or cloths handy for quick cleanups.
Next, prepare your surface by choosing the right paper or canvas. If you’re using paper, tape it down to prevent warping. For canvas, ensure it’s primed and dry.
A well-prepared surface helps the ink adhere properly and prevents unwanted bleeding or smudging as you work. This little extra step really makes a difference.
Basic Techniques for Applying Acrylic Ink

Once you have your workspace ready, you can start applying acrylic ink with a variety of techniques to achieve different effects. You can use brushes for controlled strokes, droppers for splatters, or even airbrushes for smooth gradients.
Each method allows you to express creativity uniquely.
| Technique | Effect Achieved |
|---|---|
| Brush | Precise lines, detailed |
| Dropper | Random splatters, texture |
| Airbrush | Smooth, even coverage |
Try experimenting with these to see how acrylic ink behaves on your chosen surface. Remember, quick drying times let you work efficiently, but also require you to plan your strokes carefully to avoid unwanted blending.
Tips for Layering and Mixing Colors
Although acrylic ink dries quickly, you can build rich, vibrant layers by allowing each coat to dry fully before applying the next. This prevents colors from muddying and helps maintain their brightness.
When layering, start with lighter colors and gradually add darker shades to create depth. Use thin washes to build subtle slight transitions or bold strokes for strong contrasts.
For mixing colors, try blending inks on a palette or directly on your surface for unique effects. Remember, acrylic ink is highly pigmented, so a little goes a long way.
Test your mixes on scrap paper to guarantee you like the hue before applying it to your artwork. Keeping your brushes clean between colors also helps maintain clarity and prevents unwanted color shifts.
Creating Textures and Effects With Acrylic Ink
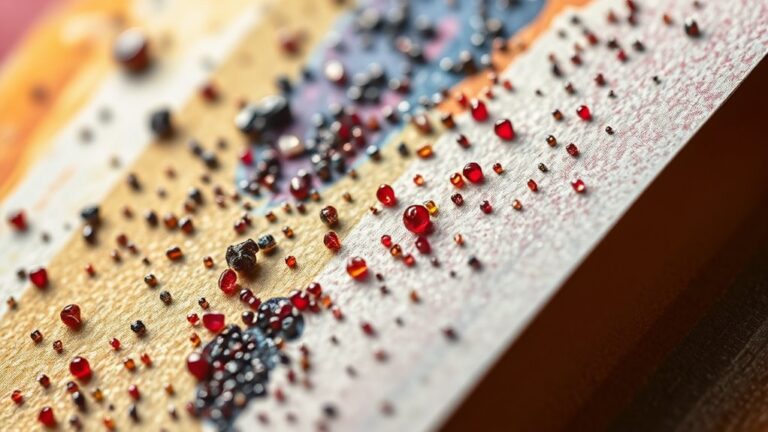
You can create unique textures by layering acrylic ink in varying thicknesses and drying times. Mixing the ink with different mediums lets you change its consistency and achieve special effects.
Try experimenting with these techniques. It’ll add depth and interest to your artwork.
Layering Techniques
When you layer acrylic ink, you reveal the potential to build rich textures and dynamic effects that bring your artwork to life. Start by applying a thin, even base layer and let it dry completely.
Then, add subsequent layers using varied brush strokes or tools like sponges and palette knives to introduce depth and interest. You can experiment with transparency by diluting the ink or use dense layers for bold contrasts.
Remember to allow each layer to dry before adding the next to prevent unwanted blending or muddy colors. Layering also enables you to create shadows, highlights, and subtle gradients, enhancing dimensionality.
Mixing With Mediums
Since acrylic ink offers such vibrant pigmentation and fluidity, mixing it with various mediums lets you unseal even more creative possibilities. When you combine acrylic ink with different substances, you can alter its texture, transparency, and drying time to suit your artistic vision.
Try these techniques to enhance your work:
- Acrylic Gel Medium: Thickens ink for textured brushstrokes and impasto effects.
- Matte or Gloss Varnish: Adjusts the finish, making colors pop or adding subtle sheen.
- Water: Dilutes ink for watercolor-like washes and softer gradients.
- Modeling Paste: Creates raised, textured surfaces when mixed lightly with ink.
Go ahead and experiment with these mixes to add depth and unique effects to your acrylic ink projects. You’ll be surprised at how much variety you can achieve!
Cleaning and Maintaining Your Acrylic Ink Tools
Although acrylic ink dries quickly, cleaning your tools promptly prevents stubborn stains and clogs that can damage brushes and nibs. Right after use, rinse brushes and nibs with warm water, gently wiping off excess ink.
If needed, use a mild soap, then reshape brush bristles and let them dry flat. Avoid letting ink sit on tools for extended periods.
| Tool | Cleaning Method | Maintenance Tip |
|---|---|---|
| Brushes | Rinse with warm water | Reshape bristles after washing |
| Nibs | Wipe with damp cloth | Soak briefly if ink hardens |
| Palettes | Clean with soap & water | Avoid harsh scrubbing |
| Containers | Rinse immediately | Dry thoroughly before storage |
| Pens | Flush with water | Store nibs dry and separate |
Taking care of your tools regularly really helps extend their life. Plus, it keeps your acrylic ink work looking vibrant and fresh!
Frequently Asked Questions
Can Acrylic Ink Be Used on Fabric or Clothing?
Yes, you can use acrylic ink on fabric or clothing. Just make sure to apply it evenly, let it dry completely, and heat-set it to make the design durable and washable.
You’ll love the vibrant results! It’s a great way to add some personality to your clothes. Just remember to be patient while it dries, and your artwork will last.
Is Acrylic Ink Waterproof Once Dry?
Once acrylic ink dries, it stands firm like a knight’s shield against water, so yes, it’s waterproof.
You’ll find your artwork won’t run or fade when wet, giving your creations lasting strength and vibrancy.
How Long Does Acrylic Ink Take to Fully Dry?
Acrylic ink usually takes about 10 to 15 minutes to dry to the touch. But keep in mind, it can take up to 24 hours to fully cure.
This depends on a few things like the thickness of the ink, the surface you’re working on, and the humidity in the air. So, it might dry faster or slower depending on those factors.
Can Acrylic Ink Be Mixed With Other Types of Paint?
Yes, you can mix acrylic ink with other paints like acrylics or watercolors.
Just remember, mixing affects drying time and finish, so test your combo first to get the results you want without surprises.
Are Acrylic Inks Safe for Children to Use?
Yes, acrylic inks are generally safe for children if they’re labeled non-toxic. However, you should always supervise kids during use.
Also, it’s important to avoid ingestion or skin contact with sensitive areas. This helps keep their experience fun and safe.
Conclusion
Using acrylic ink is like learning to dance—you start with basic steps and soon create your own rhythm. Remember, even Picasso experimented with layers before mastering his style.
As you prepare your workspace and explore textures, you’re building your unique artistic flow. With every brushstroke and color mix, you’re not just painting—you’re telling your story.
Keep practicing your acrylic ink techniques, and watch your skills and creativity soar with each vibrant layer you add. Step by step, using acrylic ink becomes more intuitive, allowing your art to truly shine. Embrace the process, experiment with different effects, and enjoy the vibrant possibilities acrylic ink offers your artwork.