
How Do You Remove Ink From Vinyl Step by Step
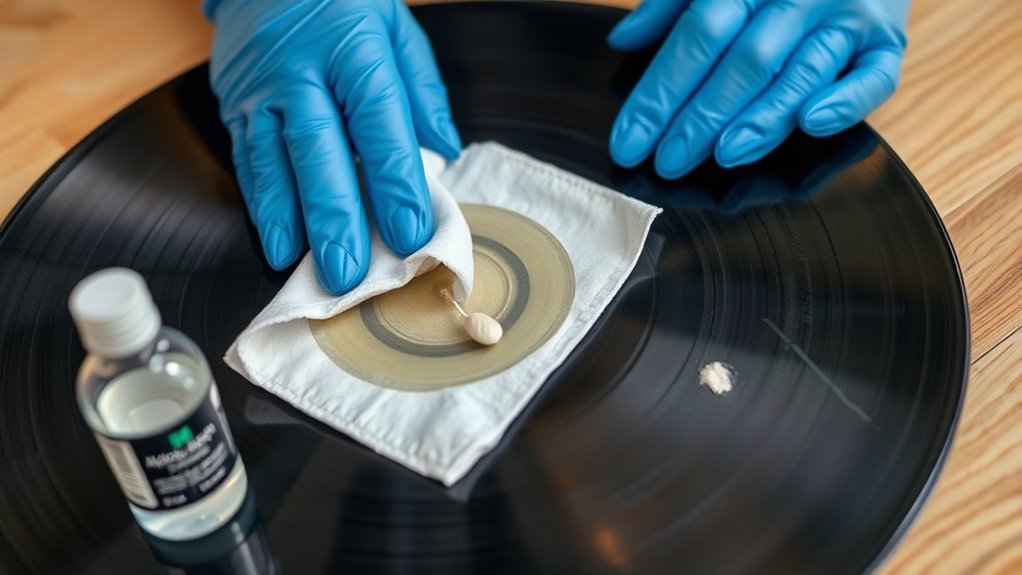
First, identify the ink and vinyl type. Then gather gentle supplies like isopropyl alcohol and mild soap.
Testing your cleaner on a hidden spot is key to make sure you don’t damage the vinyl.
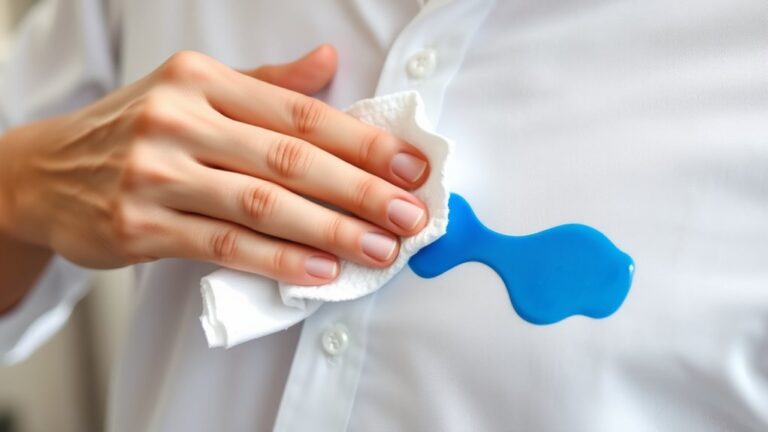
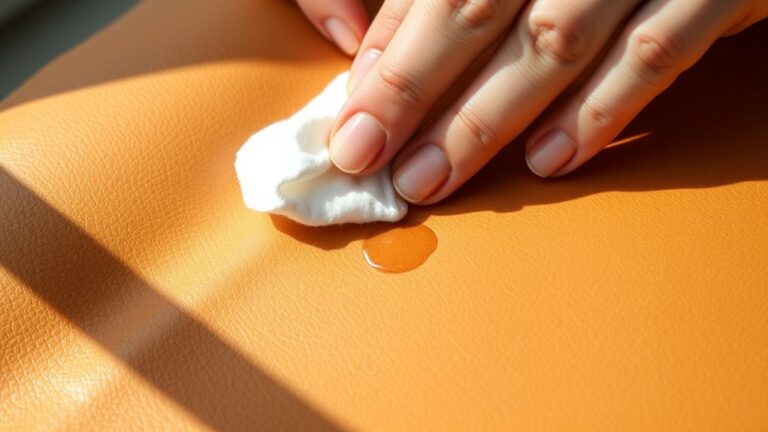
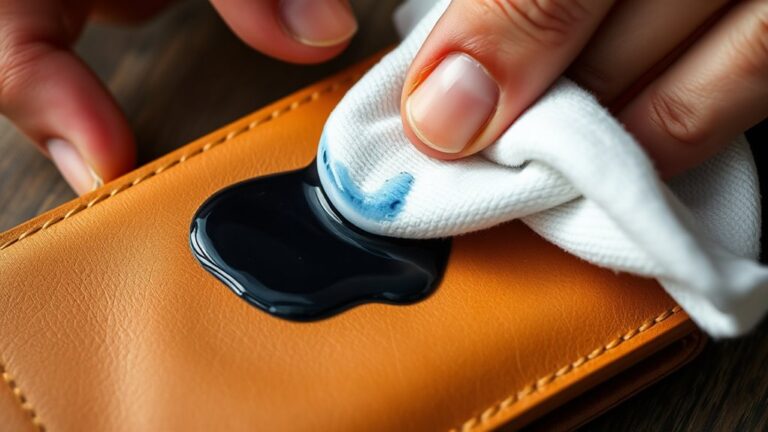
Apply the cleaner carefully to the ink stain using a soft cloth, dabbing lightly.
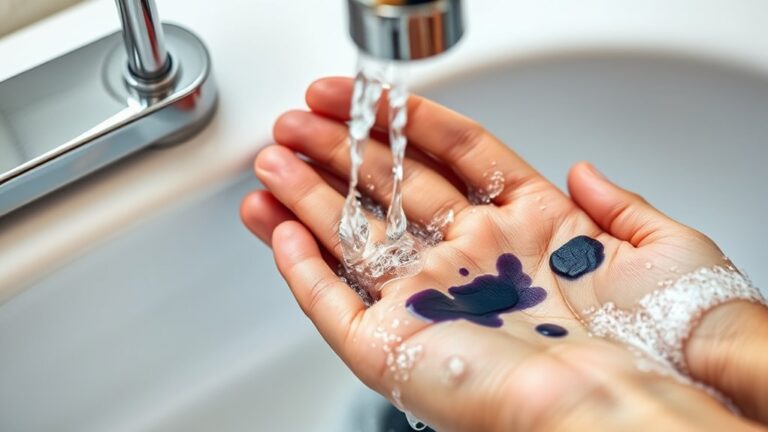
Gently scrub in circles to lift the stain, then rinse thoroughly with lukewarm water.
Pat the vinyl dry softly to avoid scratches.
If stubborn marks remain, following some additional steps will help you fully restore your vinyl.
Key Takeaways
– Identify the ink and vinyl type, then test a small hidden area with isopropyl alcohol or mild soap to check for damage.
This little test helps make sure you won’t harm the vinyl when you clean it.
– Apply vinyl-safe cleaner like rubbing alcohol or mild detergent gently with a soft cloth, avoiding direct pouring on the surface.
Pouring directly can soak the vinyl and cause damage, so it’s better to apply with a cloth.
– Use light, circular motions to lift the ink, reapplying cleaner as needed and wiping loosened ink promptly to prevent spreading.
Take your time here; being gentle but persistent works best.
– Rinse thoroughly with lukewarm water to remove all cleaner and ink residues, then gently pat dry with a soft cloth or microfiber towel.
Make sure no cleaner is left behind to keep the vinyl safe.
– Allow the vinyl to air dry completely, check for remaining stains, and re-clean if necessary to maintain vinyl integrity and appearance.
Sometimes a second round is needed, and that’s totally okay!
Identify the Type of Ink and Vinyl
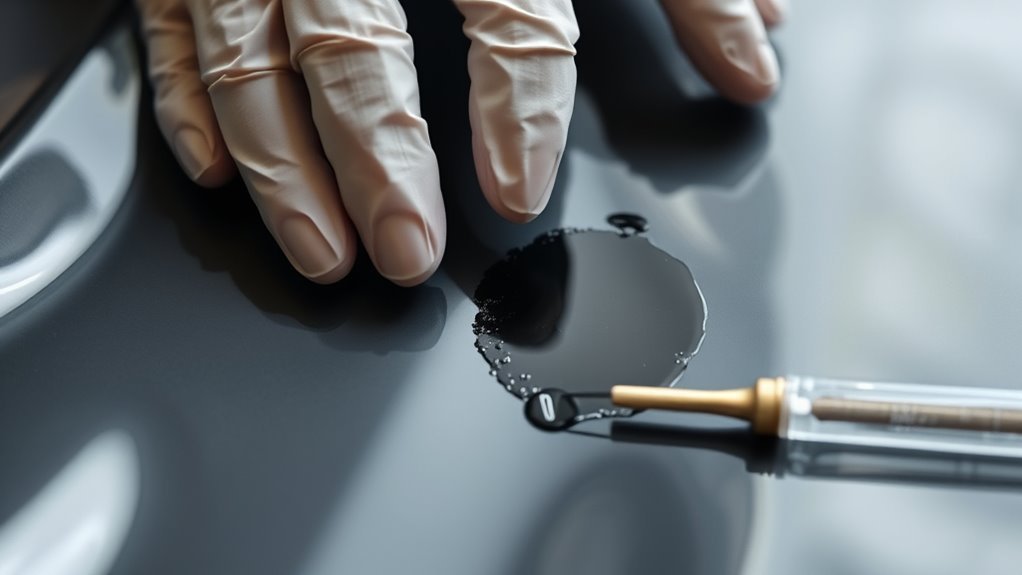
How do you know the best way to remove ink from vinyl? First, you need to identify both the type of ink and the vinyl material.
Different inks—like permanent marker, ballpoint, or printer ink—react differently to cleaning agents. For example, permanent markers are tougher to remove than water-based inks.
Ink types vary—permanent markers resist removal more than water-based inks, requiring different cleaning approaches.
Next, check what kind of vinyl you’re dealing with. Is it soft and flexible, like upholstery vinyl, or rigid, like vinyl flooring?
Some vinyl types can handle stronger solvents without damage, while others can’t. Understanding these details helps you choose the safest, most effective cleaning method.
Take a moment to test a small, hidden area to see how the vinyl responds before proceeding. This step prevents ruining your vinyl while tackling the ink stain.
Gather Necessary Cleaning Supplies

To effectively remove ink from vinyl, you’ll need a few essential cleaning supplies ready before you begin. Having the right tools on hand makes the process smoother and helps avoid damage.
Focus on gentle but effective solutions and materials that won’t scratch or discolor the vinyl.
| Supply | Purpose | Notes |
|---|---|---|
| Isopropyl Alcohol | Dissolves ink | Use 70% or less concentration |
| Soft Cloth or Sponge | Applies cleaner, wipes surface | Avoid abrasive materials |
| Mild Dish Soap | Cleans residue | Mix with water for gentle wash |
Gather these supplies first, so you’re prepared to tackle the ink stain without interruption.
And remember, avoid harsh chemicals or rough scrubbing tools that could harm your vinyl.
Test Cleaning Solution on a Small Area
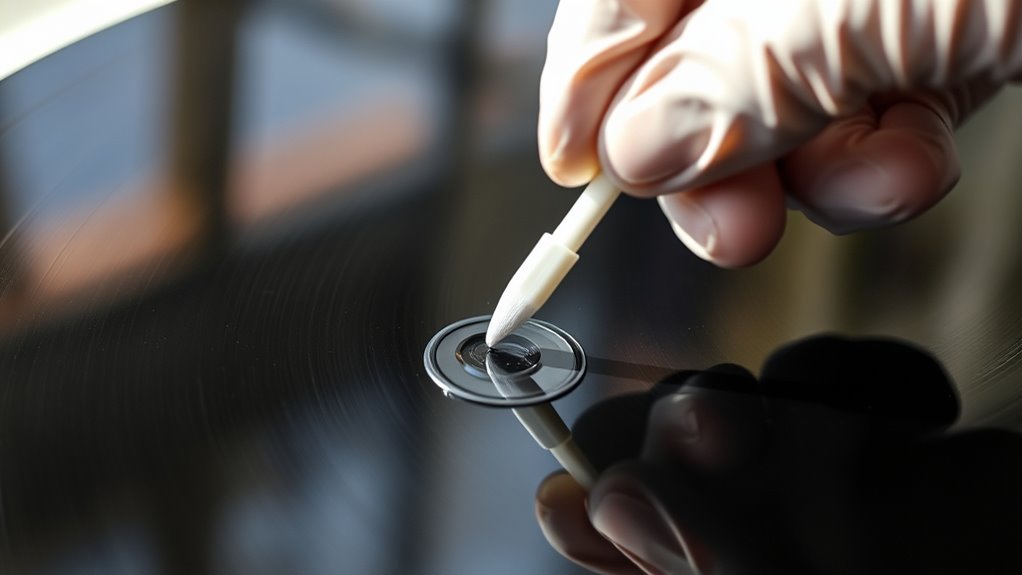
Before applying your cleaning solution, pick a small, hidden spot on the vinyl to test it. Apply a bit and wait a few minutes to see if any damage or discoloration occurs.
This quick check helps guarantee your cleaning won’t ruin the surface. It’s always better to be safe than sorry!
Choose a Discreet Spot
Although it may seem like a small step, choosing a discreet spot to test your cleaning solution is essential. You want to avoid any visible damage or discoloration on the main vinyl surface.
Look for an area that’s hidden or less noticeable, like the underside, a corner, or near seams. This way, if the solution causes any adverse effects, it won’t ruin the overall appearance.
Apply a small amount of your chosen cleaner there and let it sit for a few minutes. This test helps you verify the solution won’t harm the vinyl’s texture or color before you proceed to treat the ink stain.
Taking this precaution saves you from potential costly mistakes down the line. It’s always better to be safe than sorry!
Observe for Any Damage
How can you tell if your cleaning solution is safe for your vinyl? Before fully applying it, test a small, hidden area. Watch closely for any discoloration, texture change, or fading.
This quick check helps prevent costly damage. It’s always better to be safe than sorry!
Here’s what to look for during your test:
| Result | What It Means | Action to Take |
|---|---|---|
| No change | Safe to proceed | Continue cleaning |
| Slight fading | Use cautiously | Dilute solution or reduce time |
| Sticky residue | Possible damage | Try a different cleaner |
| Color loss | Unsafe | Stop immediately |
| Surface roughness | Vinyl is compromised | Avoid that cleaner |
If you notice any negative signs, stop right away. Then, try a gentler method to protect your vinyl’s finish. It’s all about keeping your vinyl looking great!
Apply Cleaning Agent to the Ink Stain
Choose a cleaning agent that’s safe for vinyl, like rubbing alcohol or a mild detergent. Apply it gently using a soft cloth or cotton swab to avoid damaging the surface.
Always wear gloves and work in a well-ventilated area to keep yourself safe. It’s better to be cautious when handling cleaning agents!
Suitable Cleaning Agents
A few cleaning agents work best for tackling ink stains on vinyl without causing damage. Rubbing alcohol is a top choice because it breaks down ink effectively while being gentle on vinyl surfaces.
You can also use non-acetone nail polish remover, which works similarly. Just avoid acetone-based products as they can harm vinyl.
Mild dish soap mixed with warm water serves well for less stubborn stains. It’s a safe and accessible option that many people have on hand.
For tougher marks, a magic eraser can help, but use it sparingly to prevent wear. Always test any cleaning agent on a small, hidden area first to make sure it won’t discolor or weaken the vinyl.
These agents balance effectiveness and safety, making your cleaning process smoother and damage-free. So, go ahead and give them a try!
Application Techniques
Once you’ve selected the right cleaning agent, gently apply it directly onto the ink stain using a soft cloth or cotton ball. Avoid pouring the cleaner straight from the bottle to prevent over-saturation.
Dab the stain lightly, working from the outside toward the center to stop the ink from spreading. Let the agent sit for a few minutes, allowing it to break down the ink.
If the stain is stubborn, you can gently rub in small circular motions, but don’t scrub hard—vinyl can scratch. Always test a small area first to make sure the cleaner won’t damage the surface.
After application, use a clean cloth to blot away the loosened ink and excess cleaner. Repeat if necessary, but be patient to preserve your vinyl’s finish.
Safety Precautions
Before applying any cleaning agent to the ink stain, make sure you’re working in a well-ventilated area to avoid inhaling fumes. Open windows or use a fan to improve airflow.
Always wear gloves to protect your skin from harsh chemicals. Avoid direct contact with the cleaning agent, as it can cause irritation or allergic reactions.
Test the cleaner on a small, hidden section of the vinyl first to verify it won’t cause discoloration or damage. Keep the cleaning agent away from children and pets.
Never mix different cleaning products, as this can create dangerous chemical reactions. Follow the product’s instructions carefully.
And if you start feeling dizzy or unwell, stop immediately and get some fresh air. Taking these precautions helps you clean safely and effectively.
Gently Scrub and Wipe the Ink Away
While applying the cleaning solution, you’ll want to gently scrub the ink-stained area using a soft cloth or sponge to avoid damaging the vinyl surface. Use light, circular motions to lift the ink without spreading it further.
Gently scrub ink stains on vinyl with a soft cloth using light, circular motions to avoid damage.
Avoid harsh scrubbing, which can scratch or wear down the vinyl. If the ink starts to loosen, wipe it away immediately with a clean part of your cloth to prevent re-depositing.
You might need to reapply the cleaning solution and repeat the gentle scrubbing a few times for stubborn stains. Just stay patient and consistent, because aggressive action won’t help.
Once the ink begins to fade, keep wiping until most of it is removed. This careful process helps protect the vinyl while effectively getting rid of those ink marks.
Rinse and Dry the Vinyl Surface
After you’ve removed as much ink as possible, rinse the vinyl surface thoroughly with clean water to wash away any leftover cleaning solution and loosened ink. Use lukewarm water, as hot water might damage the vinyl.
Make sure to rinse all areas where you applied cleaning agents to prevent residue buildup.
Once rinsed, grab a soft, dry cloth or microfiber towel and gently pat the surface dry. Avoid rubbing vigorously, as it could cause scratches or spread remaining ink.
If the vinyl is outdoors or exposed to sunlight, allow it to air dry completely to avoid moisture buildup that can lead to mold or mildew. Proper rinsing and drying guarantee the vinyl stays clean and ready for use or further treatment if needed.
Frequently Asked Questions
Can Ink Stains Damage the Vinyl Permanently?
Yes, ink stains can permanently damage vinyl if you don’t act quickly.
You’ll want to clean the stain as soon as possible to prevent it from settling in and becoming impossible to remove later.
It’s all about timing—catching the stain early gives you the best chance to save your vinyl.
Are There Any Eco-Friendly Ink Removal Options?
Imagine wiping a foggy window with lemon juice—it clears without harsh chemicals.
You can use eco-friendly options like vinegar, baking soda paste, or rubbing alcohol, which gently remove ink from vinyl while keeping your space green and safe.
How Long Should the Cleaning Solution Sit on the Stain?
You should let the cleaning solution sit on the ink stain for about 5 to 10 minutes. This gives it enough time to break down the ink without damaging the vinyl surface.
Always test first! It’s just a quick step but super important to make sure you don’t mess up your vinyl.
Can Ink Removal Methods Affect Vinyl Color or Texture?
Yes, ink removal methods can affect vinyl’s color or texture if you use harsh chemicals or scrub too hard.
You should always test a small, hidden area first to avoid damage and preserve the vinyl’s appearance.
It’s better to be safe than sorry when dealing with delicate surfaces like vinyl!
Is Professional Cleaning Necessary for Tough Ink Stains?
You don’t always need professional cleaning for tough ink stains, but if your attempts don’t work or you’re worried about damaging the vinyl, hiring a pro guarantees safe, effective removal without risking color or texture changes.
Sometimes, trying to fix it yourself can make things worse. So, if you’re unsure, it’s better to let an expert handle it. They know how to get rid of the stain without messing up your vinyl.
Conclusion
Now that you know the steps, you might wonder—will your vinyl look as good as new? By identifying the ink and choosing the right cleaner, you’re already halfway there.
But here’s the twist: patience is key. Rushing can make things worse. So, follow each step carefully, and you’ll be amazed at how that stubborn ink disappears.
Ready to see the transformation? Removing ink from vinyl isn’t as tough as it seems. With the right approach and a little time, your vinyl surfaces can look fresh and clean again.
Just remember to work gently and pick the proper ink remover for vinyl. These simple moves will bring your vinyl back to life in no time!