How to Turn Off Windows Ink in 5 Easy Steps
To turn off Windows Ink in 5 easy steps, start by opening Settings. You can do this quickly by pressing Windows + I on your keyboard. This method gets you right into the system settings where all the magic happens.
Next, head over to Devices and then click on “Pen & Windows Ink.” Here, you’ll find several options related to your pen and stylus features. It’s pretty straightforward.
Now, disable options like “Show recommended app suggestions” and the “Windows Ink Workspace” pop-up. Turning these off helps reduce distractions and keeps your workspace cleaner.
For those who want even more control, you can use the Group Policy Editor to disable Windows Ink features, but only if this tool is available on your system. It gives you advanced customization options.
Lastly, don’t forget to restart your device to apply all the changes you made. And hey, keep exploring the settings to customize your pen experience exactly how you like it!
Key Takeaways
- Open Settings by pressing Windows key + I or clicking the Start button and selecting the gear icon.
- Navigate to Devices, then select the Pen & Windows Ink tab on the left sidebar.
- Turn off “Show recommended app suggestions” and disable “Allow Windows Ink Workspace to open when I use my pen button.”
- You’ll also want to hide the Windows Ink Workspace icon from the taskbar and turn off handwriting personalization settings.
- Finally, restart your device to apply changes.
- This will confirm that Windows Ink is disabled and everything is set up the way you want.
Access the Settings Menu
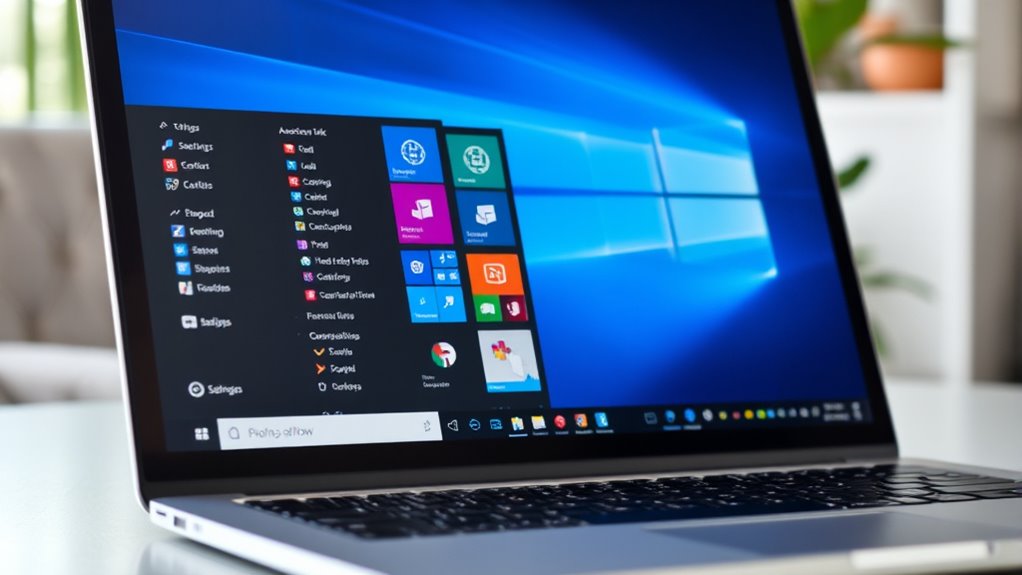
Before you can turn off Windows Ink, you need to access the Settings menu. Start by clicking the Start button in the lower-left corner of your screen. From there, select the gear-shaped icon to open Settings.
Alternatively, you can press the Windows key + I on your keyboard to jump straight to the Settings window. Once you’re inside Settings, you’ll see various options arranged in categories.
Don’t worry about finding the exact setting just yet; you only need to be in this menu to proceed. Remember, accessing the Settings menu is your first step toward disabling Windows Ink, so take your time to get there.
Once you’re ready, you can move on to adjusting the specific pen and Windows Ink settings.
Navigate to the Pen & Windows Ink Settings

Wondering where to find the settings for your pen and Windows Ink? Start by opening the Settings menu from the Start button or by pressing Windows + I.
Next, select “Devices” to access various hardware options. Look for the “Pen & Windows Ink” tab on the left sidebar and click it.
Select Devices, then click the Pen & Windows Ink tab on the left sidebar to manage your pen settings.
This section is where you control your pen’s behavior and Windows Ink features. Once here, you’ll see options related to pen shortcuts, handwriting input, and other Windows Ink preferences.
Moving through to this page is essential before you disable or adjust any Windows Ink functions. Taking these steps ensures you’re in the right place to manage the pen settings effectively and continue customizing your experience as needed.
Disable Windows Ink Workspace Features
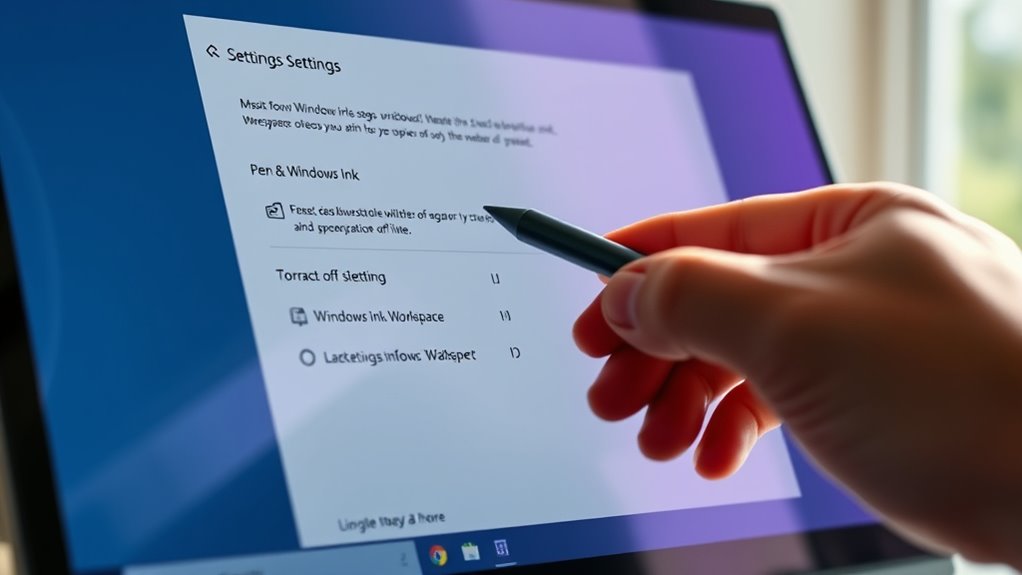
Although Windows Ink Workspace offers useful tools, you might want to disable its features to streamline your workflow or reduce distractions.
To do this, start by opening the Settings app and exploring the Pen & Windows Ink section. From there, you can turn off specific features that you find unnecessary.
Here’s what you should look for:
- Disable “Show recommended app suggestions” to stop app pop-ups.
- Turn off “Allow Windows Ink Workspace to open when I use my pen button.”
- Hide the Windows Ink Workspace icon from the taskbar for a cleaner interface.
- Disable handwriting personalization to prevent Windows from collecting pen input data.
Adjust Group Policy Settings (For Advanced Users)
If you want more control over Windows Ink, adjusting Group Policy settings offers a powerful way to disable or customize its features beyond the standard options. To start, press Win + R, type “gpedit.msc,” and hit Enter to open the Group Policy Editor.
Navigate to Computer Configuration > Administrative Templates > Windows Components > Windows Ink Workspace. Here, you’ll find policies like “Allow Windows Ink Workspace” and “Allow Windows Ink Workspace to load at login.”
Double-click a policy, select “Disabled,” and click “OK” to turn off specific features. Keep in mind, Group Policy Editor is available only in Windows Pro, Enterprise, and Education editions.
Be cautious when changing these settings, as improper adjustments may affect system behavior. This method is ideal if you need advanced customization beyond simple toggles.
Restart Your Device to Apply Changes
Once you’ve adjusted the Group Policy settings to disable Windows Ink, you’ll need to restart your device to make certain the changes take effect properly. Restarting refreshes system processes and applies new configurations, ensuring Windows Ink is fully turned off.
Here’s how to do it smoothly:
- Save any open files or work to prevent data loss.
- Click the Start menu and select the Power button.
- Choose “Restart” from the options presented.
- Wait patiently as your device shuts down and powers back up.
After your device restarts, Windows Ink should be disabled according to your settings. If you notice it’s still active, double-check your Group Policy changes or try restarting once more.
Restarting is a simple but essential step to lock in your adjustments effectively. So, don’t skip it!
Frequently Asked Questions
What Is Windows Ink Used For?
Windows Ink helps you draw, write, and take notes naturally using a stylus on your touchscreen.
You’ll find it useful for sketching ideas, annotating documents, and maneuvering apps with pen-friendly features easily.
It’s pretty handy when you want to get creative or just jot things down quickly without typing.
Plus, it makes working with your device feel more like using pen and paper, which can be a lot more intuitive.
Can I Customize Windows Ink Shortcuts Instead of Disabling It?
You can’t reinvent the wheel, but you can tweak Windows Ink shortcuts through Settings.
Head to Pen & Windows Ink settings, then customize shortcuts to fit your style without turning the whole feature off.
It’s a handy way to keep the functionality you like while making it work better for you.
Does Turning off Windows Ink Affect Touchscreen Functionality?
Turning off Windows Ink doesn’t disable your touchscreen. You can still tap, swipe, and use touch features normally.
But keep in mind, you’ll lose stylus-specific functions like handwriting and pressure sensitivity that rely on Windows Ink. So, if you use a stylus often, some features might not work quite the same.
How Do I Enable Windows Ink Again After Disabling It?
To enable Windows Ink again, open Settings and go to Devices. Then, select Pen & Windows Ink.
Next, toggle the “Use Windows Ink Workspace” option back on. This restores your pen’s enhanced functionality instantly.
It’s pretty straightforward, and you’ll be back to using all those handy features in no time!
Are There Any Risks to Disabling Windows Ink on My Device?
Disabling Windows Ink won’t harm your device, but you’ll lose pen features like handwriting recognition and drawing tools. If you rely on those, you might miss them.
Otherwise, it’s safe and won’t affect overall performance. So, if you don’t use those features much, go ahead and disable it without worry.
Conclusion
Turning off Windows Ink is like closing a window to let fresh air in—you clear the clutter and create space for what truly matters on your screen. By following these simple steps, you take control, silencing distractions and smoothing your workflow.
Just a few clicks, a quick restart, and you’re ready to sail through your tasks with ease, leaving the ink behind like a fading shadow at dusk.
When you disable Windows Ink, you’re not just turning off a feature—you’re enhancing your productivity. It’s about having a cleaner workspace, fewer interruptions, and a more focused experience on your Windows device. So, if you want to boost efficiency and enjoy a smoother workflow, turning off Windows Ink is the smart move. Give it a try and feel the difference it makes!