How to Re Ink a Self Inking Stamp in 10 Easy Steps
To re-ink your self-inking stamp, first gather your ink and tools. Then, carefully remove the ink pad from the stamp.
Set up a clean workspace to keep things tidy. Apply ink evenly on the pad and let it soak for 10-15 minutes.
Next, reinsert the pad securely back into the stamp. Test the stamp impression to see if it’s clear.
If needed, add more ink for better clarity. Don’t forget to clean any excess ink around the stamp.
Finally, store the stamp properly to keep it fresh and ready for use. Follow these simple steps, and you’ll soon have sharp, crisp impressions every time.
Key Takeaways
- Remove the ink pad by pressing the stamp to expose and sliding out the internal pad carefully.
- Apply recommended ink evenly on the pad using a dropper, avoiding over-saturation.
- Let the ink soak into the pad for 10-15 minutes for full absorption.
- Reinsert the ink pad securely and test the stamp on scrap paper for clear, even impressions.
- Add more ink if needed, clean excess ink, and store the stamp flat in a cool, dry place.
Gather Your Materials
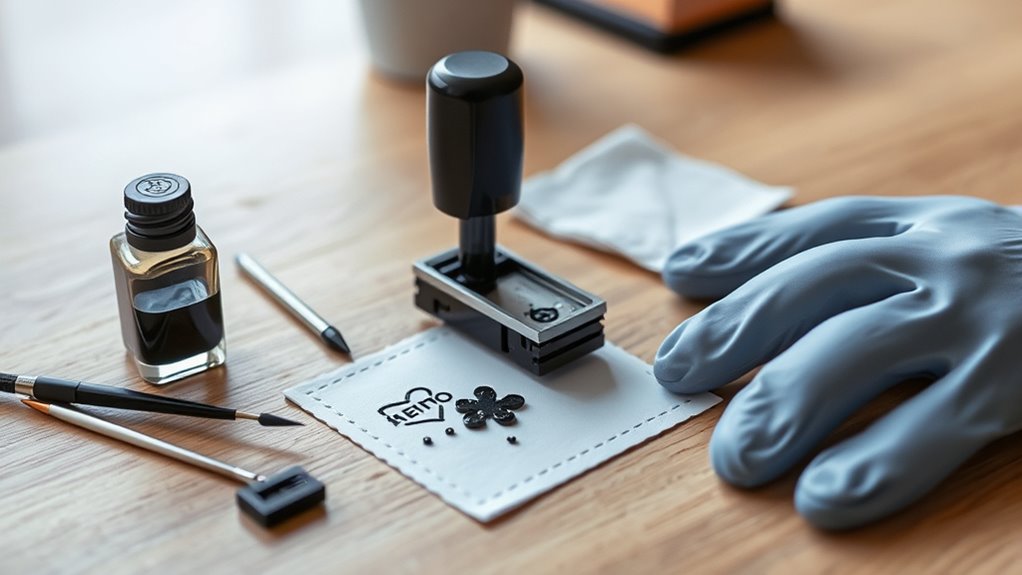
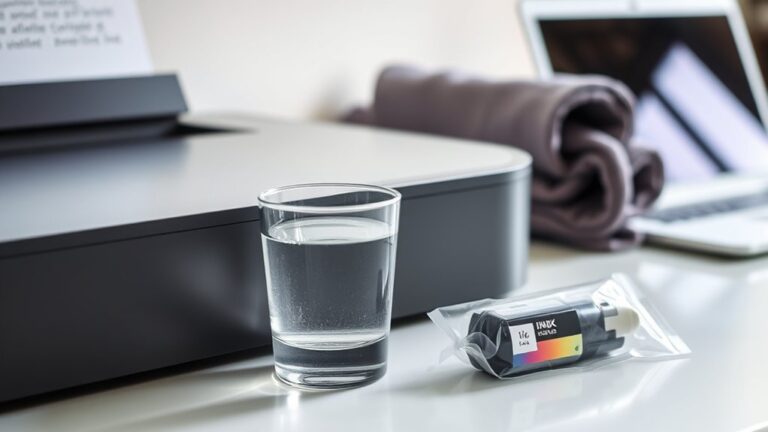
Before you begin re-inking your self-inking stamp, make sure you have all the necessary materials ready. You’ll need the appropriate ink for your stamp type—check whether it requires water-based or solvent-based ink.
Grab a small bottle or pad of this ink. Have paper towels or a clean cloth nearby to wipe off any excess ink and avoid messes. It’s also helpful to have gloves on hand if you want to keep your fingers clean.
Finally, a small screwdriver or tool might be necessary if your stamp has screws or parts that need loosening for easier access later. Preparing these materials beforehand guarantees a smooth, efficient re-inking process without interruptions or mistakes.
Remove the Stamp Pad From the Stamp
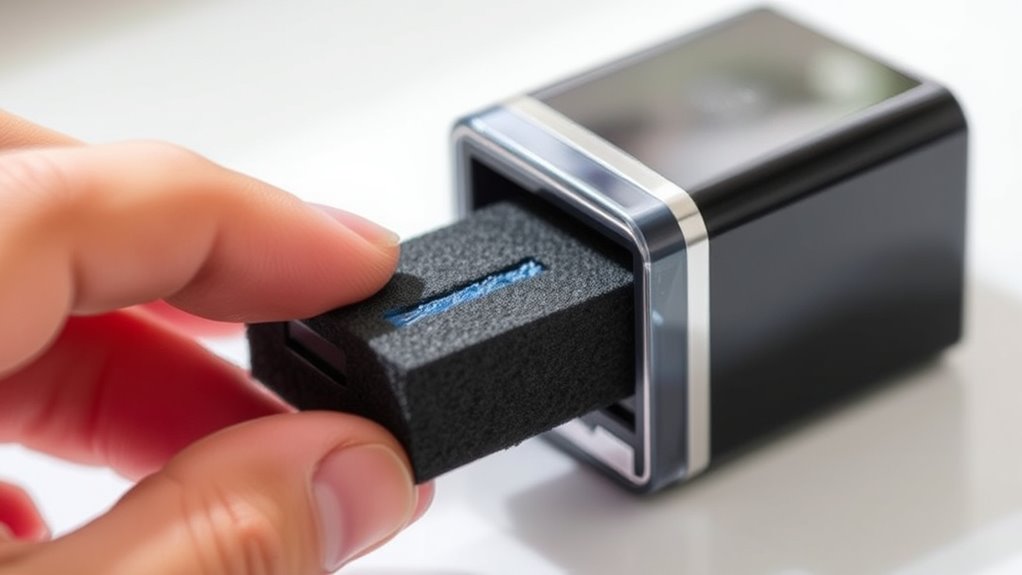
Once you have your materials ready, locate the stamp pad within your self-inking stamp by pressing the stamp slightly to reveal its internal parts. Most self-inking stamps have a removable pad that slides out easily.
Look for a small button or lever near the pad, which releases it. Press or slide this mechanism, then carefully pull the pad straight out. Avoid touching the inked surface to prevent smudges or staining your fingers.
If the pad feels stuck, gently wiggle it back and forth until it loosens. Removing the pad properly guarantees you can re-ink it evenly without damaging the stamp.
Keep the pad flat and stable as you work on it, so the ink spreads smoothly during re-inking.
Prepare Your Workspace
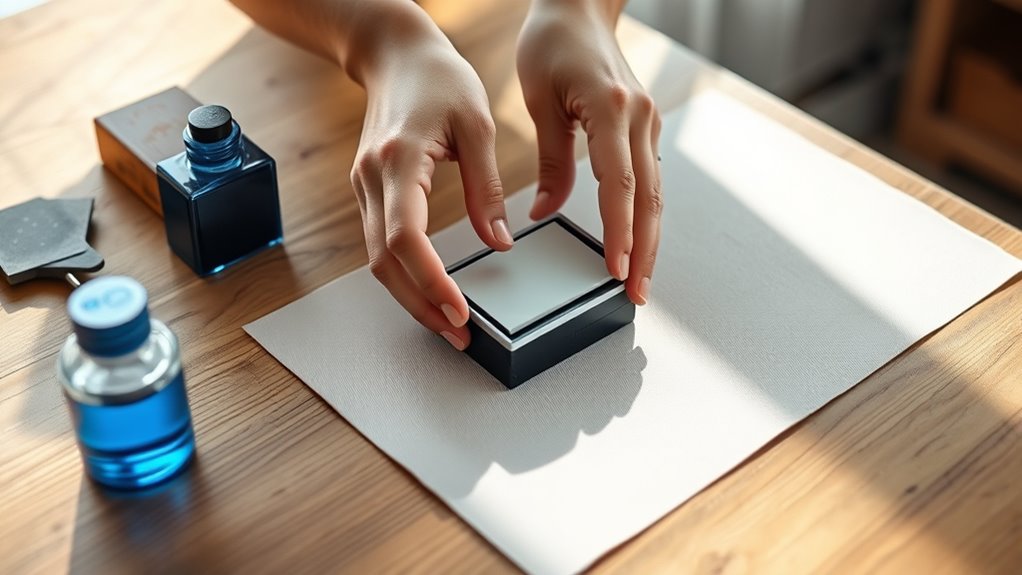
Although re-inking your self-inking stamp is a straightforward task, setting up a clean, well-lit workspace will make the process much easier and prevent any unwanted messes. Choose a flat surface like a desk or table and cover it with paper towels or old newspapers to catch any stray ink.
Make sure you have good lighting to see the stamp pad clearly. Keep a few cotton swabs and disposable gloves nearby to manage any spills or excess ink.
Have a small container of cleaning wipes or a damp cloth ready in case you need to wipe your hands or the stamp. Organizing your tools within reach will help you work efficiently and avoid accidents.
This preparation ensures a smooth, tidy re-inking process. It’s really worth taking a few extra minutes to get everything set up before you start.
Apply Ink to the Stamp Pad
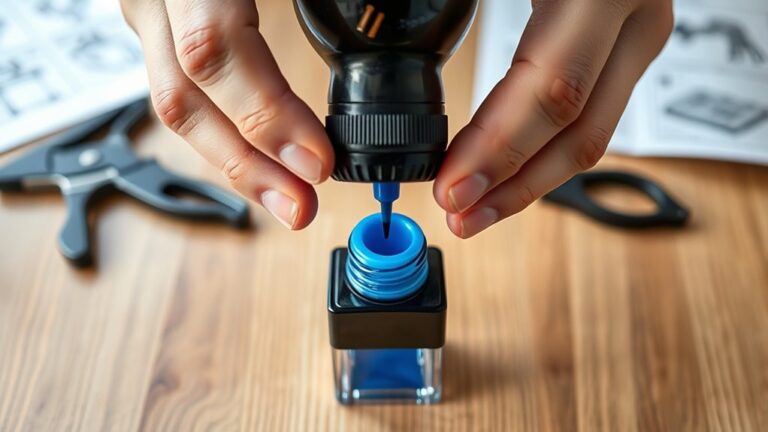
You’ll want to choose ink that’s compatible with your stamp pad to guarantee smooth re-inking. Apply the ink evenly, using just enough to saturate the pad without soaking it.
Avoid adding too much ink, or your stamp might smear and create a mess. It’s all about finding that perfect balance!
Choosing the Right Ink
How do you know which ink will work best for your self-inking stamp? First, check the stamp manufacturer’s recommendations. Using compatible ink guarantees smooth re-inking and prevents damage to the stamp pad.
Most self-inking stamps require water-based inks, which dry quickly and provide crisp impressions. Avoid using oil-based or permanent inks unless specified, as they can clog the mechanism.
Think about the surface you’ll stamp on—paper, fabric, or plastic—as some inks are made specifically for certain materials. If you want waterproof or fade-resistant results, look for inks labeled that way.
Also, keep in mind the color options. Standard black or blue inks are common, but maybe you want custom colors for branding. By choosing the right ink, you’ll keep your stamp working well and get clear, lasting impressions every time.
Proper Ink Application
Once you’ve selected the right ink, applying it correctly to your self-inking stamp pad is essential for achieving clear impressions. Start by removing the stamp pad from the stamp housing carefully.
Place it on a clean, flat surface. Next, evenly distribute a few drops of ink across the pad’s surface, focusing on the areas that appear dry or faded. Use a small dropper or the ink bottle’s nozzle for precision.
Avoid soaking the pad; instead, add ink gradually to let it absorb naturally. After applying, gently press the pad with your finger to spread the ink evenly. Let it sit for a few minutes to ensure full absorption before reinserting the pad into the stamp.
This method keeps your stamp working smoothly and produces crisp, consistent impressions every time.
Avoiding Ink Overuse
While applying ink evenly is important, it’s just as important to avoid overusing it on your stamp pad. Too much ink can cause smudging, uneven impressions, and even damage your stamp over time.
To keep your stamp working smoothly, apply ink carefully and sparingly. Here are some tips to help you avoid ink overuse:
- Use small drops or a fine-tipped applicator to control the amount of ink.
- Apply ink in thin layers, allowing it to absorb fully before adding more.
- Avoid saturating the pad; if you see pooling or drips, you’ve added too much.
Allow the Ink to Soak In
Once you’ve applied the ink, let it soak in for about 10 to 15 minutes to guarantee it’s fully absorbed.
This waiting period helps the ink spread evenly across the pad, preventing blotchy stamps. Be patient—you’ll get crisp, clear impressions every time.
Optimal Soaking Duration
Although it might be tempting to rush the process, you’ll need to let the ink soak in properly to guarantee even coverage and a clear stamp impression.
The ideal soaking duration usually ranges between 15 to 30 minutes, depending on the type of ink and stamp material. Giving it this time allows the ink to penetrate the pad thoroughly, avoiding patchy or faded marks.
Keep these tips in mind for soaking duration:
- Check the ink manufacturer’s recommendation for specific timing.
- Avoid pressing the stamp during soaking to prevent uneven absorption.
If the ink pad feels dry after the initial soak, consider a brief additional soak of 5-10 minutes.
Patience here ensures your self-inking stamp works flawlessly every time.
Ensuring Even Absorption
Allowing the ink to soak evenly guarantees your stamp produces clear, consistent impressions every time. After applying the ink, place the stamp pad on a clean, flat surface.
Press the stamp gently but firmly onto the pad, ensuring full contact without sliding. Let the ink absorb naturally for about 10 to 15 minutes. Avoid rushing this step, as uneven absorption can cause blotchy or faded marks.
If you notice any dry spots, press those areas lightly again to redistribute the ink. Just don’t press too hard, or you might oversaturate the pad and create smudges.
Reinsert the Stamp Pad Into the Stamp
Before you reinsert the stamp pad, make sure it’s evenly saturated and properly aligned with the stamp’s mechanism. This step is vital for a clean, consistent impression.
Gently slide the pad back into its slot, ensuring it fits snugly without forcing it. Misalignment can damage the stamp or cause uneven ink distribution.
Keep these tips in mind as you reinsert the pad:
- Confirm the pad’s orientation matches the stamp’s guide rails.
- Insert the pad slowly to avoid spilling excess ink.
- Check that the pad clicks or locks into place securely.
Once the pad is properly seated, your self-inking stamp is ready for use again. You’ll get crisp, clear impressions every time.
Test the Stamp Impression
Now that you’ve reinserted the stamp pad, press your stamp onto a piece of paper to test the impression. Check the ink coverage and make sure the image is clear without any smudges or gaps.
If you notice any missing areas, you might need to add more ink or adjust the pad. It’s all about getting that perfect stamp look!
Check Ink Coverage
How can you be sure your stamp is properly re-inked? After applying the ink, test the stamp’s coverage by pressing it onto a piece of scrap paper.
Look closely at the impression to guarantee the ink spreads evenly across the entire design. If you notice any light spots or gaps, your stamp may need more ink.
Avoid over-inking, which can cause smudging or bleeding. Here’s what to check:
- Even color distribution with no faint areas
- Clear edges without excess ink pooling
- Sufficient ink depth to create a solid imprint
If everything looks balanced, your stamp is ready for use. If not, add a few more drops and test again until the coverage is consistent.
Assess Stamp Clarity
Once you’ve confirmed even ink coverage, take a fresh piece of paper and press your stamp firmly to assess the clarity of the impression. Look closely at the image or text to guarantee all details are sharp and well-defined.
If the impression appears crisp and consistent, your stamp is ready for use. However, if any parts look blurry, faded, or uneven, you might need to reapply ink or adjust the stamp’s positioning.
Make sure you press evenly to avoid smudges or incomplete marks. Testing the stamp this way helps you catch issues early, ensuring professional-looking results every time you stamp.
Keep testing as needed until the impression meets your satisfaction for sharpness and completeness.
Identify Ink Gaps
After you’ve checked for clarity, focus on identifying any ink gaps in your stamp impression. Ink gaps show up as missing or faded areas on your stamped image, indicating where the ink pad may need more ink.
To spot these gaps effectively, stamp on a plain sheet of paper and look closely at the impression. Pay special attention to thin lines or letters that appear lighter than others.
Also, watch out for blank spots where the stamp design should be, and uneven color distribution across the entire impression.
Noticing these gaps early helps you decide if re-inking is necessary and where to apply ink for the best results. This simple check guarantees your self-inking stamp delivers a sharp, professional look every time you use it.
Add More Ink if Needed
Wondering when to add more ink to your self-inking stamp? If your stamp’s impressions look faint or incomplete, it’s time to add more ink.
Remove the ink pad carefully and hold it over a protected surface. Apply a few drops of the recommended ink directly onto the pad, focusing on uneven or dry areas.
Avoid over-saturating, as that can cause smudging or bleed-through. After adding ink, let the pad absorb it for a couple of minutes before testing the stamp on scrap paper.
If the impression remains faint, add a little more ink gradually until you achieve a clear, consistent mark. Remember, it’s better to add ink in small amounts to maintain control over the re-inking process and ensure optimal stamp performance.
Clean Up Excess Ink
Although adding ink improves your stamp’s clarity, you’ll want to clean up any excess to prevent smudges. Excess ink can cause messy impressions and transfer where you don’t want it.
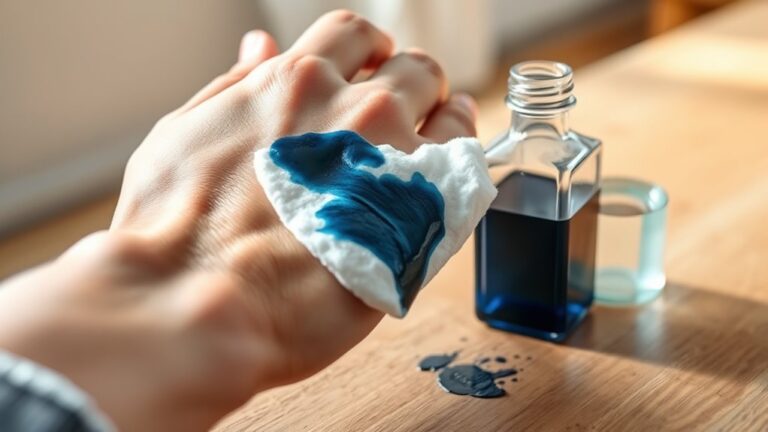
To clean it up effectively, grab a lint-free cloth or paper towel and gently blot the stamp pad surface. Avoid rubbing, as this might spread the ink unevenly.
If ink has gotten on the stamp casing or handle, use a damp cloth with a bit of mild soap to wipe it away carefully.
Here are quick steps to clean excess ink:
- Blot the pad lightly with a lint-free cloth or paper towel.
- Use a damp cloth with mild soap for the casing.
- Allow the stamp to dry before using it again.
This keeps your stamp neat and ready for crisp impressions. Easy, right? Just a little care goes a long way!
Store Your Stamp Properly
To keep your self-inking stamp in good shape, you need to store it properly when you’re not using it. Always place the stamp on a flat surface with the stamp pad facing down. This prevents the ink from drying out and ensures even distribution.
Avoid exposing it to direct sunlight or extreme temperatures, as heat can cause the ink to dry faster or the plastic to warp. Keep your stamp in a cool, dry place, preferably in a sealed container or a drawer to protect it from dust and debris.
If you won’t use it for a long time, check the ink pad periodically and re-ink as needed. Proper storage prolongs your stamp’s life and keeps your impressions crisp every time. So, give your stamp a little TLC, and it’ll serve you well!
Frequently Asked Questions
How Often Should I Re-Ink My Self-Inking Stamp?
You should re-ink your self-inking stamp whenever the impressions become faint or uneven.
Typically, this happens after several hundred uses, but frequency depends on your usage and ink type. So, keep an eye on its clarity.
What Type of Ink Is Best for Self-Inking Stamps?
Ink that’s water-based and dye or pigment formula works best for your self-inking stamp. It soaks in just right, like a sponge drinking water, ensuring crisp, clear impressions without clogging or smudging your stamp.
This kind of ink really gets the job done. Plus, it keeps your stamp working smoothly every time you use it.
Can I Use Colored Ink Instead of Black?
Yes, you can use colored ink instead of black in your self-inking stamp. Just make sure the ink is compatible with your stamp type to avoid damage or smudging.
That way, you can enjoy customizing your impressions with vibrant colors! It’s a fun way to make your stamps stand out.
How Do I Fix a Stamp That’s Still Faint After Re-Inking?
If your stamp’s still faint after re-inking, press it firmly on paper several times to distribute the ink evenly.
You might need to add more ink or clean the stamp surface to remove dried residue for a clearer impression.
Sometimes, a little extra effort is all it takes to get that perfect stamp look!
Is It Safe to Use Permanent Ink in a Self-Inking Stamp?
You shouldn’t use permanent ink in a self-inking stamp because it can damage the internal pad and mechanism.
Stick to the recommended ink type to keep your stamp working smoothly and avoid costly repairs or replacements.
Trust me, using the right ink makes a big difference for your stamp’s lifespan!
Conclusion
You’ve just mastered the ancient art of re-inking your self-inking stamp—truly the pinnacle of adulting. Who knew such a tiny piece of rubber could cause so much drama?
Now, instead of buying a new one every time it runs dry, you’re officially a stamp whisperer. So go ahead, flaunt your newfound skills like the office hero you are.
Just don’t let the ink stains on your fingers give you away! Re-inking your self-inking stamp not only saves money but also extends the life of your favorite office tool. With these 10 easy steps, you’ve unlocked the secret to keeping your stamp crisp and ready for every task. Next time your stamp starts to fade, you’ll know exactly how to refresh it quickly and efficiently, making you the go-to person for all things stamping in your workspace.