
How You Can Mix Tattoo Ink Colors Safely and Effectively
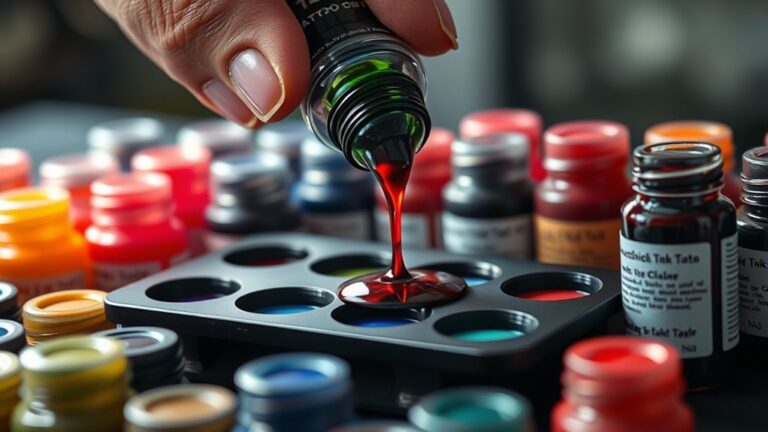
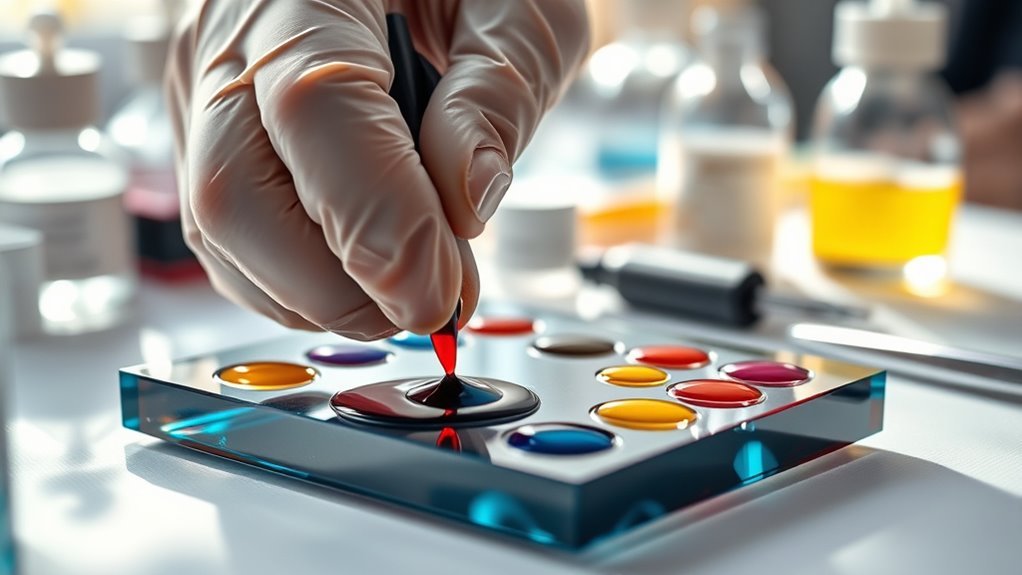
To mix tattoo ink colors safely and effectively, it’s important to first understand the ink’s composition. Using sterile, separate containers along with clean tools is a must for hygiene. This prevents any chance of contamination during the mixing process.
Always start by testing small batches. This helps you check for color stability and ensures no skin allergies occur by doing patch tests. Mixing colors gradually is the way to go if you want to achieve those precise shades you’re aiming for.
Don’t forget to keep everything clean throughout. Maintaining hygiene is key to avoid any issues.
Once mixed, store your inks tightly sealed in a cool, dark place to preserve their vibrancy and safety.
Following these simple steps guarantees vibrant and safe results every time. Keep exploring for more detailed techniques and safety tips to perfect your tattoo ink mixing skills.
Key Takeaways
– Use sterile tools and separate containers to avoid cross-contamination and keep your ink pure while mixing.
It’s a simple step, but super important for good results.
– Gradually add and blend pigments, testing small batches first to see how the colors hold up and mix together.
This way, you avoid surprises when you go for the full application.
– Always do patch tests to check for allergic reactions and make sure the skin is safe before you start tattooing.
It’s better to be safe than sorry, right?
– Store your mixed inks in airtight containers that protect from light, and keep them in cool, dark spots.
This helps preserve the color and stops them from breaking down.
– Keep your workspace clean and follow hygiene protocols to lower the risk of infection.
Doing this also helps you get consistent, high-quality results every time.
Understanding the Basics of Tattoo Ink Composition
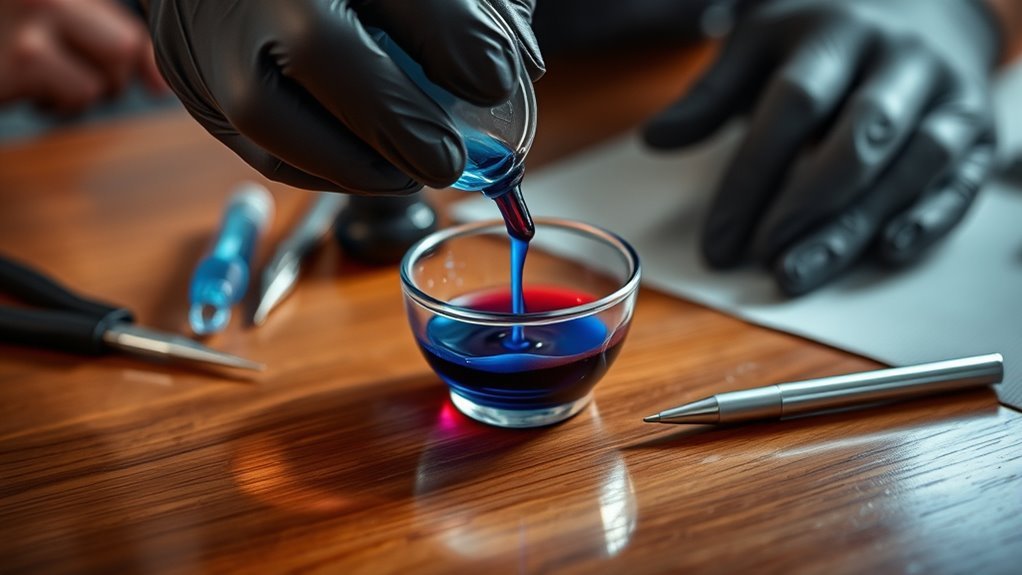
Before you start mixing tattoo inks, it’s important to understand what goes into them. Tattoo inks consist primarily of pigments and a carrier solution. The pigments provide the color and can be organic or inorganic, each affecting the vibrancy and longevity of your ink.
The carrier solution, usually made of water, alcohol, or glycerin, helps keep the pigment evenly suspended and prevents contamination. Knowing this helps you anticipate how your mixed colors will behave on the skin.
You’ll want to avoid pigments that aren’t compatible or carriers that might cause irritation. Understanding the composition also guides you in selecting safe, high-quality inks, reducing risks of allergic reactions or poor healing.
Mastering these basics sets a solid foundation for effective and safe ink mixing. It’s all about knowing what you’re working with to get the best results.
Essential Tools and Materials for Mixing Tattoo Inks
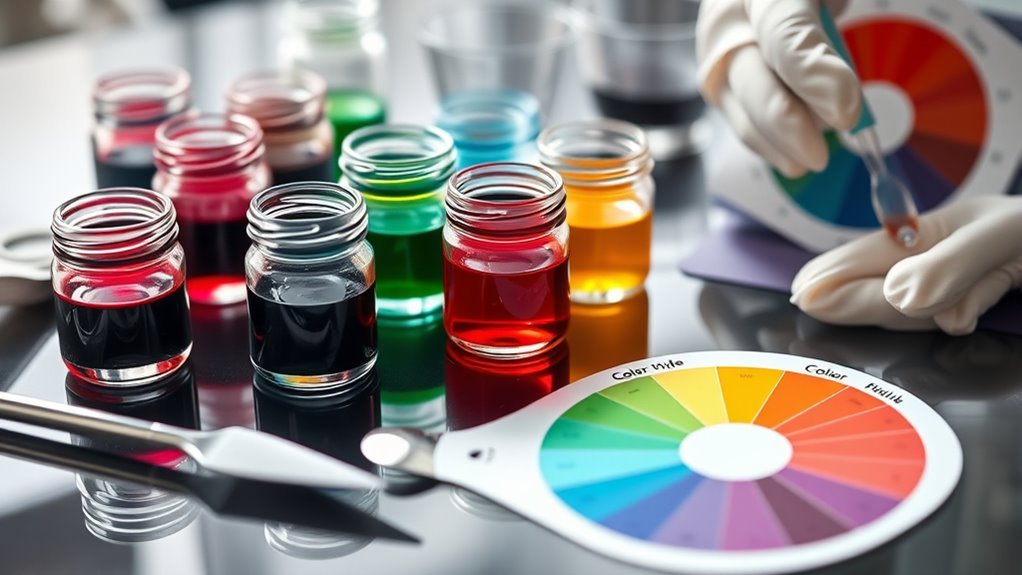
When mixing tattoo inks, having the right tools and materials guarantees accuracy and safety throughout the process. You’ll need clean, sterile mixing cups or palettes to hold your inks without contamination.
Use disposable or easily sanitized spatulas and mixing sticks to blend colors evenly. Precision is key, so keep a digital scale or calibrated droppers nearby for measuring exact amounts.
Use clean spatulas and precise measuring tools to blend tattoo inks accurately every time.
Gloves protect both you and your client, so never skip them. Additionally, having distilled water or a specialized mixing solution helps thin inks as needed without altering their properties.
Always work on a clean, non-porous surface to avoid spills or cross-contamination. By gathering these essential items, you set a solid foundation for safe, consistent ink mixing every time.
Step-by-Step Guide to Combining Colors Safely

Before you start mixing, make sure the ink types you choose are compatible to avoid unwanted reactions. Always use sterile tools to keep your colors safe and clean.
Finally, test your mix on a small surface to see how the colors react together before applying. It’s a simple step that can save you a lot of trouble later!
Choosing Compatible Ink Types
Although mixing tattoo inks can create unique colors, you need to guarantee the inks you combine are compatible to avoid unwanted reactions or color changes.
First, check the base ingredients: water-based inks blend well together, but mixing water-based with oil-based inks can cause separation.
Second, consider pigment types; some pigments react chemically, altering the final shade or causing fading.
Third, verify the ink’s brand and formulation; inks from the same manufacturer are more likely to mix safely due to consistent quality and ingredients.
By following these steps, you’ll maintain color integrity and safety.
Always test a small batch before full use, ensuring the mixture stays stable and vibrant.
This approach helps you create custom colors confidently and professionally.
Using Sterile Mixing Tools
To mix tattoo inks safely and maintain their purity, you’ll need to use sterile tools throughout the process. Start with clean, disposable mixing cups and sterile spatulas or stir sticks. Avoid reusing any tools to prevent cross-contamination.
Before you begin, sanitize your workspace and wash your hands thoroughly. Open each ink bottle carefully, and pour only the amount you intend to mix into the sterile cup.
Use a new sterile spatula for each color combination to keep inks pure and uncontaminated. After mixing, dispose of used tools properly and never pour leftover ink back into the original bottle.
This practice ensures your colors stay vibrant and reduces the risk of infection or allergic reactions during tattooing. It’s all about keeping things clean and safe, so your work looks great and stays healthy!
Testing Color Reactions
Maintaining sterile tools sets the foundation for safely mixing tattoo inks, but you also need to verify how colors interact before applying them. This step ensures that your final color is exactly what you expect and prevents unwanted chemical reactions or skin irritations.
Follow these steps to test color reactions effectively:
- Mix a small sample: Combine a tiny amount of your chosen inks on a sterile palette to observe the initial color blend.
- Check for changes: Watch for any unexpected changes like separation, clumping, or color shifts over 10-15 minutes.
- Perform a patch test: Apply a small amount of the mixed ink on a disposable surface or, if possible, on a small skin area to test for adverse reactions.
Testing this way helps you achieve safe, vibrant results every time.
Tips for Achieving Desired Shades and Consistency
You’ll want to master the basics of color mixing to get the exact shade you need.
Maintaining a smooth, consistent ink texture guarantees your work looks professional and heals well.
Always handle inks carefully to keep everything safe and hygienic during the process.
Color Mixing Basics
Although mixing tattoo ink colors may seem straightforward, achieving the perfect shade and consistency requires careful attention and technique.
When you start, keep these basics in mind to get the results you want:
- Start Small: Mix small amounts first to test your shade before committing to larger batches. This helps avoid waste and ensures precision.
- Use Clean Tools: Always use sterilized equipment to prevent contamination and maintain ink quality.
- Add Gradually: Introduce colors slowly, blending thoroughly after each addition. This way, you control the hue and avoid overshooting your desired shade.
Ensuring Ink Consistency
If you want your tattoo ink to flow smoothly and deliver consistent color, focus on achieving the right balance between pigment density and fluidity. Too thick, and the ink clogs your needle; too thin, and the color fades quickly.
Start by mixing small batches, testing the shade under good light, and adjusting with distilled water or mixing medium. Stir thoroughly to avoid uneven pigment distribution.
| Aspect | Tip |
|---|---|
| Pigment Density | Use measured amounts to control shade intensity |
| Fluidity | Add small increments of mixing medium for smooth flow |
| Testing | Always test on practice skin before final use |
Following these steps helps you create vibrant, consistent ink every time. It’s all about a little patience and fine-tuning. You’ll get there!
Safe Handling Practices
When handling tattoo ink, always wear gloves and work in a clean, well-lit area to prevent contamination and guarantee accurate color mixing. Maintaining a sterile environment protects both you and your client while ensuring the colors remain vibrant and true.
To achieve your desired shades and consistency safely, follow these key practices:
- Use separate mixing tools for each color to avoid cross-contamination and unexpected color shifts.
- Measure ink quantities precisely with calibrated droppers or scales to maintain consistent results every time.
- Store mixed inks in airtight containers away from direct light and extreme temperatures to preserve their quality and prevent degradation.
Precautions to Prevent Allergic Reactions and Contamination
Because mixing tattoo ink involves combining various pigments and carriers, you need to take strict precautions to prevent allergic reactions and contamination. Always wear disposable gloves and use sterile tools to avoid introducing bacteria.
Test the ink on a small skin area before full application to check for allergies. Keep your work area clean and avoid cross-contamination by using separate containers for each color.
| Precaution | Why It Matters |
|---|---|
| Wear gloves | Prevents contamination |
| Sterile tools | Avoids bacterial infection |
| Patch test | Detects allergic reactions |
| Separate containers | Stops cross-contamination |
Following these steps ensures safety and quality in your mixed tattoo inks, protecting both you and your clients. It’s really worth the effort to keep things safe and clean!
Proper Storage and Handling of Mixed Tattoo Inks
Although mixing tattoo inks requires care, proper storage and handling play an equally important role in maintaining their quality and safety. You want your mixed inks to remain vibrant and uncontaminated, so follow these key steps:
- Seal Containers Tightly: Always use airtight containers or bottles to prevent exposure to air. This helps stop the ink from drying out or degrading.
- Store in a Cool, Dark Place: Keep your inks away from direct sunlight and heat sources. Doing so avoids chemical breakdown and color fading.
- Label Clearly: Mark each container with the date mixed and color details. This way, you can avoid confusion and keep track of how fresh your ink is.
Frequently Asked Questions
Can Mixed Tattoo Inks Affect the Longevity of the Tattoo?
Yes, mixed tattoo inks can affect your tattoo’s longevity. If you don’t blend them properly or use incompatible pigments, colors may fade unevenly or blur faster.
Always guarantee quality and compatibility for lasting results. It’s all about making sure the inks work well together to keep your tattoo looking sharp over time.
How Do Different Skin Types React to Custom Mixed Inks?
Different skin types react uniquely to custom mixed inks; you’ll notice oily skin may cause faster fading, while dry or sensitive skin might experience irritation.
Always test a small area first to guarantee compatibility and lasting results. It’s a simple step, but it can save you from potential problems down the road.
Are There Any Legal Restrictions on Mixing Tattoo Ink Colors?
You can’t just paint outside the lines—yes, legal restrictions on mixing tattoo inks exist.
You’ve got to follow FDA guidelines and local laws to make certain safety and avoid toxic blends that could land you in hot water.
Can Mixed Inks Be Used in All Types of Tattoo Machines?
Yes, you can use mixed inks in all types of tattoo machines, but you should guarantee the ink’s consistency suits your machine. Always test the mixture to avoid clogs and maintain smooth ink flow for peak performance.
It’s all about making sure the ink works well with your specific setup. If the consistency is off, it might cause issues like clogging or uneven application. So, take a little time to test it out before you start a session.
What Environmental Factors Influence the Stability of Mixed Inks?
You’ll find temperature, light exposure, and humidity greatly influence mixed ink stability.
Keep inks in a cool, dark, and dry place to prevent color separation, fading, or bacterial growth.
This way, you’re ensuring your tattoos stay vibrant and safe.
Conclusion
Mixing tattoo ink colors safely and effectively isn’t just an art—it’s your secret weapon to creating masterpieces that last a lifetime. By understanding ink composition and using the right tools, you set the stage for vibrant results. Following safety steps helps you avoid contamination and allergic reactions like a pro.
Remember, a perfectly blended shade can turn a simple design into a vibrant explosion of color, dazzling like a fireworks show on a moonless night. Handle and store your inks with care to keep your work flawless.
In short, mastering how to mix tattoo ink colors safely and effectively means knowing your inks inside out and always practicing hygiene. Use clean equipment, mix small batches to test shades, and store your inks properly to maintain their quality. This approach not only ensures stunning, long-lasting tattoos but also protects both you and your clients from risks. So, embrace the art and science behind mixing tattoo inks, and watch your creations come to life with brilliance and safety every time.