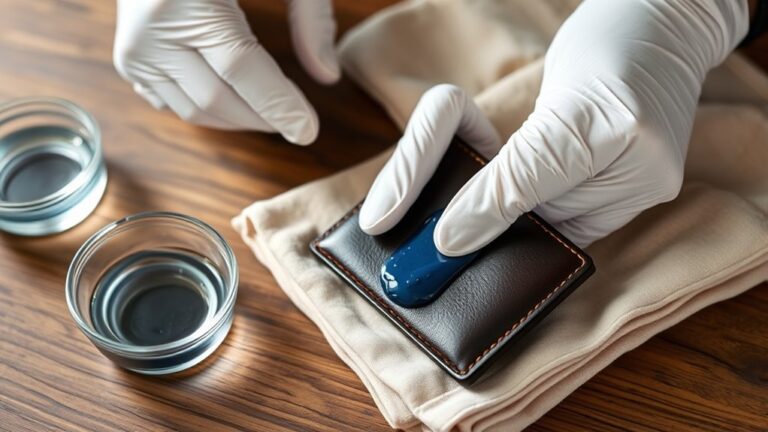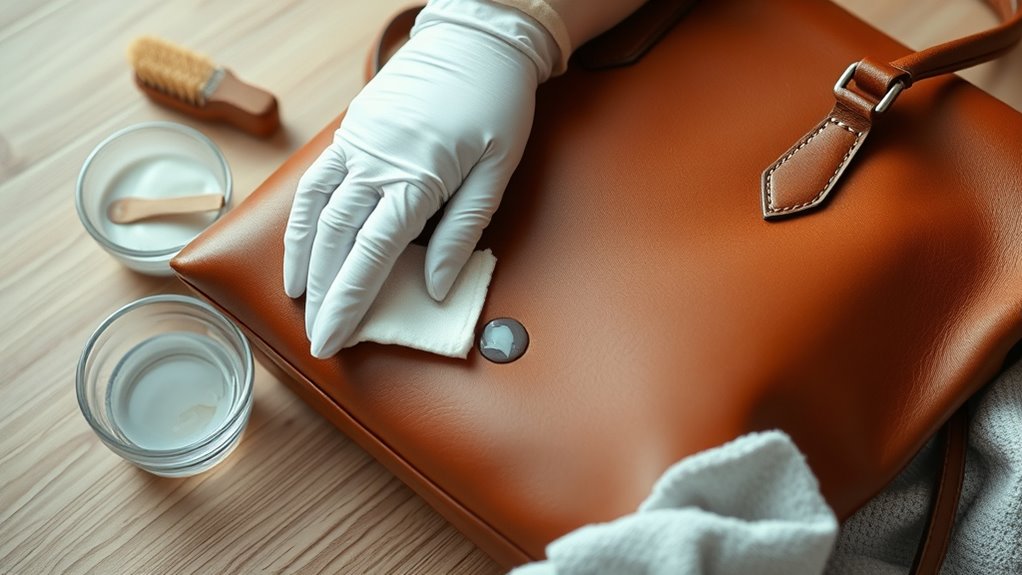
How to Remove Ink From a Leather Bag Step by Step
To remove ink from your leather bag, the first step is to identify the type of ink and how long it has been on the leather. This will help you choose the right cleaning method and avoid damaging your bag.
Next, gather your supplies: soft cloths, a leather-safe ink remover, rubbing alcohol, and cotton swabs. Before you start, test your cleaner on a hidden spot. This way, you can be sure it won’t harm the leather.
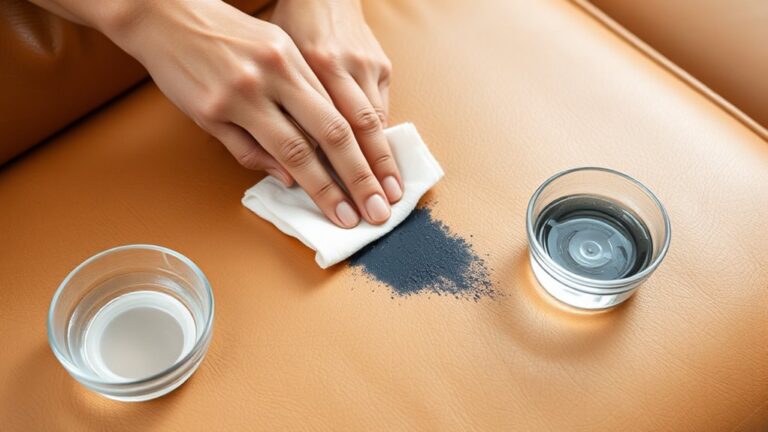
When you’re ready, gently dab the ink with the remover. Remember, blot instead of rubbing to stop the ink from spreading.
After you’ve cleaned the stain, don’t forget to condition your leather. This step helps restore moisture and keeps your bag looking great.
If you want to restore your bag flawlessly, keep following these essential steps. It’s easier than you think to bring your leather bag back to life!
Key Takeaways
– Assess the ink type and age, then test a small hidden leather area with water or cleaner for reaction before treatment.
This step helps you avoid any surprises later on.
– Gather soft cloths, pH-balanced leather cleaner, rubbing alcohol, cotton swabs, and distilled water for safe cleaning.
Having everything ready makes the process smoother.
– Apply a leather-safe ink remover gently with a soft cloth using light, circular motions, avoiding soaking the leather.
Be gentle here; leather doesn’t like too much moisture.
– Blot the ink stain carefully with a clean cloth or cotton ball, avoiding rubbing to prevent spreading or damage.
Patience is key to keep the stain from spreading.
– Condition the leather evenly after cleaning, air dry away from heat, and maintain regularly to preserve texture and color.
Taking these final steps helps your bag look great for longer.
Assess the Type and Age of the Ink Stain
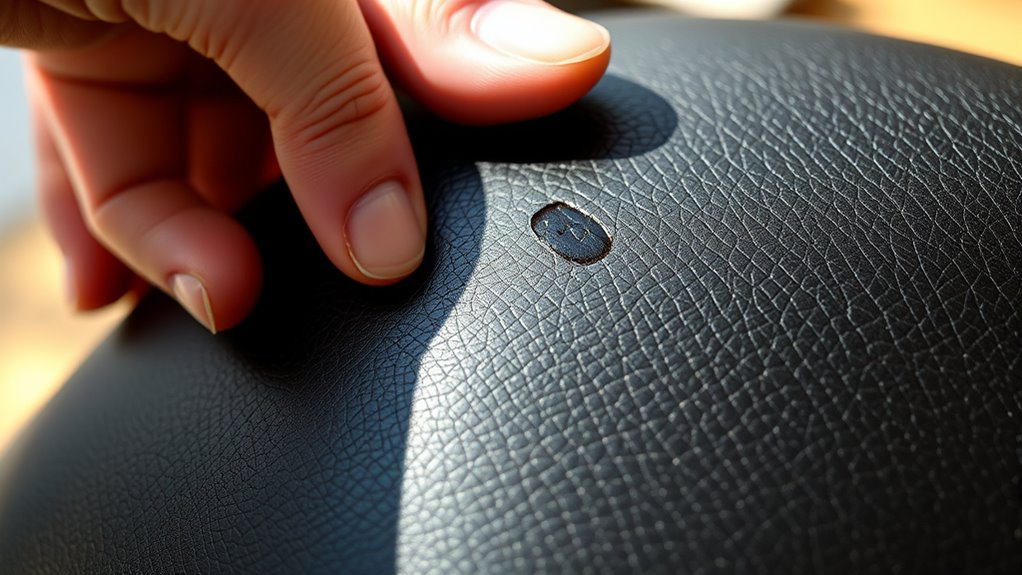
How long has the ink been on your leather bag? The age of the stain plays a big role in how easily you can remove it. Fresh ink tends to come off more readily than older, dried-in stains.
The longer ink sits on leather, the harder it becomes to remove—fresh stains are much easier to clean.
Next, identify the type of ink. Is it from a ballpoint pen, marker, or fountain pen? Each ink type reacts differently to cleaning methods.
Ballpoint ink is oil-based and might require different treatment than water-based marker ink. You can test a small, hidden area by dabbing a bit of water or cleaner to see how the ink reacts.
Understanding the ink’s nature and how long it’s set will help you choose the most effective removal strategy without damaging your leather bag.
Gather Necessary Cleaning Supplies
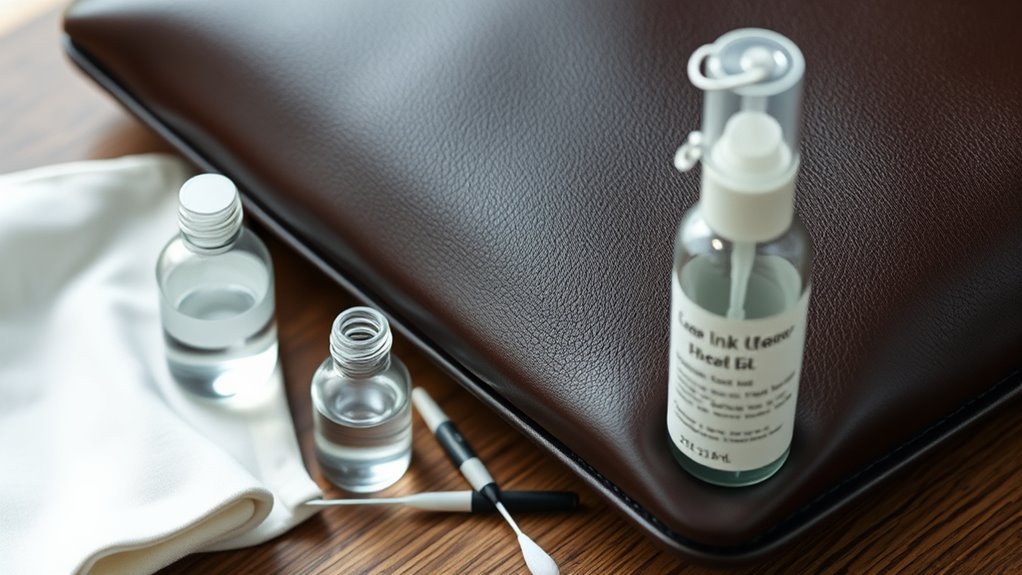
Before you start treating the ink stain, gather all the necessary cleaning supplies to guarantee a smooth process. Having everything on hand saves time and prevents interruptions, ensuring you can tackle the stain effectively.
Here’s a handy list of what you’ll need:
| Supply | Purpose | Tips |
|---|---|---|
| Soft cloth | Apply cleaner, blot stain | Use microfiber for softness |
| Leather cleaner | Safe stain removal | Choose pH-balanced option |
| Rubbing alcohol | Break down ink | Use sparingly |
| Cotton swabs | Precision cleaning | Ideal for small spots |
| Distilled water | Dilute cleaners, rinse | Avoid tap water impurities |
With these supplies ready, you’re set to proceed confidently and protect your leather bag from further damage. Easy, right? Just gather your tools and you’ll be good to go!
Test a Small Hidden Area First
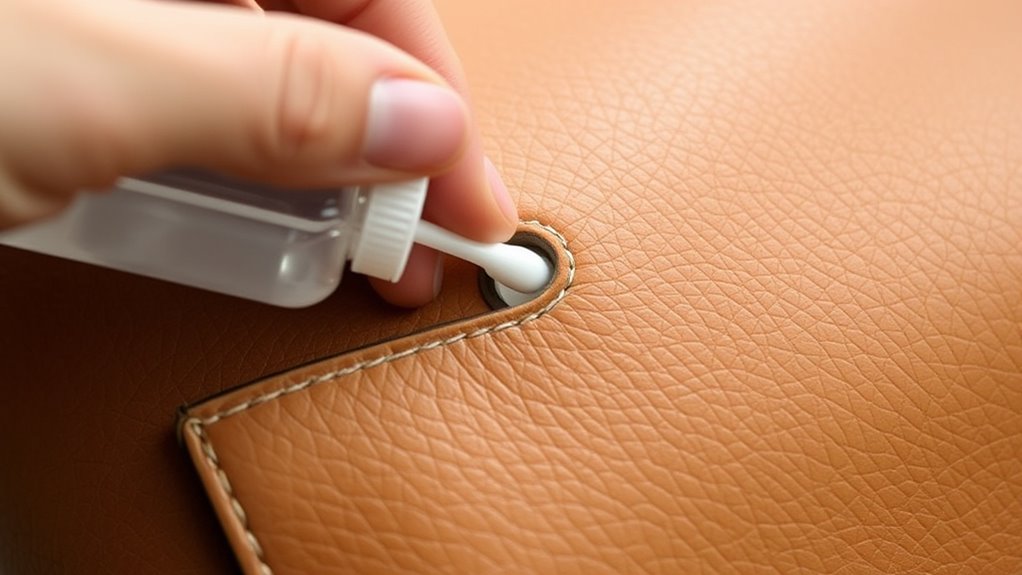
Before applying any cleaner, pick a small, hidden spot on your bag to test. Use just a tiny amount of the product and watch closely for any changes or damage.
This step helps you avoid ruining the entire surface. It’s a simple trick that can save you a lot of trouble later on.
Choose Discreet Spot
You’ll want to find a discreet spot on your leather bag to test any cleaning method first. Look for an area that’s hidden or less visible, like inside a seam, under a flap, or the bottom corner.
This way, if the cleaner affects the leather’s color or texture, it won’t be noticeable. Make sure the spot you choose is made of the same leather type as the rest of your bag to get accurate results.
Apply a small amount of your chosen cleaning product there and wait a few minutes to see if any discoloration, damage, or residue appears. If the leather looks fine, you can proceed with confidence to treat the ink stain on the main visible areas of your bag.
Apply Minimal Product
Once you’ve confirmed your cleaner won’t harm the leather, apply only a small amount to the hidden test spot. Use a cotton swab or a clean cloth to dab the product gently onto the leather, avoiding any rubbing or excessive pressure.
Applying too much product can saturate the leather and cause damage or discoloration, so less is definitely more here. This small test helps you see how the leather reacts before treating the ink stain directly.
Always make sure the product is evenly spread and doesn’t pool in one area. Taking this cautious step lets you proceed confidently, knowing you’re not risking further harm to your bag.
Observe for Damage
Although applying the cleaner carefully is important, you need to observe the treated area closely to spot any signs of damage. Before treating the ink stain directly, always test the cleaning product on a small, hidden section of your leather bag.
This patch test helps you verify the cleaner won’t discolor or weaken the leather. After applying the product to the test spot, wait a few minutes and check for changes in color, texture, or softness.
If the leather reacts negatively, stop immediately and try a gentler method. But if it looks fine, go ahead and proceed cautiously on the ink stain.
Observing for damage during and after cleaning prevents permanent harm and keeps your bag looking its best. So, always prioritize safety by testing first.
Apply a Leather-Safe Ink Remover
You’ll want to pick an ink remover specifically made for leather to avoid damage. Apply it gently with a soft cloth, focusing on the stained area without soaking the leather.
Taking your time with careful application helps prevent spreading the ink or harming the bag’s surface. Just be patient and gentle—that’s the key here!
Choosing Suitable Products
When tackling ink stains on your leather bag, selecting a product designed specifically for leather is essential to prevent damage. Avoid harsh chemicals like acetone or alcohol—they can dry out or discolor the leather.
Instead, look for specialized leather ink removers or gentle cleaning solutions labeled safe for leather surfaces. Natural options, such as leather conditioners with mild cleaning properties, can also help lift stains without harming the material.
Before buying, read product reviews and check if the formula suits your bag’s leather type—whether it’s aniline, semi-aniline, or pigmented leather. It’s always a good idea to test your chosen product on a hidden area first to make sure it won’t cause unwanted changes.
Choosing the right product really sets the foundation for effective and safe ink removal. So, take your time picking something that works best for your leather.
Application Techniques
Since applying the remover correctly affects the outcome, start by dabbing a small amount onto a soft cloth rather than directly on the leather. Gently blot the ink stain with the cloth, avoiding harsh rubbing to prevent spreading or damaging the leather.
Use light, circular motions to work the remover into the stain, letting it sit for a few minutes to break down the ink. Afterward, wipe the area with a clean, damp cloth to remove any residue.
Always test the remover on a hidden spot first to ensure it won’t discolor or damage your bag. Repeat the process if necessary, but avoid over-saturating the leather.
Proper application guarantees effective ink removal while preserving your leather bag’s finish. So, take your time and be gentle—it really makes a difference!
Gently Blot and Clean the Stain
Although it might be tempting to rub the ink stain, you should gently blot it instead to prevent spreading or pushing the ink deeper into the leather. Use a clean, soft cloth or cotton ball, and lightly press it onto the stained area.
Avoid applying too much pressure; just enough to lift the ink without damaging the leather’s surface. Repeat this blotting motion with fresh sections of the cloth to avoid reapplying the ink.
If necessary, dampen the cloth slightly with a leather-safe cleaner or mild soap diluted with water, but never soak the leather. Continue blotting gently until the stain begins to fade.
Patience is key—rushing or scrubbing can worsen the stain or harm your bag’s finish. So, take your time and be gentle with it.
Condition the Leather After Cleaning
After removing the ink stain, you’ll want to restore moisture to the leather to keep it supple and prevent cracking.
Conditioning replenishes natural oils and protects the leather from drying out. Use a leather conditioner suited for your bag’s type, applying it sparingly with a soft cloth in gentle circular motions.
Here’s a quick guide to conditioning your leather bag:
| Step | Action |
|---|---|
| Choose Conditioner | Select one made for your leather |
| Apply | Use a soft cloth, apply evenly |
| Massage | Work conditioner gently in circles |
| Dry | Let it air dry naturally |
Condition regularly to extend your bag’s life and maintain its appearance. It really makes a difference in keeping your leather looking great!
Frequently Asked Questions
Can Ink Stains Damage the Leather Permanently?
Yes, ink stains can permanently damage your leather if you don’t act quickly. The longer ink sits, the deeper it soaks in, making removal harder and risking discoloration or deterioration of the leather surface.
How Often Should I Condition My Leather Bag?
You should condition your leather bag every 3 to 6 months to keep it soft and prevent cracking.
If you use it often or in harsh conditions, condition it more frequently to maintain its quality and appearance.
This way, your bag stays looking great and lasts longer!
Are There Any Ink Types That Cannot Be Removed?
About 80% of ink stains can be removed, but permanent inks like printer or ballpoint pen ink often can’t be fully erased.
You’ll find some inks soak too deeply, making complete removal nearly impossible on leather. It’s a bit of a bummer, but that’s just how some inks behave.
Can I Use Household Items Like Vinegar or Alcohol on Leather?
You can use rubbing alcohol or vinegar cautiously on leather, but they might dry it out or cause discoloration. Always test on a hidden spot first and condition the leather afterward to keep it soft and supple.
Just take it slow and don’t rush. Leather can be delicate, so a little care goes a long way.
What Should I Do if the Bag Is Vintage or Very Expensive?
If your bag’s vintage or expensive, don’t risk DIY methods.
You should take it to a professional leather cleaner who specializes in delicate items.
They can safely remove ink without damaging the leather or reducing its value.
Conclusion
You might’ve heard that rubbing alcohol always removes ink from leather, but it can actually cause more harm than good. Instead, by carefully evaluating the stain and using leather-safe products, you protect your bag’s finish while effectively lifting ink.
Remember to test first and condition afterward to keep your leather supple. With patience and the right steps, you can restore your bag’s look without risking damage—proving gentle care beats quick fixes every time.
Removing ink from a leather bag takes a bit of care and the right approach. Using harsh chemicals like rubbing alcohol might seem like a quick fix, but it often damages the leather’s texture and color. Instead, opt for leather-friendly cleaners designed specifically for ink stains.
Always start by testing any product on a small, hidden area of your leather bag. This ensures you won’t accidentally ruin the material. After cleaning, apply a leather conditioner to replenish moisture and keep the leather soft and flexible.
In the end, removing ink from a leather bag successfully means being patient and using the proper steps. This gentle care method helps maintain your bag’s appearance and longevity, so it stays looking great for years to come.